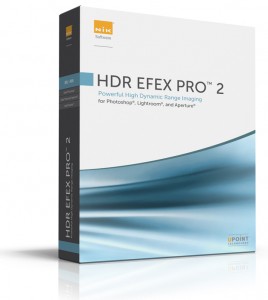
 The Nik Software plugins for Lightroom, Aperture and Photoshop are among the best tools for giving an image that final touch up for the look I’m after. They range from subtle to very in-your-face, and in my opinion Silver Efex Pro 2 is the best thing you can possibly use for black and white conversions. Nik’s HDR software, HDR Efex Pro, has been my HDR tool of choice for a while now, and Nik has just released Version 2 of the software. While I haven’t had a chance to really delve into all of the improvements, there are a few things that really stick out to me as well worth the upgrade.
Ghost Removal
I do a lot of hand held HDR shots in good light. I set auto bracketing on my camera, high speed frame advance, and rattle off 5 to 7 bracketed shots in the span of a second. This generally can yield usable images for HDR merging, though a tripod is always better. One limitation to many HDR merging programs, including the original HDR Efex Pro, is that if the source images weren’t perfectly aligned, you’d get ‘ghosts’ from some of the exposures. To get rid of the ghosts meant a time consuming and tedious process of cloning out the doubled edges. HDR Efex Pro 2 includes automatic ghost removal, and it does so by allowing you to select a master image (usually the base exposure), and then it will use that reference to eliminate ghosts from misalignment. This is an extremely useful tool not only for hand held HDRs, but for HDRs of landscapes where there are things blowing in the wind, such as grass or tree leaves. In the past, these movements between shots could make the HDR unsightly. In my testing so far the ghost removal tool is fantastic. Usually only 20-40% strength is needed, but on my example shot you’ll see in a moment, I had to use 100%, but it got the ghosts!
Much improved tone mapping engine
One of the biggest complaints about HDR photography is that most of them look fake. Sometimes that’s the look you’re after, but if you aren’t after that look, you need really careful processing and sometimes even that isn’t enough. The new tone mapping engine in HDR Efex Pro yields a much more natural looking HDR image with minimal effort. You can still go crazy with wild HDRs if you want, but the realistic HDR settings are much improved, and the results look more realistic and natural and are more pleasing to my eye…and they take less time to do!
Graduated Density
HDR Efex Pro 2 includes a graduated density control that will allow you basically easily replicate a Grad ND effect with your HDR, utilizing the full 32 bit range of the HDR image. With images with well defined horizons, it allows for much greater control over the foreground and sky exposure, which also adds to the improvement in realism.
I also have found the overall user interface to be a big step up. It’s more intuitive, faster and allows for much greater control.
An example:
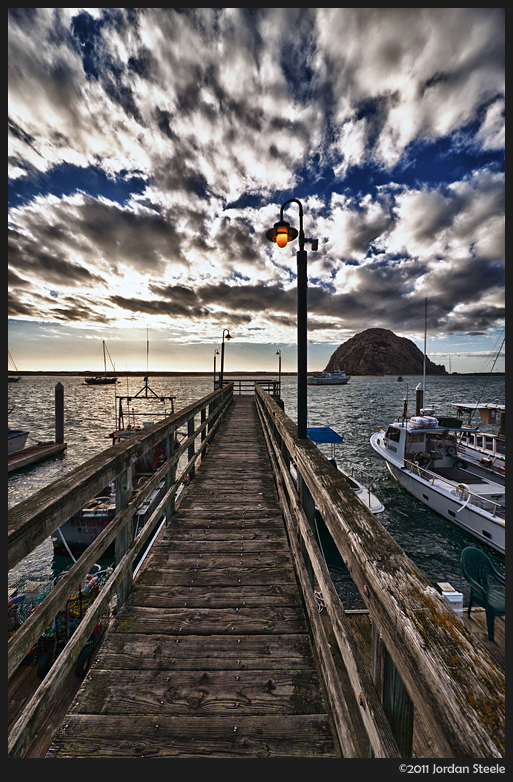
The image above is an HDR of three exposures that I took last November in Morro Bay, California. I tried to get a realistic HDR at first, and didn’t like the results at all, so I went for a more surreal sort of look. HDR Efex Pro (version 1) did a nice job getting me that look, though I had a LOT of cleanup work to do, as the source images were a little off, even after alignment. I had to do a ton of cloning around the dock area and the light poles, as well as on the horizon line to eliminate ghosts. I also had to do some work on the water, which had odd interference artifacts from the changing waves. While I like the image this way, a part of me always disliked how it sort of looked ‘digital’.
When I got HDR Efex Pro 2 (which you can download and try for free for 15 days), this was one of the first images I tried to process again. This time, I tried for the more realistic look, and I’m very happy with the results. I had to use 100% Ghost Reduction, but it eliminated ALL of the ghosting issues and water artifacts. No cloning needed, which saved me 45 minutes on the final image. I tweaked one of the more realistic presets (Deep 2), adding a bit of contrast and structure, and used a few small U-Point adjustments on the clouds near the horizon. I also utilized the Graduated Neutral Density to brighten the top a bit and darken the foreground, as the default had them too even for my taste. The result is the image below, which I find MUCH better. All in all, I think it’s a very worthy upgrade for users of HDR Efex Pro, and a must-have tool for those without an HDR program who are interested in giving HDR photography a whirl.




Leave a Reply