Every once in a while, I’ll see a subject, and I will instantly know the type of shot I want to make. Sometimes, I’ll take some shots and get it right away…other times, the light isn’t right, or you don’t quite know how you want to go about capturing it.
This is one of those shots, and I have walked past this little sandwich shop many times. It’s housed in an older brick building and surrounded by much taller more modern structures. It always feels so out of place and dwarfed by the newer buildings. I’ve wanted to take this shot for a long time, but it never turned out right or there were too many cars.
Yesterday, I was walking around with the GH3 and Olympus 17mm f/1.8, and walked past here again. My first thought was ‘man, and now I don’t have my 7-14 with me.’ But then I thought again, and decided to just use the 17mm and do a stitch. So I took 9 photos in two rows and went on my way.
When I got home, I pulled the RAW files into Photoshop CS6 and stitched them using Photoshop’s Photomerge tool. The resulting image out of the stitch looked like this below:
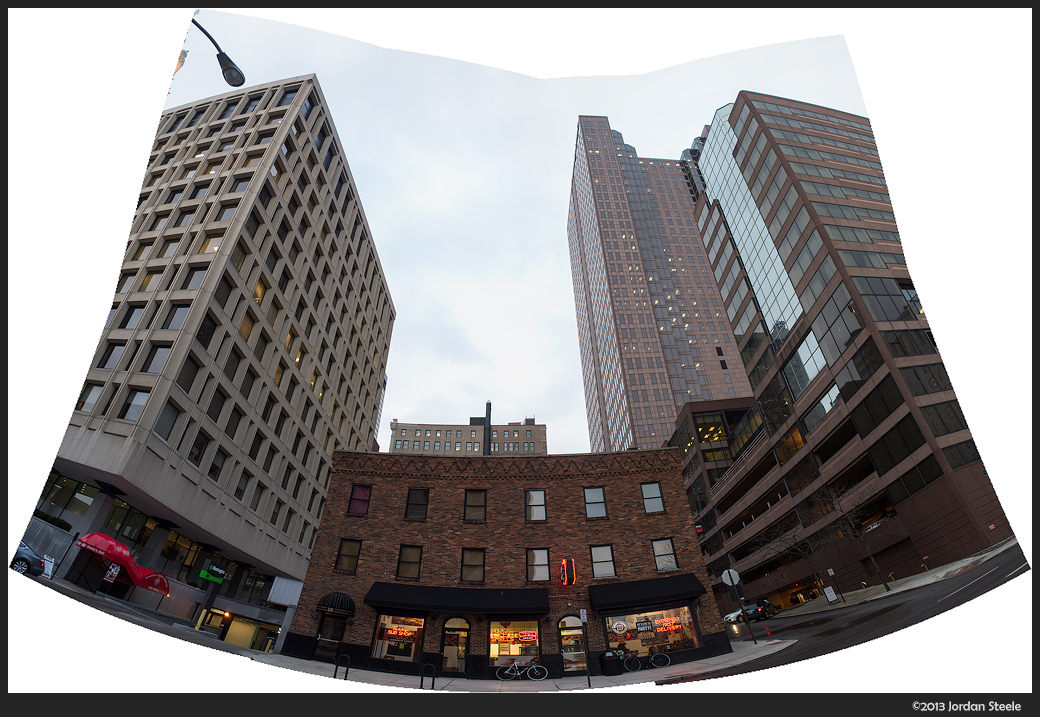
Needless to say, not quite what I was going for. However, CS6 has an amazing tool called “Adaptive Wide Angle” and it can take photos like that above and allow you to specify curved lines that should be straight…even horribly wonky ones, and it will morph the image to keep those straight. Due to the distortion from the stitch, I actually had to use around 8 different lines to get the final result.
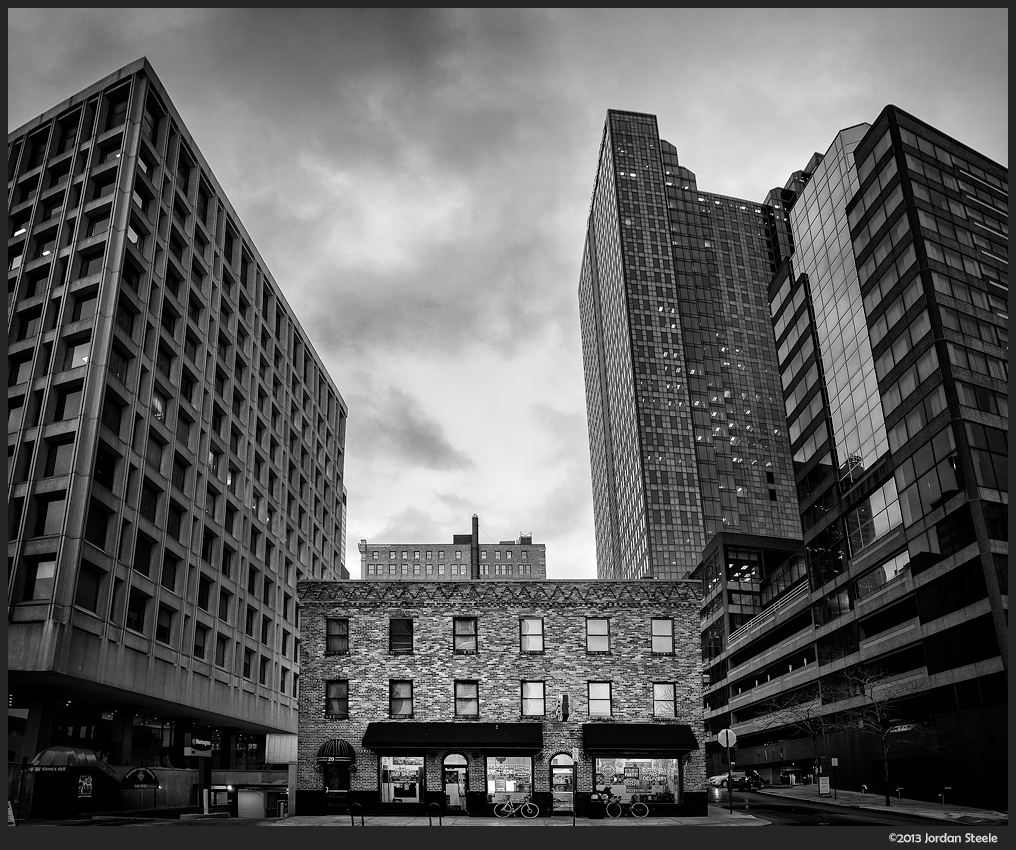
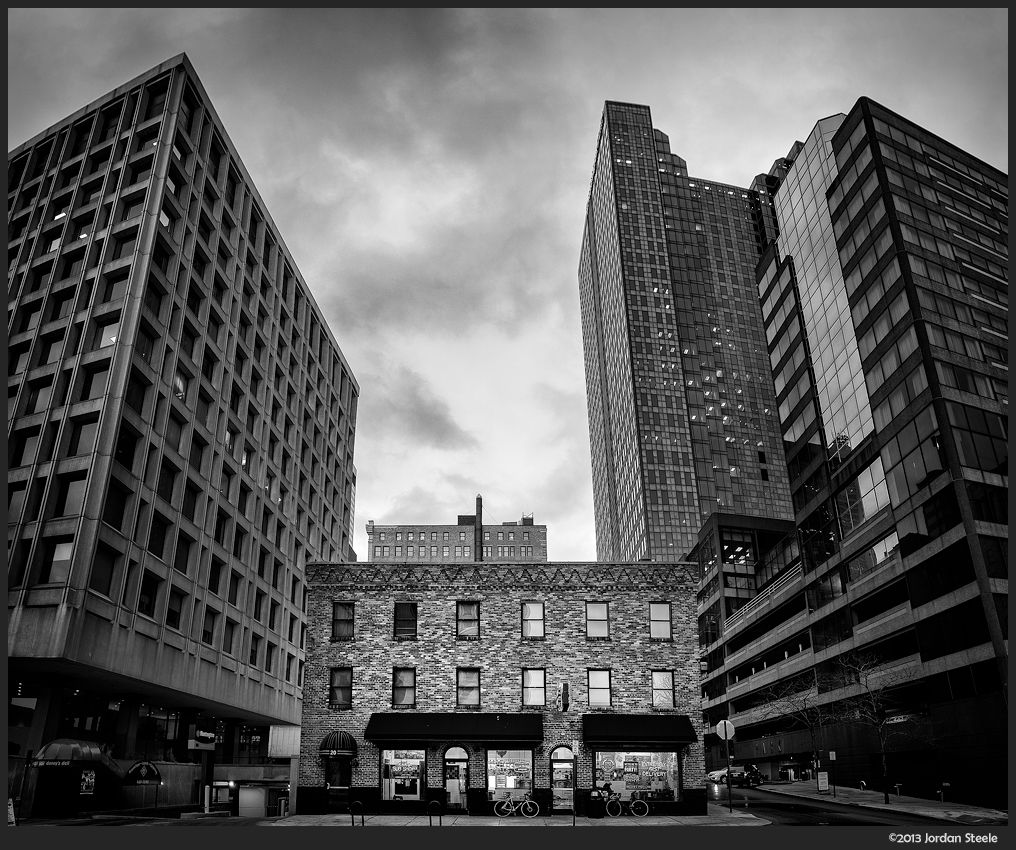
To finish the picture, I did two different developments in Nik Silver Efex Pro 2, one for the sky and one for the buildings, and merged them. I brought down exposure on the surrounding buildings and brought up exposure on the little building, then did some light dodging and burning to finish it up. The final result is below (click to enlarge), and I have to say, it’s almost exactly what I had in my mind from the beginning. Satisfying when it comes together.



Leave a Reply