If you’ve been to the site the past few weeks, you’ve probably seen my recent posts concerning my trip to Death Valley, and a more local trip for some waterfalls at Tinker’s Creek here in Ohio. When I was gearing up for my trip to Death Valley, I knew that I was going to be hiking quite a bit. I’ve typically been a photographer who prefers shoulder bags, with the occasional sling bag to my name. I generally haven’t enjoyed using photo backpacks, as I feel they limit easy access to your gear, but for this trip, I really wanted a backpack to help avoid the inevitable back pain that comes with hiking with a shoulder bag for long distances.
I did some research and saw the BackLight 18L from MindShift, which is a sub-brand of Think Tank Photo, and it piqued my interest due to the way gear can be accessed without having to remove the backpack entirely. As I was going to be shooting in sand dunes, this was a big thing for me in a backpack. I contacted Think Tank, and they were kind enough to provide me with a BackLight 18L for review. While they did provide the sample, I am committed to providing an unbiased review, and will not sugar-coat any deficiencies I’ve found in my time with the bag. I don’t do paid advertisement for positive reviews, and never will.
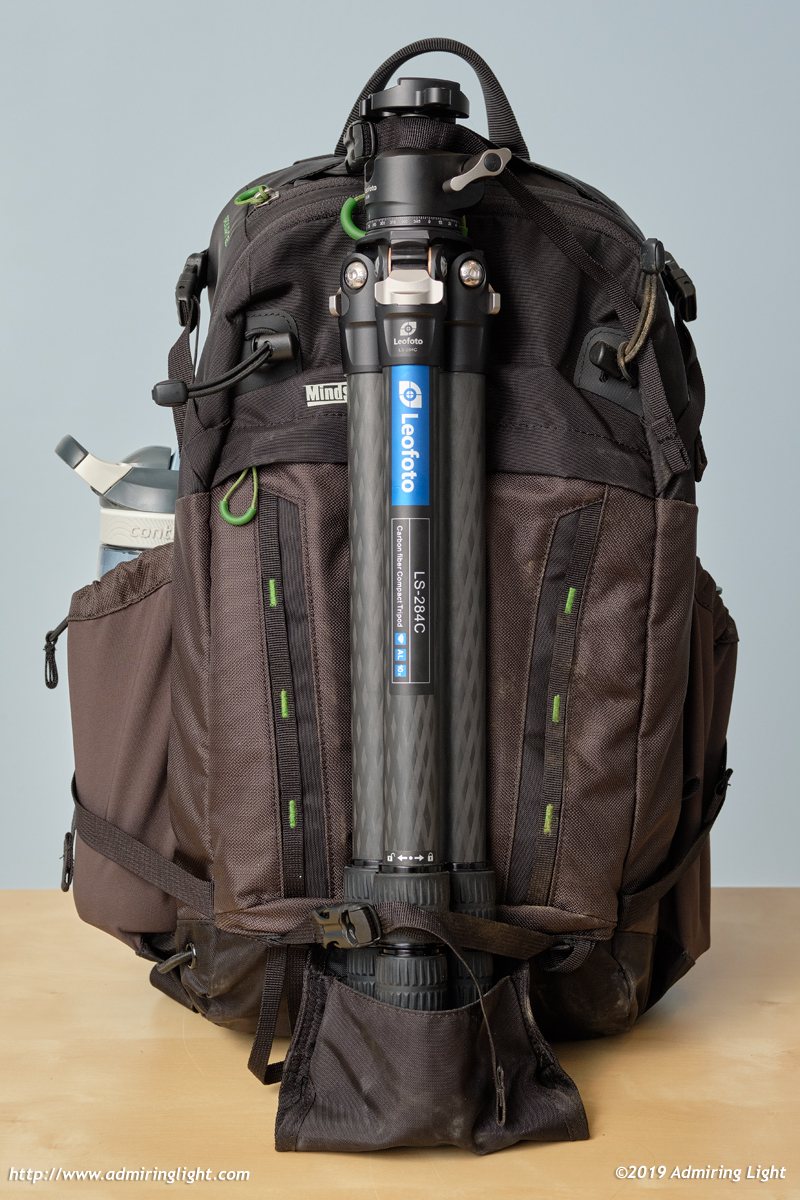
Around the Bag
The MindShift BackLight 18L is the smallest backpack in the BackLight series. The 18L refers to the capacity in volume for the backpack, which is 18 liters. There are other BackLight backpacks in larger capacities from 26L to 45L, but the 18L was very much the perfect size for my planned kit. If taking larger long lenses, one of the bigger backpacks would have been a better choice.
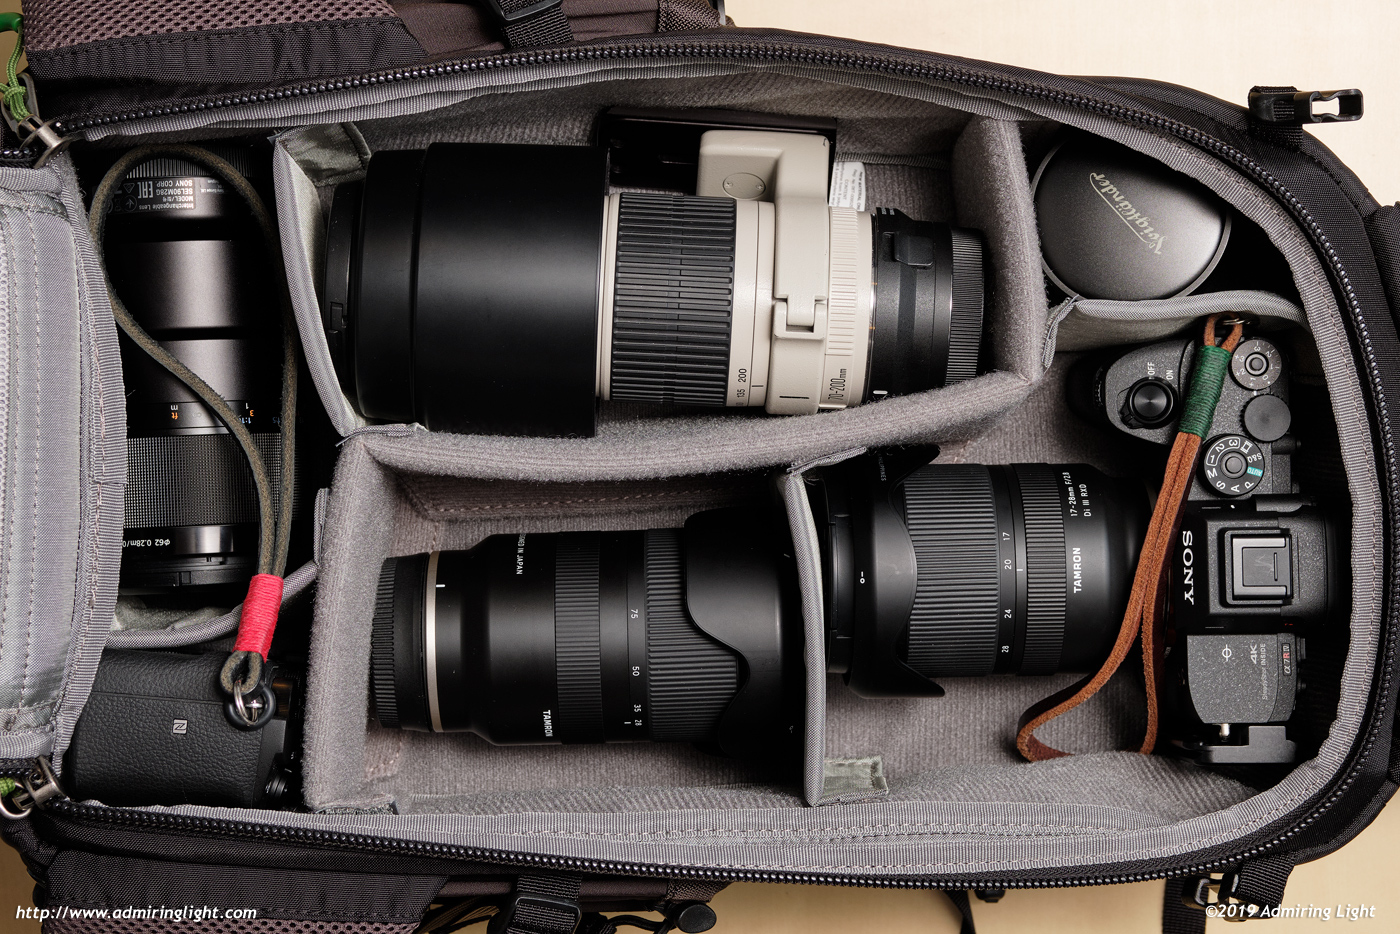
The main compartment is accessed from the padded flap that goes against your back. This positioning makes it so that gear can’t accidentally fall out when wearing the backpack and it also allows for the BackLight’s signature feature of allowing access while still on your body. More on that in a bit. As far as capacity was concerned, I needed the backpack to fit my A7 III body, Tamron 17-28mm f/2.8, Tamron 28-75mm f/2.8, Canon 70-200mm f/4L, Voigtlander 12mm f/5.6 and, if possible, the Sony FE 90mm f/2.8 macro. The 18L was able to fit all of that, with a small spot open for me to slide my a6400 body in as well. The interior comes with many dividers to set up for your kit. I arranged mine such that I could fit the camera in the backpack with any lens mounted except the 70-200mm, while also storing all the other lenses. If that wasn’t a requirement, I probably could have fit an extra lens or two by arranging the compartments to put the lenses in standing up instead of laying down. There is a zippered pouch on the flap that can be used to store small items as well. I kept my spare batteries in this pouch.
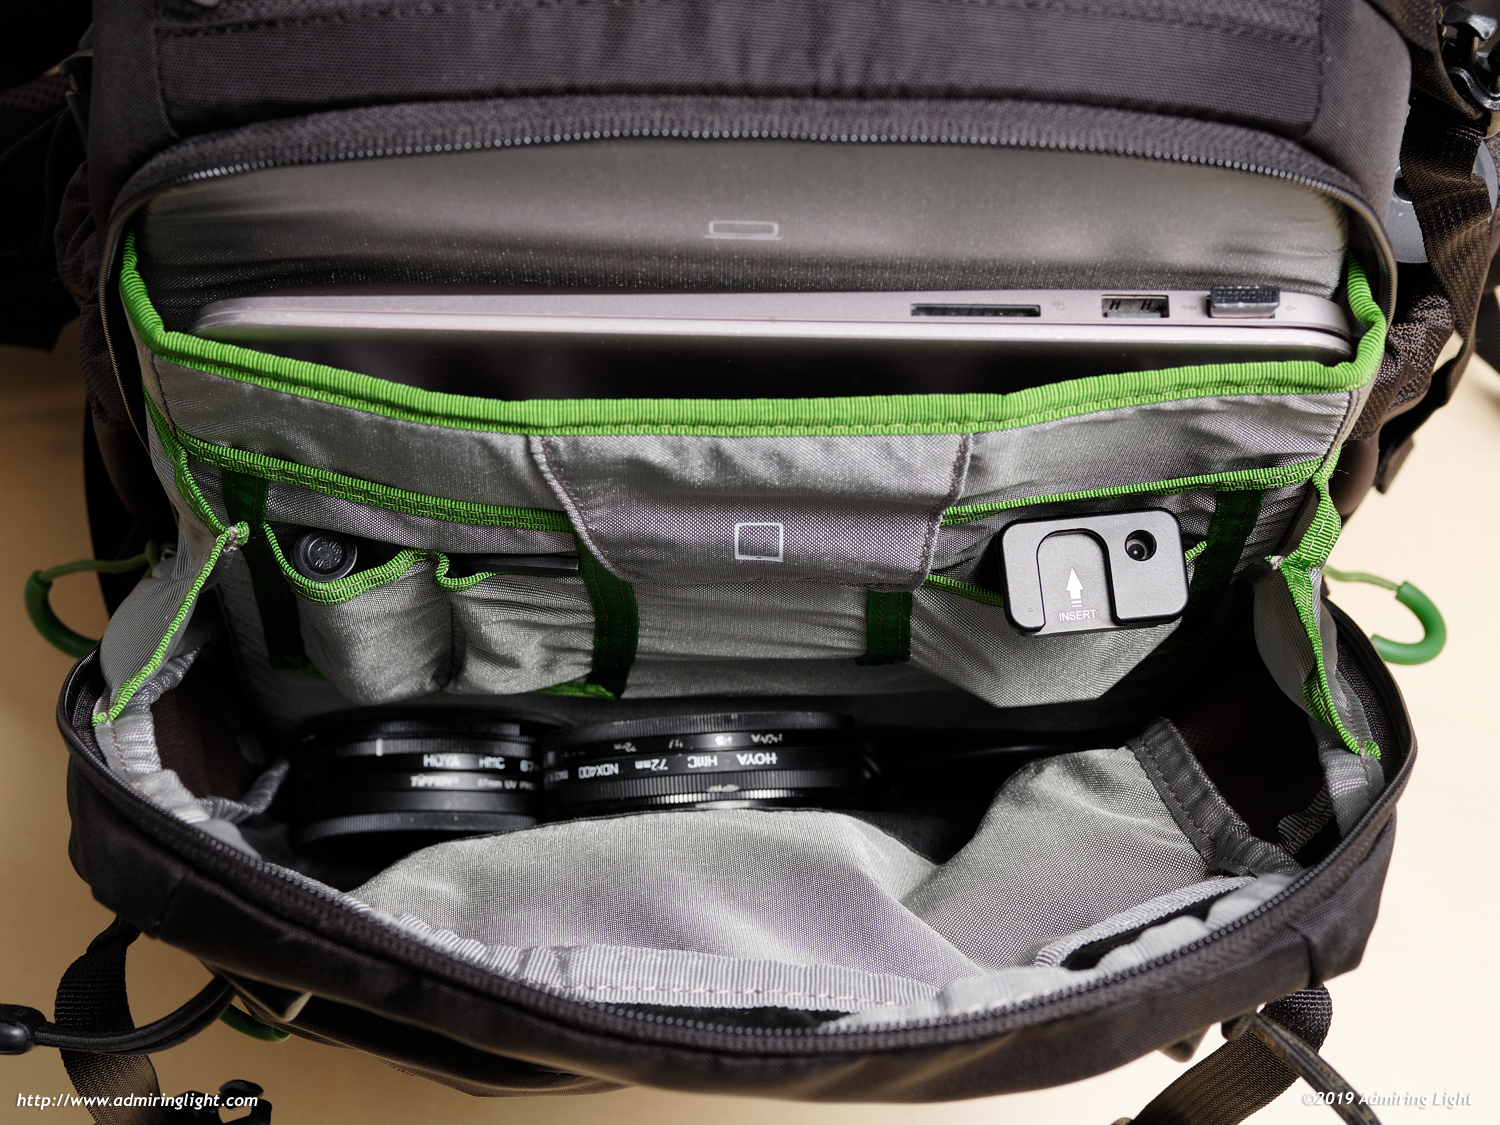
The outer portion of the bag has two zippered compartments. The innermost of these has a slot that can fit a tablet or 13″ laptop, as well as other assorted items. There are pockets for some of these things, and lots of room for various items, but most of these are sized for very specialized things like pens. I wish there were a few larger pockets near the top for easier access and security of things like filters. Instead, my filters (which I group together using stack caps), simply slid into the main opening, and would make their way to the bottom, making it a little more difficult to access than I’d prefer. Another zippered compartment is a bit slimmer and is useful for storing smaller items like memory cards, batteries or snacks.
On the sides of the bag are two bungee corded pouches, which are ideal for storing water bottles, and can also be used for tripod storage for small tripods if you prefer to have it on the side. I preferred to use the center mounting for my travel tripod. To use this, there is a velcro compartment at the bottom of the bag which has a flip out nylon pouch where the tripod legs sit, plus a strap for the bottom of the tripod. A small velcro compartment at the top of the bag holds another small strap to secure the top of the tripod.
In all, with the exception of some smaller pockets inside the outer compartment, I found the BackLight 18L’s storage to be well thought out and capable of carrying a considerable amount of gear. I carried all of the lenses and bodies mentioned above, plus filters, batteries, cleaning cloths and a lens pen, a remote release, a 1L water bottle, my travel tripod, and several granola bars, and still had plenty of space to fit a laptop and other items if I needed.
In Use
We’ve covered that the Backlight 18L does a pretty good job in fitting a fairly large amount of gear in a relatively compact bag, but how does it work in the field?
Overall, pretty well, but with some caveats. When fully loaded, as it was when I went to Death Valley, the whole pack was rather hefty and dense, but I found the straps and back padding very comfortable for a day’s shooting. It kept the weight evenly distributed and made it easy to hike throughout the day without causing any back pain. When you’re carrying a lot of stuff, I definitely recommend using the waist belt and clip for the shoulder straps across the chest, as this helps take weight off your shoulders and put some of it on your hips, which eases the load quite a bit. However, if you want to more easily remove the bag, the waist strap can fold back and clip to itself behind the bag to stay out of your way.
Using the waist belt also allows for the Backlight’s signature feature: swinging the pack around and accessing the contents without fully removing the bag. I appreciated this feature a lot when I was hiking through the Mesquite Sand Dunes at Death Valley, as the sand is soft and deep, and removing the bag would undoubtedly allow a lot of sand to get into the main compartment and risk scratching lenses. Swinging the bag off your shoulder and to the front is easy enough, and sure enough, the bag is rigid enough and secure enough to stay propped out horizontally by the waist belt alone to allow for lens changes and accessing all the gear in the main compartment.
However, swinging the pack back on to your shoulders is considerably more awkward to do than bringing it down….it’s just hard to get the proper leverage to rotate the waist belt around while it’s under some pressure, so this maneuver always took some awkward tugging and pulling on various straps and parts of my clothing to get it up on my back again. When I was in areas where the ground was OK for setting down a bag, I’d prefer to put the bag down to get at my gear, but having the option of not doing so was nice to have. Despite still not being as quick and easy to access gear as a sling bag or shoulder bag, the Backlight does give you easier access to your gear than a lot of backpacks, while providing the extra load capacity and comfort when out hiking for a long period of time.
Conclusion
In all, I found the MindShift Backlight 18L to be a quality backpack that carries quite a lot of gear for a smaller backpack, and does so in comfort. The Backlight was easy to carry on long mountain hikes and I enjoyed the ability to access the gear without removing the backpack when I was in areas where I wouldn’t want to set the bag down on the ground. The bag is a good size, and carries a mirrorless camera kit (without a vertical grip attached) with 5 to 6 lenses and potentially a spare body as well, depending on lenses carried and how you want to configure the bag, along with accessories, water bottles and a tripod. It’s also sized just below most airline restrictions for a ‘personal item’ so I was able to fly with the bag in addition to my carry-on bag…a nice perk.
On the downside, the outside zippered compartments lack some useful segmentation, which turns them into sort of black hole of storage rather than something organized. Also, the bag can be a bit tricky to get back on your shoulders if taking advantage of the gear access with the waist belt.
While I still prefer a shoulder bag for my daily shooting around town, I’ll be using the Backlight 18L for a lot of landscape work where hiking is involved. It’s a quality product. It’s not cheap at $199, but most photo backpacks of similar size are in the same price range, so it’s not out of the ordinary there. It’s a quality product: recommended.



Leave a Reply