Operation and Menus
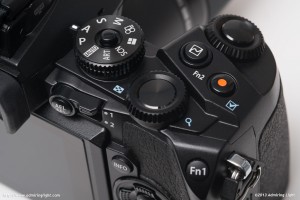
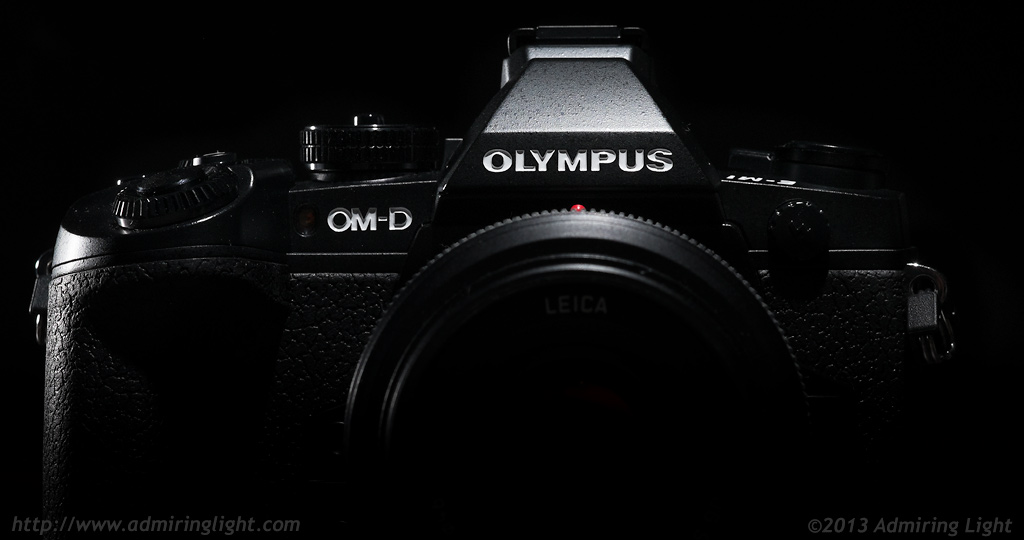
The E-M1 is graced with a wealth of direct controls placed around the body. There are the two main dials, front and rear, which are very well placed for quick and sure operation. In the PASM modes, they control aperture, shutter speed and exposure compensation, and which dial controls which parameter can be programmed to what you prefer. The wheels also control selection of other shooting parameters when activated by a button. For instance, pressing the AF and Metering button on the left side of the top plate brings up BOTH parameters at the same time. The front wheel will control the metering while the rear wheel controls the AF options. The HDR (and bracketing) and drive mode options operate the same way.
There are two programmable function buttons on the top and rear as well as two more easily accessible by your middle and ring fingers on the front of the camera as well that can be set to any number of possibilities. You can also reprogram the record button and AEL buttons to other functions as well. Finally, there’s the two-way selector switch on the rear, which allows you to switch the functions of the dials (by default to ISO and White Balance Selection), as well as the functions of the left top buttons if you so choose).
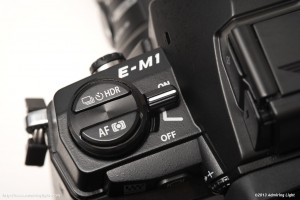
If all that sounds confusing and overwhelming, you are right in a way. The first day, it took me quite a while to really get my brain wrapped around how all of the controls operated. However, due to the extreme customisability and the large number of easily accessible controls, the E-M1 is one of the most powerful cameras to operate that I’ve had the pleasure to use. Almost everything is accessible quickly and easily. It’s a wonderful camera to use in the field.
The menu system is the same Olympus menu system they’ve been using the past year or two. It’s got a tremendous amount of options, but they are somewhat cryptically organized, which leads to a fair bit of confusion when you first get the camera. Unfortunately, Olympus hasn’t really made much of an effort to make the menus easier to use. I’d rather have the options than not have them, and I’m quite used to this menu after shooting with the E-M5 for a year and a half, but for anyone coming to the camera from another system, there will be a learning curve.
Performance and Autofocus
Following its predecessor, the E-M1 is a very responsive camera. It has extremely short shutter lag, writes quickly to the memory card, has a large buffer and can rattle off 10 frames per second in high mode and 6 frames per second while shooting with tracking autofocus. You don’t wait on the E-M1…it waits on you.
The big upgrade this time around is in the autofocus. Olympus has had excellent contrast detect autofocus since the E-P3 was released two years ago. The E-M5 is one of the fastest focusing cameras of any type in single shot focusing. However, the E-M5 had rather large points, making precise placement of the focus difficult in some situations, and the CDAF only method of focusing made tracking moving targets all but impossible.
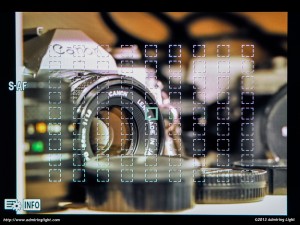
To address the first point, the E-M1 features 81 focus points that can be made much smaller than the points on the E-M5. The wide grid of focus points and their small size makes precision focusing quite easy.

To address the second point, the E-M1 features on-sensor phase detection pixels in a diamond shaped grid. If using a 4/3 lens with an adapter, th E-M1 will only allow the phase detection points to be used, while a Micro 4/3 lens will keep the full grid of 81 points. If you are using a 4/3 lens, you can also individually micro-adjust each AF point or all points together. Unfortnuately, I do not have access to any 4/3 lenses to test their performance on the camera.
I did get a chance to test the continuous autofocus in the 6 fps burst mode, however, and I am happy to report that the E-M1 is the first mirrorless camera I have used that can actually track a moving subject moving towards or away from you and get shots in focus. While the performance isn’t to the level of a pro-grade DSLR, it’s on par with most consumer grade models and yields a decent amount of frames in perfect focus. The shot to the left (click to enlarge) was taken with my daughter running at a full sprint towards me. I was using the Panasonic 35-100mm f/2.8 at 100mm, and the shot shown is the 7th frame in the sequence. The camera isn’t able to keep up with that tracking once the subject gets quite close to the camera, but frankly most cameras fail when fast motion gets really close. However, before reaching that point, there were 11 frames in the sequence, of which 7 were in perfect focus. That’s not impeccable performance, but it’s not too bad for a mirrorless camera either. For the first time, you can actually use the E-M1 to capture action on the fly.
Flash Performance
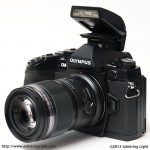
The E-M1 does not come with a built-in pop-up flash, but rather features the same external clip on flash (included), which sits in the hotshoe. The clip-on flash is of decent quality, though it doesn’t have a lot of power. I find it useful for macro shooting or for occasional fill-in use.
Of course, the E-M1 can take any of the flashguns made for the Olympus and Panasonic cameras. I use a Metz 50 AF-1 for my Micro 4/3 cameras, and it worked well on the E-M1 Like the E-M5 before it, the E-M1 does tend towards underexposure when shooting flash, so you will need more flash exposure compensation than you may be used to. Aside from that, however, flash performance is consistent.



Leave a Reply