I’m going to do something a bit different here and instead of starting this page discussing some of the key features of the A7 III, I’m going to begin by talking about some missing features.
Removal of Sony PlayMemories Apps
With the third generation of full-frame mirrorless cameras (The Mark III bodies + A9), Sony removed their PlayMemories app store. This decision isn’t all bad. The PlayMemories app store and app functionality was hard to use, clunky to access and generally a royal pain in the butt to set up. I don’t really miss this implementation. However, the apps that were available from PlayMemories provided some really useful functionality, including advanced remote shooting, intervalometer functions, and certain really useful special effects things such as the Smooth Reflections app, which could be really useful for long exposure photography.
In their place is, mostly, nothing. There’s no intervalometer function in the camera, despite most rival cameras from Fuji, Panasonic and Olympus having this feature built in. There’s no replacement for Smooth Reflections. There is remote shooting still available, but it isn’t what we had before, so let’s start there.
Wi-Fi and Bluetooth
Like all recent mirrorless cameras, the Sony A7 III has Wi-Fi connectivity, and in a less common and very welcome addition, it also has Bluetooth. This comes with all the usual functionality including image transfer, GPS location tagging and remote shooting. However, remote shooting is different from earlier cameras, and not nearly as good.
Prior Sony cameras utilized remote shooting via an app from the PlayMemories store, and now the functionality is included with the core camera features. The connection and feed is really well done, with a high resolution view of what the camera sees, and one that is very low lag. Camera settings can be changed on the fly, and the shutter release works well.
But in an absolutely baffling decision, you can’t touch on the remote screen in order to change the focus point. In fact, you can’t change the focus point at all in remote shooting, which is just inexcusable. With face detect active, you can generally take shots of people without too much trouble, but otherwise you are left without option. It’s not a smart decision, and I really, really hope Sony updates this feature via firmware update to add the tap to focus functionality from their previous remote shooting app.
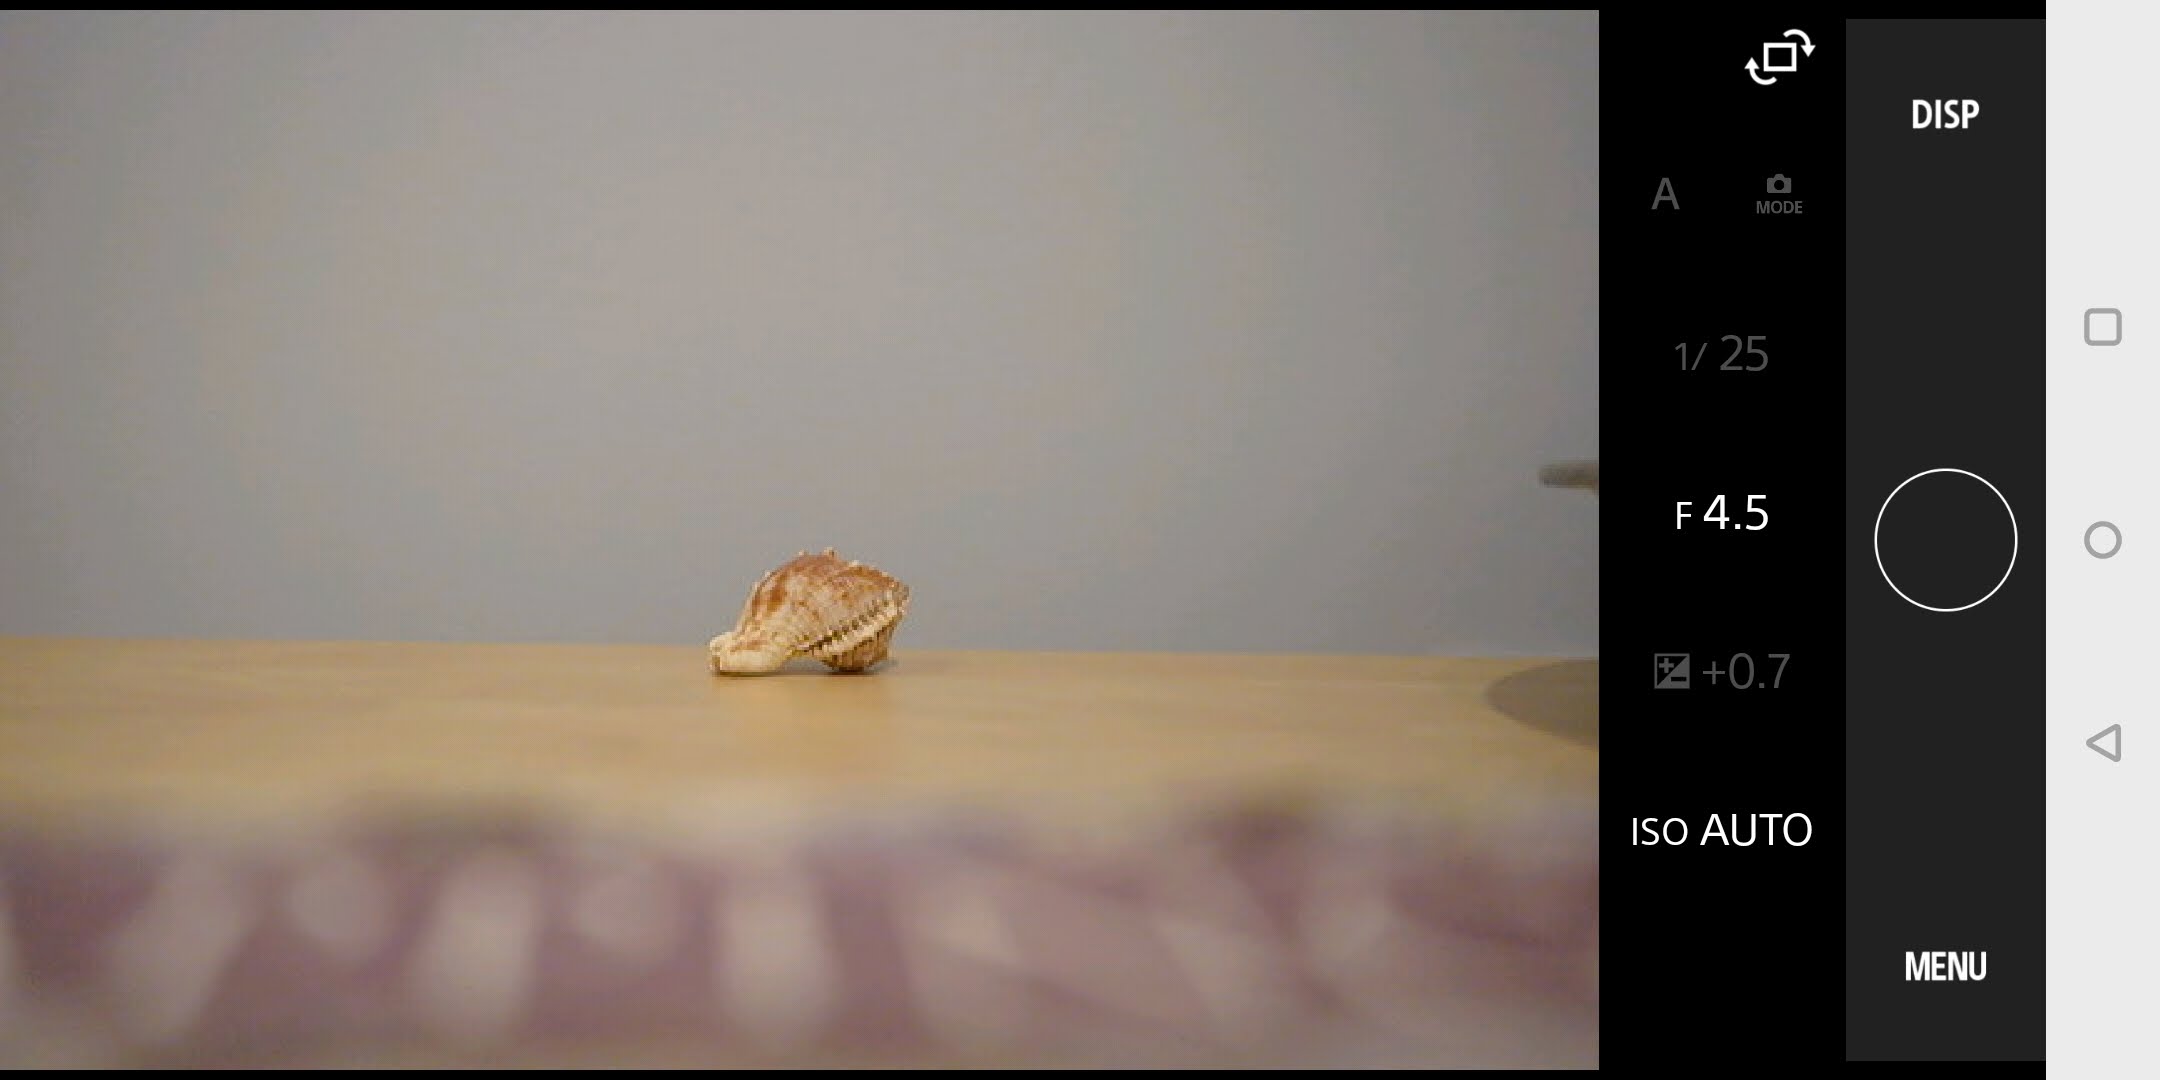
Thankfully, the other wireless features are implemented much better, and a large part of that is due to the addition of bluetooth. Once you’ve paired your phone with the camera over bluetooth, connecting to the camera becomes a much easier affair than previously. The camera basically turns on and stays connected to your phone. Transferring images? Start the wireless transfer on your camera and open the app. Then you can just tap connect and you’re there…the bluetooth will negotiate the Wi-Fi connection for you. No more digging into WiFi settings or the like. Like previous cameras, you can also tap your phone to the NFC icon on the grip and the transfer will start automatically.
I do have one issue with how wireless image transfer is handled, however. If you shoot RAW+JPEG on different cards, like I do…when you review the images and zoom in, it will show the corresponding JPEG for the focus check. However, if you transfer images, it will only transfer the low resolution image that’s attached to the RAW file. In order to transfer the full resolution JPEG, you need to manually change the playback slot to slot 2, then transfer the image. You have to do this every time you turn on the camera. I’m hopeful for a firmware update that would allow the camera to send the JPEG of the browsed RAW file without switching slots. Again, one of those things that I don’t think they had photographers try out before finalizing the software.
Of all the wireless features, GPS tagging gains the most from the use of Bluetooth. Once your phone is paired and you’ve turned on ‘Send Location Data’ in the app, the camera will automatically connect to your phone to get GPS data for image tagging. It’s fast and seamless, and makes syncing GPS data faster and easier than ever. I will say that my phone (OnePlus 5T) did require being unlocked before it would establish the connection, so when I turn the camera on, I unlock my phone, it automatically connects, and I can relock the phone and put it in my pocket. From my understanding, most phones shouldn’t require this unlock step once you’ve turned on the location sending option, so I’m not sure what on my phone requires unlocking. Even with that small extra step, Geotagging is still massively easier than it is on any other camera I’ve tried. The best part is that the bluetooth connection is very low power, and as such, turning on geotagging doesn’t appreciably drain the battery.
In-Body Image Stabilization
The A7 III is the sixth full-frame Sony camera to feature in-body image stabilization (IBIS). Like previous iterations, the IBIS will work with both native lenses and adapted lenses, including old manual focus lenses. The IBIS in the A7 III is a 5-axis stabilizer, and uses all 5 axes on non-stabilized native lenses with electronic contacts. As some of the correction requires focus distance information that is passed in the EXIF data from the lens, manual lenses without electronic contacts will only gain stabilization in 3 axes of movement. Optically stabilized lenses keep the optical IS for two of the axes of motion, while the IBIS will stabilize the other 3.
The IBIS in the A7 II was rated by Sony at 4.5 stops of stabilization. While I found it less effective than advertised, it was still good for around 2-3 stops in my experience, which was a nice boost, though not at the level of the outstanding IBIS featured on Olympus cameras. With the A7 III, Sony says the camera is capable of 5 stops of stabilization. While I still got nowhere near the advertised 5 stops, I did find the IBIS slightly better than that on the A7 II. I could reliably get 3 stops of stabilization on longer lenses, and a bit less on shorter lenses. If you want to give the IBIS a bit of help, it pays to turn on the electronic shutter, which eliminates any vibration from the mechanical shutter mechanism. With electronic shutter on, I got perhaps an extra half stop to a stop of stabilization.

While the IBIS is still nowhere near the eerie stability of Olympus cameras, it’s still a very nice feature to have and one that enhances usability of the camera in handheld situations.
Electronic Shutter
While many of Sony’s other cameras have had electronic shutter for a while, the non-R A7 series was left without it until the A7 III, and I am extremely happy to finally have it on the ‘basic’ A7 line. The A7 III’s electronic shutter allows for truly silent shooting, and also allows you to save some wear and tear on the mechanical shutter. Unlike some earlier implementations, the RAW files maintain their 14-bit depth when using the electronic shutter as well.
Electronic shutter works very will in the majority of shooting situations, but there are a few cases where you will want to switch over to the mechanical shutter. First, under fluorescent or LED lights, which fluctuate at 60Hz in North America and 50Hz in Europe, banding can be seen in the image when shooting at higher shutter speeds. I didn’t find it an issue at moderate or longer shutter speeds, but the sensor readout and high shutter speed can capture those fluctuations in intensity that are ignored by our eyes.
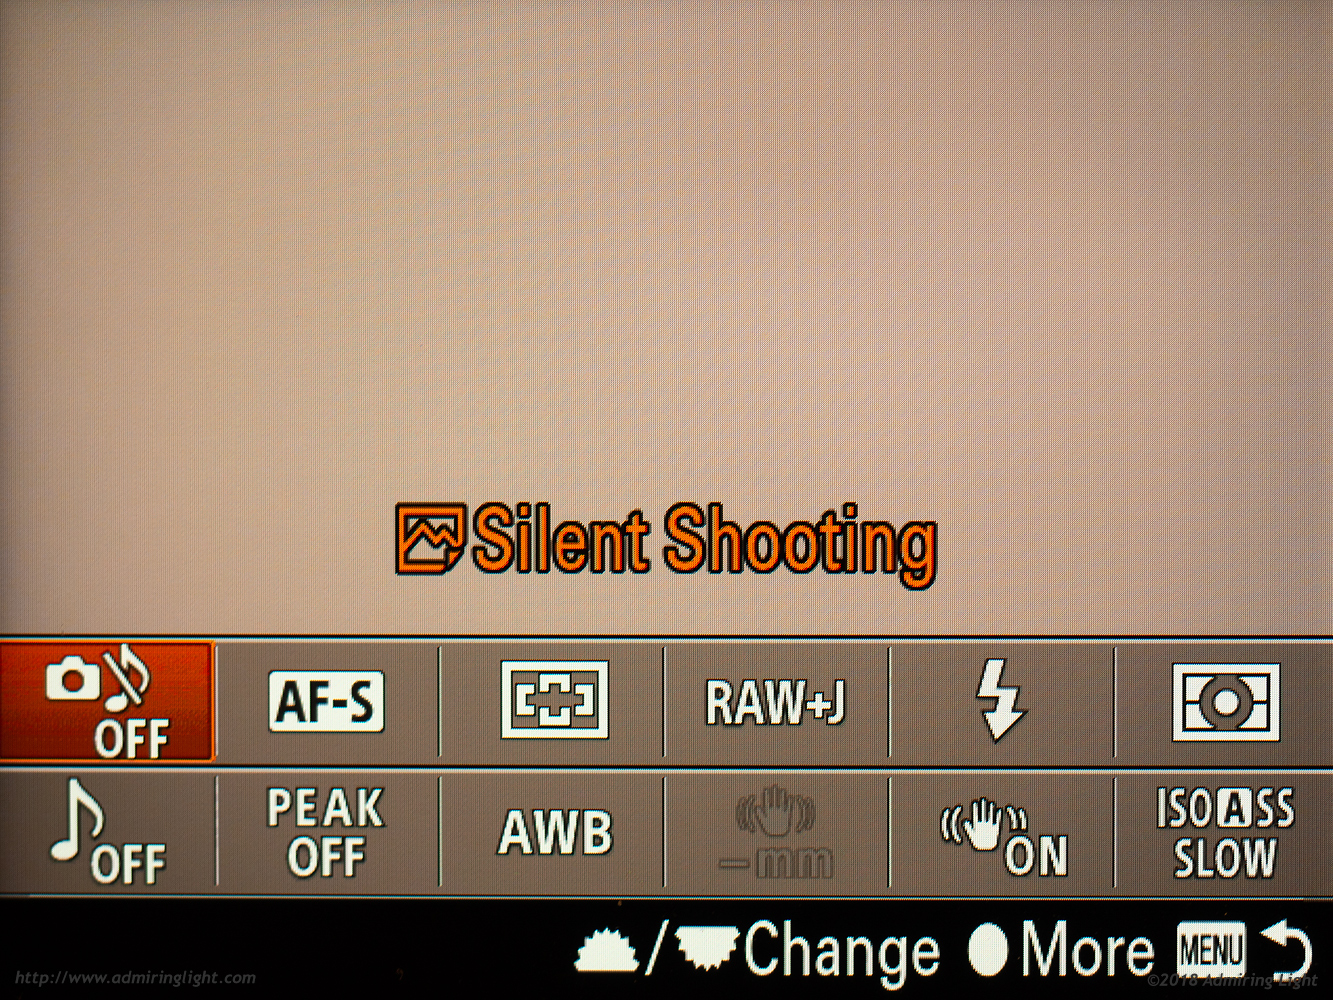
Second, you won’t want to use the electronic shutter for fast moving action or when panning the camera. Unlike the A9, which had a fairly fast electronic readout of 1/160s…pretty close to the movement of most mechanical shutters, which are around 1/250s. The A7 III has a more typical readout that is much slower, and as such, rolling shutter artifacts can manifest themselves somewhat easily if there is fast movement. The result will be a skewing of the image, resulting in diagonal warping around the moving area. For casual movement that would be present for event shooting, this type of motion wouldn’t be really problematic. For sports or dancing or other such fast moving subjects, you’ll want to make sure the mechanical shutter is used.
Finally, flash sync isn’t possible with the electronic shutter, so you’ll need to switch to mechanical shutter when using flashguns or strobes. Speaking of the mechanical shutter, the A7 III’s shutter sounds amazing. It’s a far tighter, sharper snap than on the A7 II, and with the reduced shutter lag of this camera, it just feels right. It’s a minor thing, but worth mentioning.
Battery Life
I normally don’t have a full section on battery life, but the A7 III has gained the newer FZ100 battery that first debuted on the A9 and subsequently has moved to Sony’s Mark III lineup. The new battery is a bit more than double the capacity of the older FW50 battery that was in previous A7 series bodies. That should mean you get double the battery life on the A7 III, right? Well, CIPA puts the rating of the A7 II at slightly more than double as you’d expect, and I found the battery to last at least that long, and in many cases much longer. If shooting a lot of action with long bursts, you’ll be able to go well over 1,000 shots, and possibly as high as 2,000 shots. For more typical deliberate use, 600-700 shots seems about right, though I was trending towards the high end of that range.
The new battery fixes one of the big issues of most mirrorless cameras, and battery life is now excellent. I would think most shooters would have a very hard time draining an entire battery in a single day, and draining two would be hard for most anyone. Like most cameras, I’d recommend having at least one spare battery, lest you be caught without power and unable to shoot while charging the battery, but I would wager that almost everyone will be OK with just two batteries.
Other Things of Note
In-Camera RAW Conversion
The A7 III, like all Sony cameras, lacks any sort of in-camera RAW conversion capability. As nearly every other manufacturer now has this built in, allowing for on-the-fly creation of JPEG images with minor adjustments to exposure, white balance and more, the omission on Sony’s latest cameras is glaring. I shoot RAW+JPEG with my Sony cameras not because I want JPEGs for all the images, but solely because I can’t create JPEGs later in the camera. With dual cards it’s not much of an issue any more, but I’d still rather have in-camera RAW conversion to tweak settings and only output JPEGs of images I want to transfer to my phone.
Auto ISO
Since the A7 II, Sony has made some tweaks to the Auto ISO capabilities, and the A7 III now has one of the most robust implementations of this feature. The Auto ISO feature selects a shutter speed based on your settings and will increase or decrease ISO to maintain proper exposure. Earlier implementations of Auto ISO from Sony based the minimum shutter speed on the focal length of the lens, but also had a minimum shutter speed of 1/60s that would be used for adapted lenses or any shorter focal length lenses.
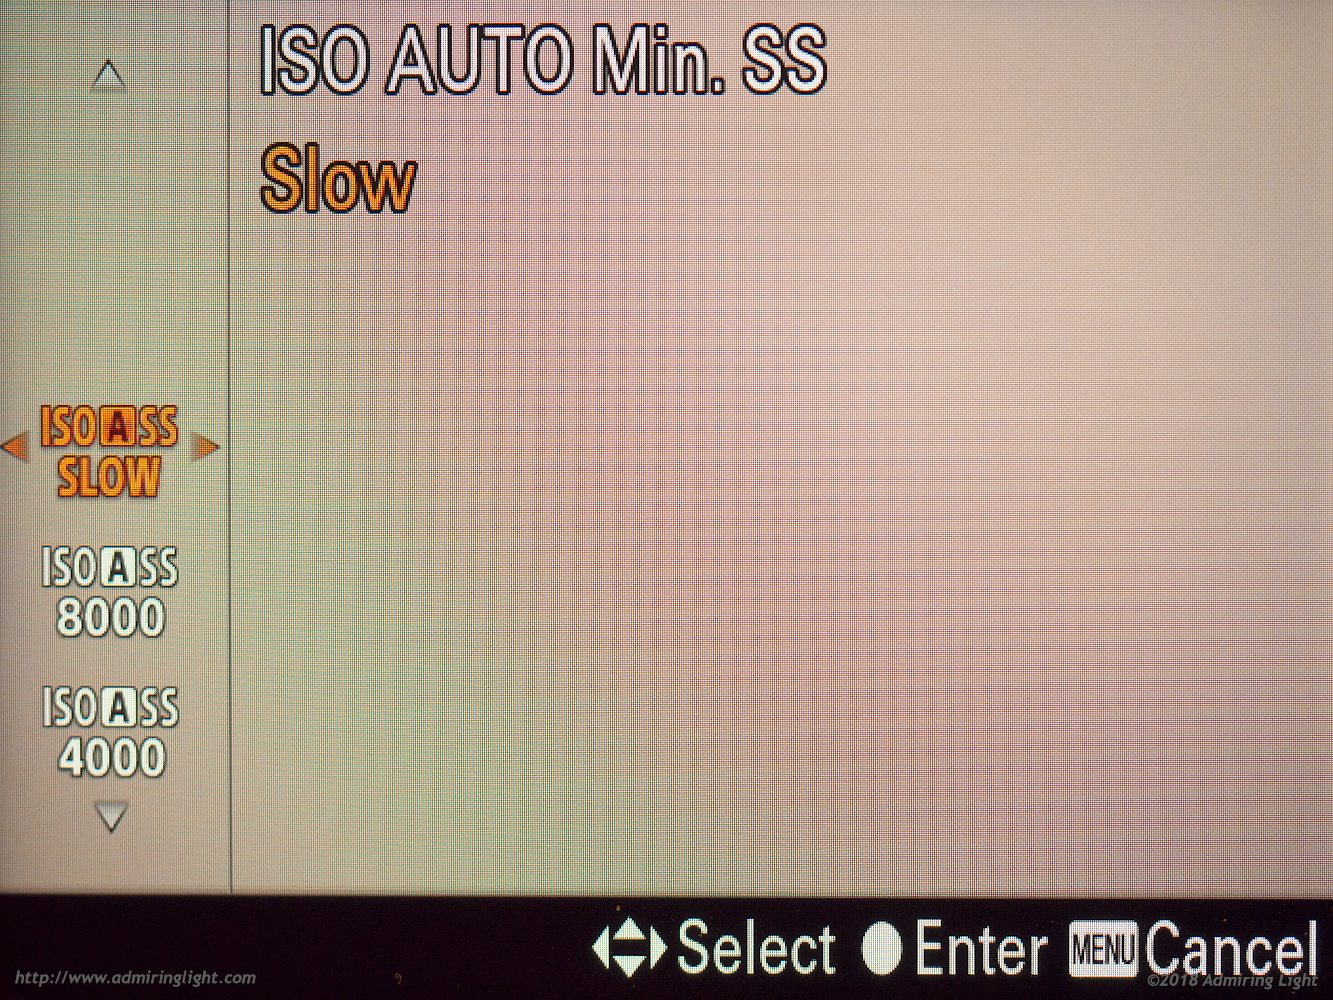
With the A7 III, Auto ISO can be tweaked to taste, by setting a minimum shutter speed manually, or by having it be more or less aggressive based on focal length. Setting Auto ISO to ‘standard’ will select a shutter speed equal to the typical rule of thumb for handholding of 1 / focal length. Setting Auto ISO to ‘slow’ or ‘slower’ will allow for longer shutter speeds, of one stop and two stops (respectively) slower than the rule of thumb. Likewise, ‘fast’ and ‘faster’ will be a full stop or two full stops faster than the rule of thumb.
If those don’t cover your needs, you an also manually set any minimum shutter speed from 30 seconds up to 1/8000s. These changes, along with the ability to use manual mode with Auto ISO and exposure compensation, make this implementation of Auto ISO nearly flawless.
Focus Peaking and other features
The A7 III retains the focus peaking abilities of previous cameras, which can help with manual focus. Focus peaking accuracy is hit and miss in my experience. It works fine at apertures like f/2.8, but wider apertures require a bit more precision than the focus peaking system can provide.
The zebra stripe exposure warning system is still here as well, though I do wish it would provide information on clipped highlights in the RAW file rather than in the JPEG that would be created in camera.



Leave a Reply