I was born in the late 1970s and like many people my age, I grew up with 35mm film as the primary photographic medium for which to capture memories and light. While I didn’t get into photography as a serious hobby until the rise of digital photography in the early 2000s, I shot film for casual snapshots for the first twenty years of my life. This started with the tiny 110 film cartridges before I got a nice compact all-in-one 35mm film body in high school, which I used extensively for the next 7 years or so.
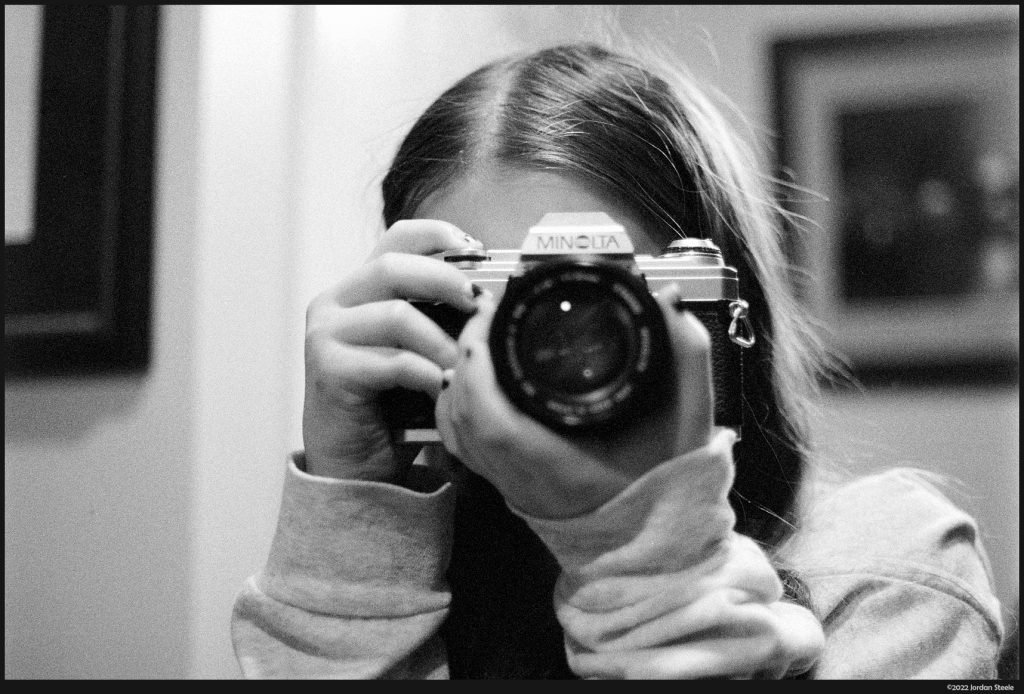
However, once I got my first digital camera, I started to get into photography as a craft, and all of my early learning and almost all of my photography since then has been with digital cameras. I didn’t shoot a single roll of film between the fall of 2001 and around 2007, when I put one roll through an old Minolta X-700 that was given to me by my father-in-law. Since then, I’ve run a handful of rolls through some of the vintage cameras I’ve sort of collected over the years, but this was very sporadic. I even wrote a short blurb on this site in 2012 about how I was revisiting film with a roll of Portra 400 in my A-E1. That experiment ended in failure, either due to a winding problem on the A-E1 or a loading problem on my end, as when I finally got that roll developed (four years later), it was blank….had never been shot.
Since then I have shot about one roll of film a year, but in early 2020, I picked up an old Canon EOS 650, the original Canon EF mount camera, for $3 in the clearance room of my local used photography store. For some reason, this sort of kickstarted a little bit of interest in shooting more film. I ran a roll each of Kodak Ektar 100 and Ilford Delta 400 through that body in 2020, and enjoyed the process. I’ve used another couple rolls of Ektar this year in that body. I also later picked up another clearance body in the Canon EOS Elan…a more fully featured camera that has better controls and a few more features than the 650. Since then, I’ve put three rolls of film through the Elan.
I also finally finished up a roll of Kodak Tri-X 400 that I had put in an old Nikon F that someone had given me. I started that roll in 2017 or 2018, and finished it up last week. That camera doesn’t have a functioning meter, so I went by a combination of taking a quick reading with either my phone or another camera in the location I was, or using the old standby outdoor exposure guidelines (sunny f/16, overcast f/8, etc. and adjusting aperture and shutter speed accordingly). I was pleased to see that this worked quite well on that roll.
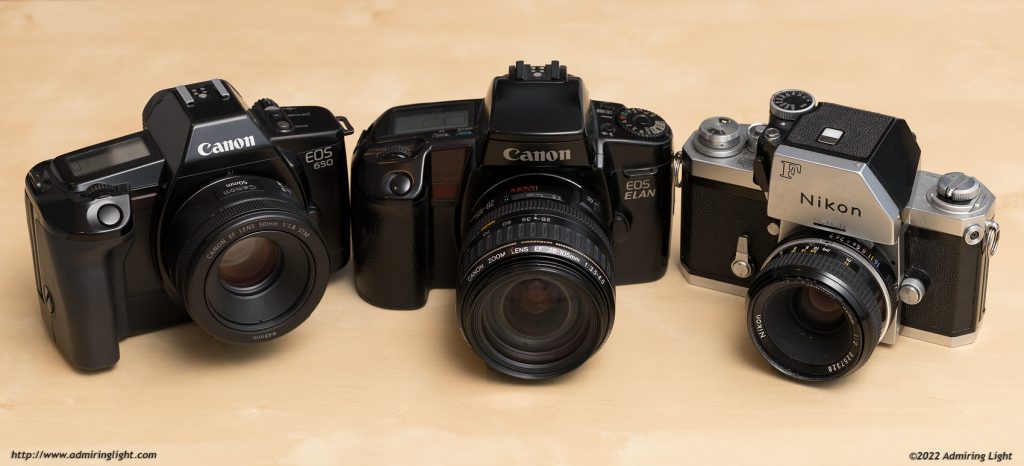
After shooting a few more rolls of film, I determined that while I like the look of Ektar 100 (which has been my favorite color film stock), I don’t think there are many real benefits for shooting color film for me. It’s expensive after paying for developing, the results don’t really give me anything I can’t get from digital, and the overall quality is lower (despite being easily good enough for 24″ prints).
However, black and white film offers two very nice things. First, the tonality out of these films can be wonderful, especially lower speed black and white films, with contrast and nuance in tones that require a lot of postprocessing to emulate with digital. Second, it’s quite easy to develop black and white film at home, and that has been my latest branch into film.
Developing Film at Home
When I shot film as a teenager, I always had it developed at my local 1-hour photo, and I still do this for any color film I may shoot. But I had never developed my own film until a couple of weeks ago, when I bought some basic home development stuff and tried my hand at it. Due to storage concerns and simplicity, I decided to start with a monobath developer, which requires just a single chemical for developing, stopping and fixing. I am using Cinestill’s Df96 monobath, which works on most standard black and white films.
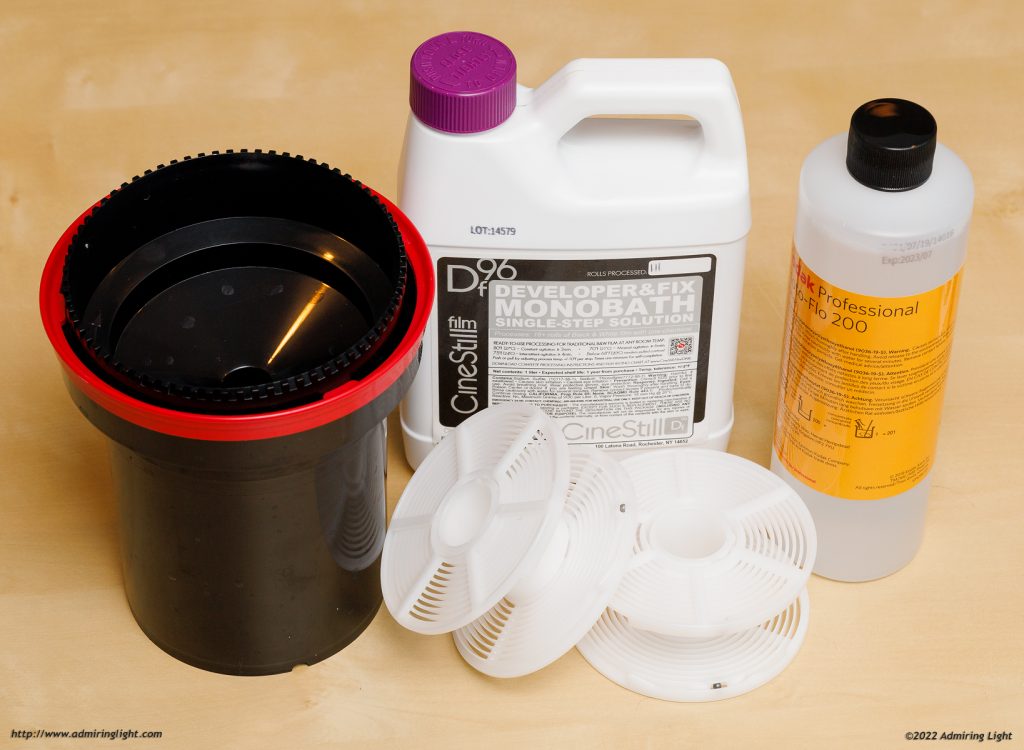
The process is simple:
- Load film on to reels in a darkroom or changing bag. Lacking a darkroom, I have gone the route of the changing bag. You place your developing tank with reels, the film, some scissors and a tool to pop open the film cannisters into the light-tight bag, and you extract the film and load it onto the film reels before locking them light tight in the developing tank. The tank I have can develop two rolls of 35mm film at a time. Loading the film can be a bit fiddly since you have to do this process entirely by feel, but it’s not particularly difficult. Then you can remove the tank from the changing bag.
- After getting it to the temperature you need, pour the monobath developer into the developing tank and agitate per the instructions for the specified amount of time. For Df96, that’s 3 minutes of constant agitation at 80 degrees F, with longer development and less agitation at colder temperatures. You can also push or pull film by changing temperature and time. After the time is up, you pour the developer back into its bottle for re-use. You can re-use Df96 for around 15 rolls of 35mm film, though you do need to add development time for each subsequent roll. At this point the film is developed and fixed and can be exposed to light.
- Rinse the film in water. I just leave the tank in the sink and run water continuously into the tank for about 5 minutes. At this point, you can be done with the tank, but I also like to do a final rinse with distilled water with a bit of Photo-Flo, which is a wetting agent. This allows the water to flow more easily off the film while drying, avoiding streaks and water spots on the final negatives.
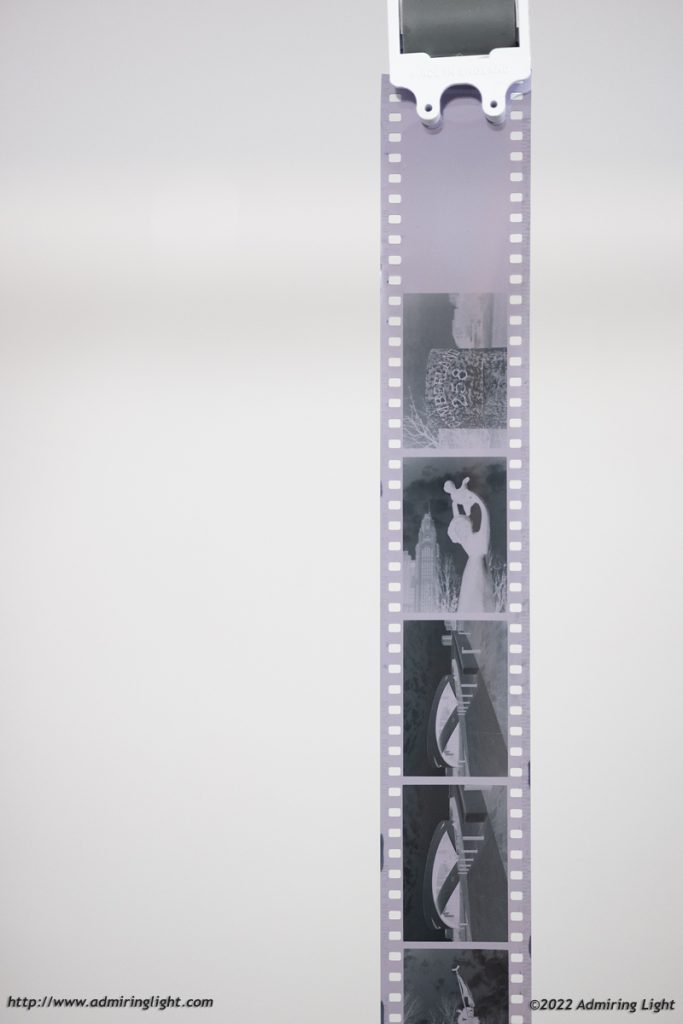
- Dry the negatives. I pull the negatives off the reels and hang them with a weighted clip on the bottom to help flatten the film while it dries. Some people use a film squeegee to get surface water off. If using Photo-Flo or another wetting agent, some just let the film dry without any squeegeeing at all. Instead of a mechanical squeegee, I use my fingers like a squeegee and run down the film once, getting most of the surface water off the film, and the Photo-Flo does the rest. The finger squeegee method works fairly well, and has minimal risk of scratching the negatives (which is a slightly higher risk with a mechanical film squeegee).
That’s it. After a few hours of drying, the negatives are done. If continuing with a fully analog process, you could then using an enlarger and photographic paper to make your prints in a darkroom, which basically does development a second time by using the enlarger lens and paper as another camera, and you develop the print. However, this requires a whole new level of equipment, plus a room to keep and use said equipment. Enlargers go for between $400 and $6000 new. I’m not going to make that kind of investment for a photographic medium that I only use from time to time. Plus, I prefer the level of control I have over the final output with my digital postprocessing workflow.
So, in place of that, I go for a hybrid process, with the capture and development being analog, and the postprocessing, printing and presentation being digital. Rather than purchase an expensive film scanner, I have gone the route of scanning via my macro lens on my Canon R5. I first did this by backlighting a film strip in a holder a few inches above my iPad displaying a white screen, then attempting to level the camera to the film and shooting. This worked, but was fraught with challenges in alignment.
I wanted to use something like Nikon’s ES-2 film digitizing attachment, which would hold the negative at a fixed distance, perfectly flat, and could be backlit evenly for flat, perfect ‘scanning’ every time. Unfortunately, the ES-2 is a pricey attachment, and it also is out of stock most places, and used prices are higher than retail. So rather than spend $200 on this attachment, I opted to rig up an improvised version using a set of filter step-up and step-down rings (purchased for $20 on Amazon), a conversion lens tube that I found in the junk room at my local photo store for $5, and a piece of white 1/8″ plexiglass ($9 on Amazon) that I cut down, along with some large rubber bands to hold the plexiglass and my film strip holders (which I already owned) flat to the rig. The plexiglass ensures even, diffuse illumination on the film.
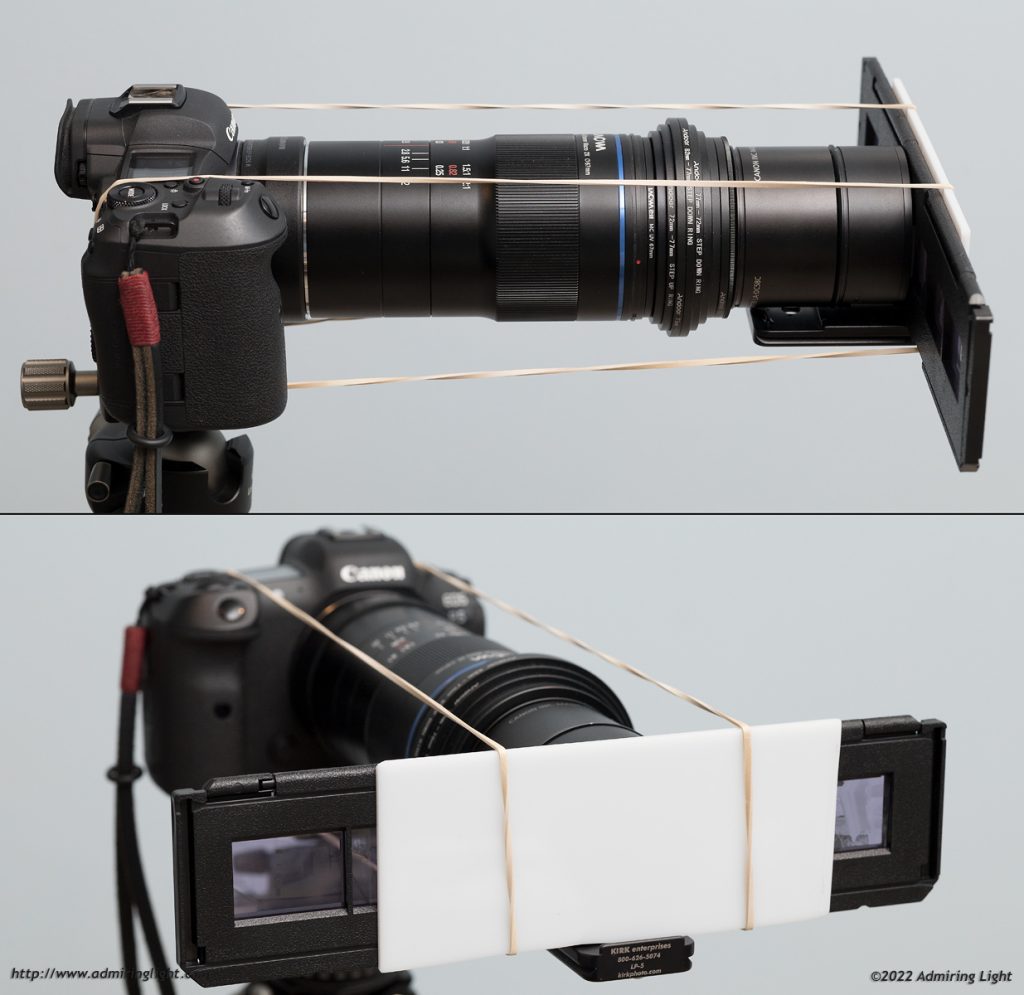
The whole thing looks a bit janky, but it works very well, and provides very even illumination and a perfectly flat film that is perfectly aligned with the focus plane of the lens. I can just slide the film holder to get to the next shot. Due to the even color of the white plexiglass, most any light source will work behind the film, but I simply set up a flash facing into it, set it to manual exposure and fire to illuminate it.
I have added those step up/down rings to place the film at a distance that is not quite 1:1 magnification, so I have a little flexibility in framing when sliding the film holder into place. This yields approximately 33 megapixel final images, which is more than enough for essentially any film. Even the finest grained 35mm films hold no more than about 12-20 megapixels in actual resolution, so beyond that you’re just magnifying the physical film grains. Most films really don’t even get that much. I’ve seen claims that films like Velvia 50 can resolve 87 megapixels or more of resolution on a 35mm frame, but I simply don’t buy it. While Ektar 100 isn’t as fine grained as Velvia 50, it is still very fine grained and detailed, and shots taken side by side with the same lens on Ektar 100 vs. my EOS RP have the RP show significantly greater resolution and fine detail over the Ektar shot, and that’s only 26 megapixels. Take the 100% crops below (click to enlarge), which show the detail of Ektar 100 scanned at 33MP size compared to a crop from the EOS RP. Both shots were taken with the same lens at the same focal length and aperture, though the RP shot was taken about a half an hour later (thus the notable color difference).

PanF Plus 50 is also a fine grained film, but I see no real information difference beyond about 16 megapixels with that film. Higher ISO films like Tri-X 400 show maybe 4 or 5 megapixels of actual information, plus extremely high levels of grain compared to digital. This doesn’t make them bad, but my point is that a 33MP scan is far from a problem.
I then process the negatives in Lightroom and make any prints via my normal inkjet printing process. For negative conversion, you can get by with inverting the levels in Lightroom and then adjusting the sliders to taste. This works decently well for black and white film, but it’s much more challenging for color negatives to achieve proper colors and tones. For my film work, I use the plugin Negative Lab Pro, which does a wonderful job of analyzing the negative and giving you control over the conversion process. Color film is processed quite naturally using this method, and it is even a faster and better way to do black and white negatives as well. It is not a cheap plugin at $99, but it’s well worth the price if you’re going to be shooting a decent amount of film and want to scan it with your digital camera, especially if you ever shoot color film.
In the end, I’m really enjoying shooting some more film. I’m looking forward to trying out different film stocks. Being spoiled by the cleanliness of digital, I find myself gravitating towards lower speed film, with Ilford PanF 50 being my favorite so far due to its fine grain, outstanding contrast and tones. I love the look I’m getting from this film. I’m going to try out some Ilford FP4 and Fujifilm Acros II here in the next few months. I will probably continue to shoot a roll every couple months since the developing costs at this point are quite minimal, with Df96 averaging out to around $1.35 a roll. It certainly isn’t going to replace digital as my primary means of photography, as modern digital is generally of significantly higher image quality and offers significantly more convenience and flexibility. I’ll shoot film occasionally for the fun of it.
Images
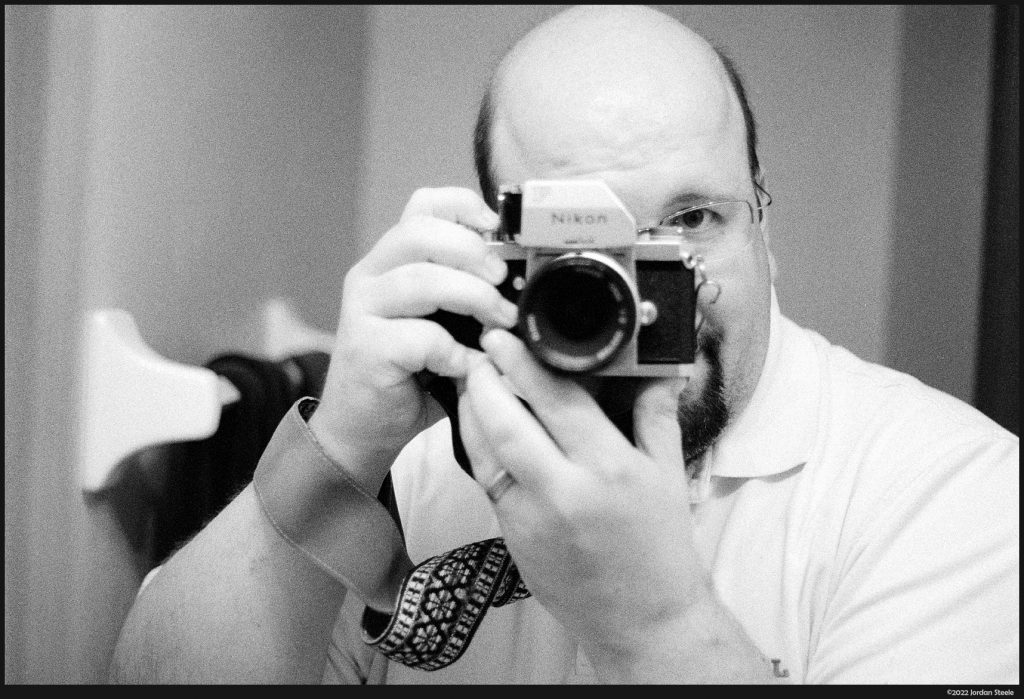
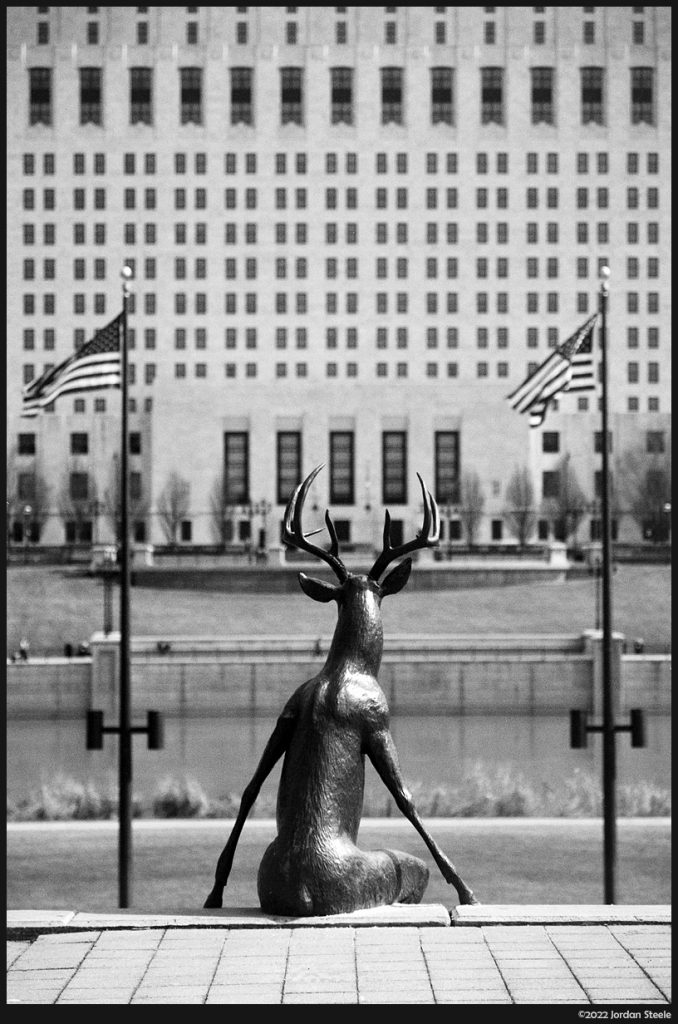
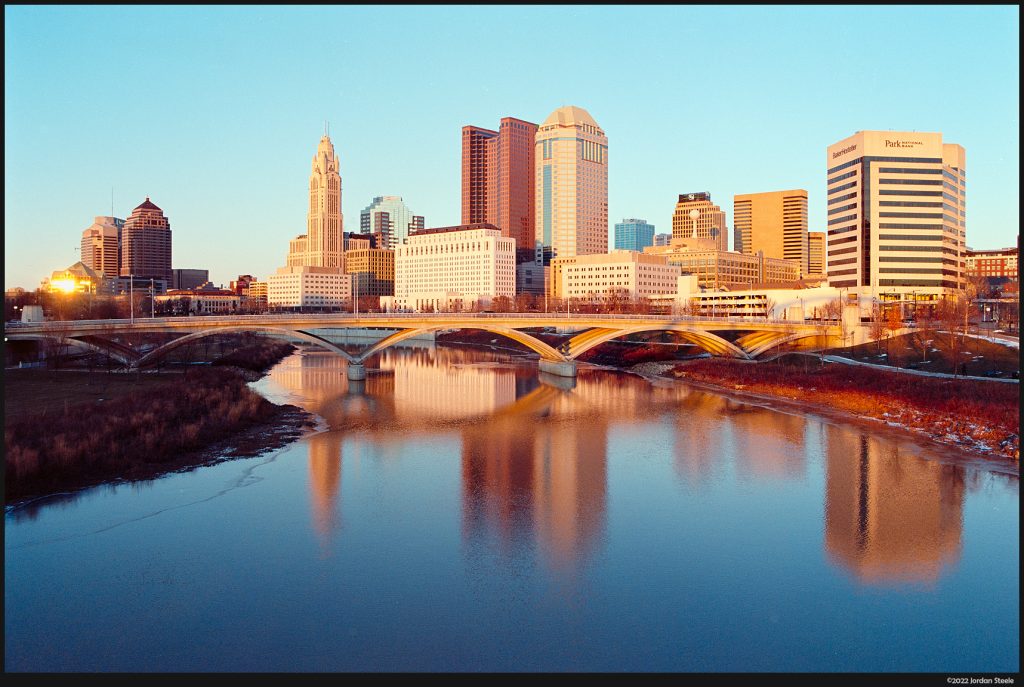
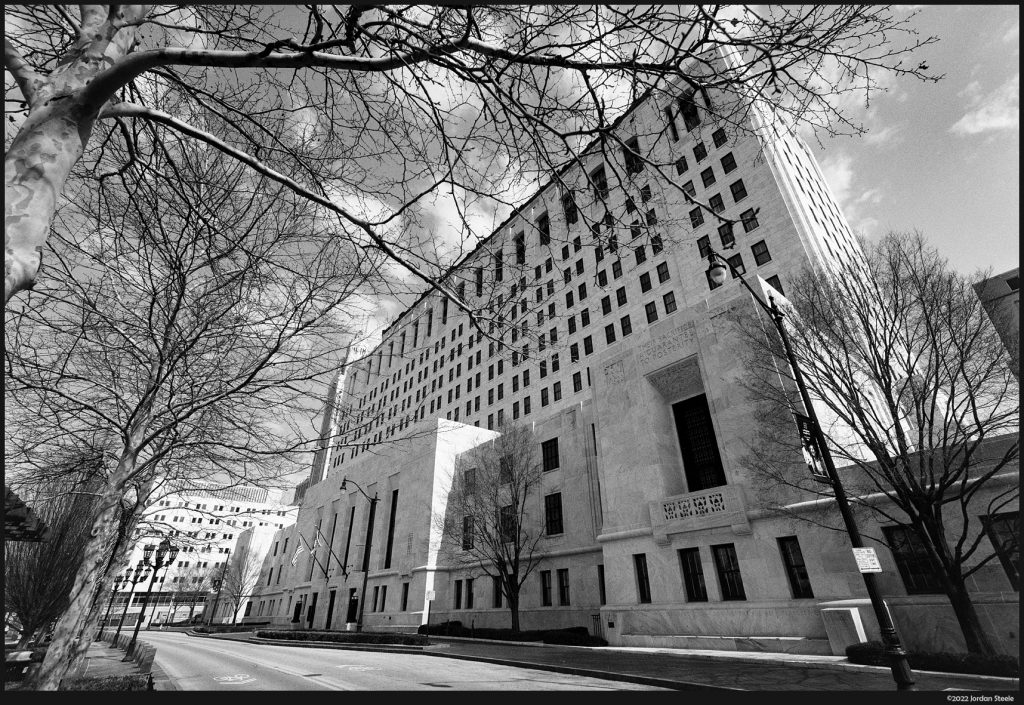
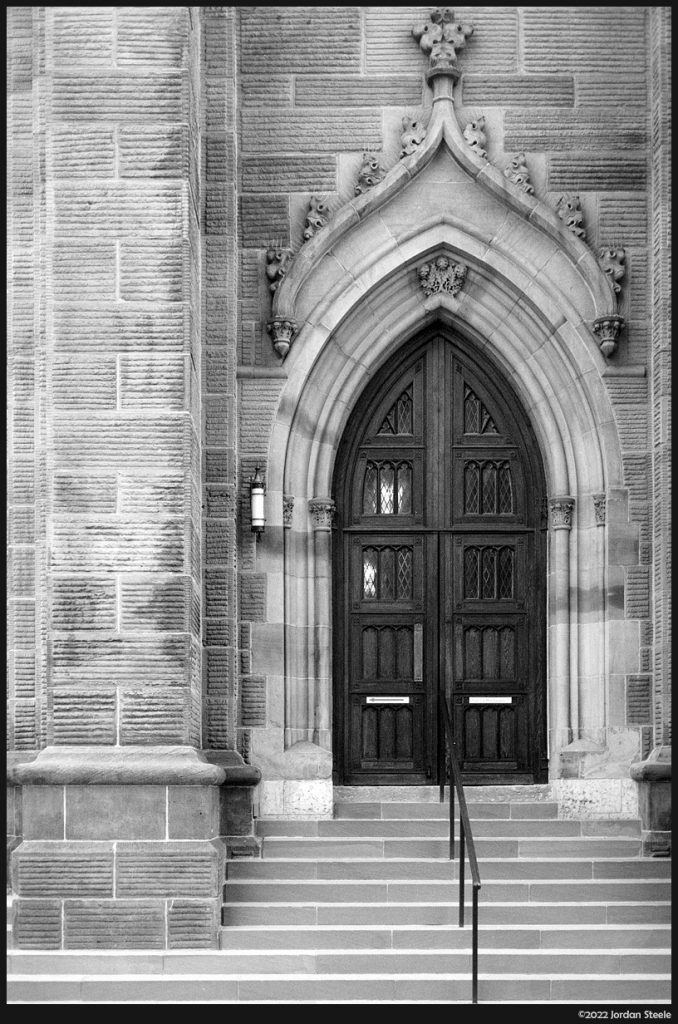
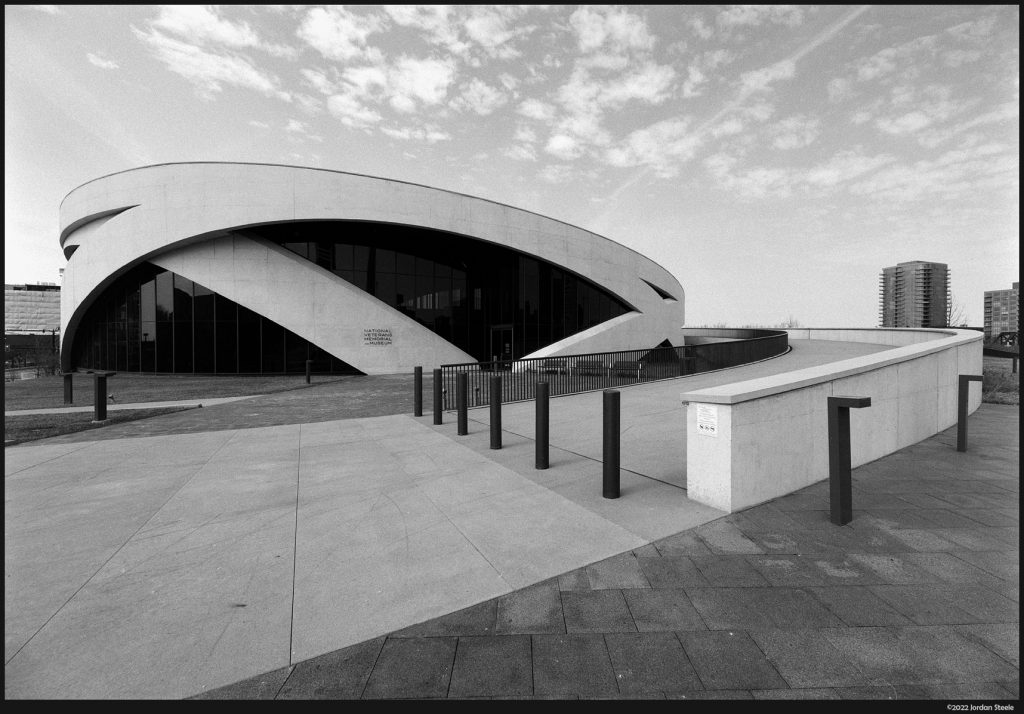
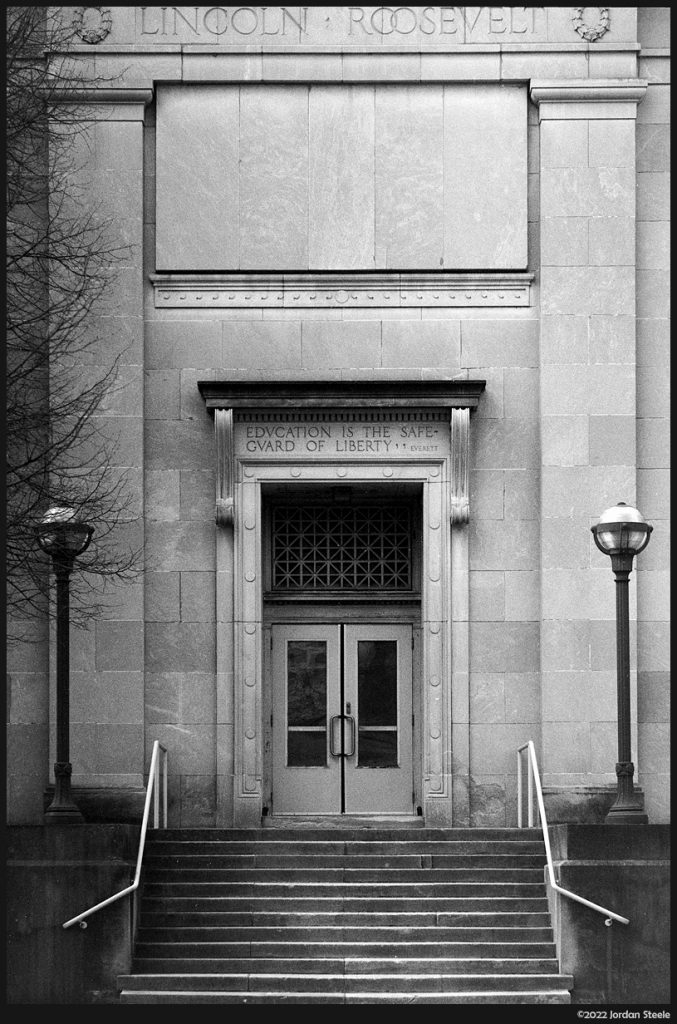
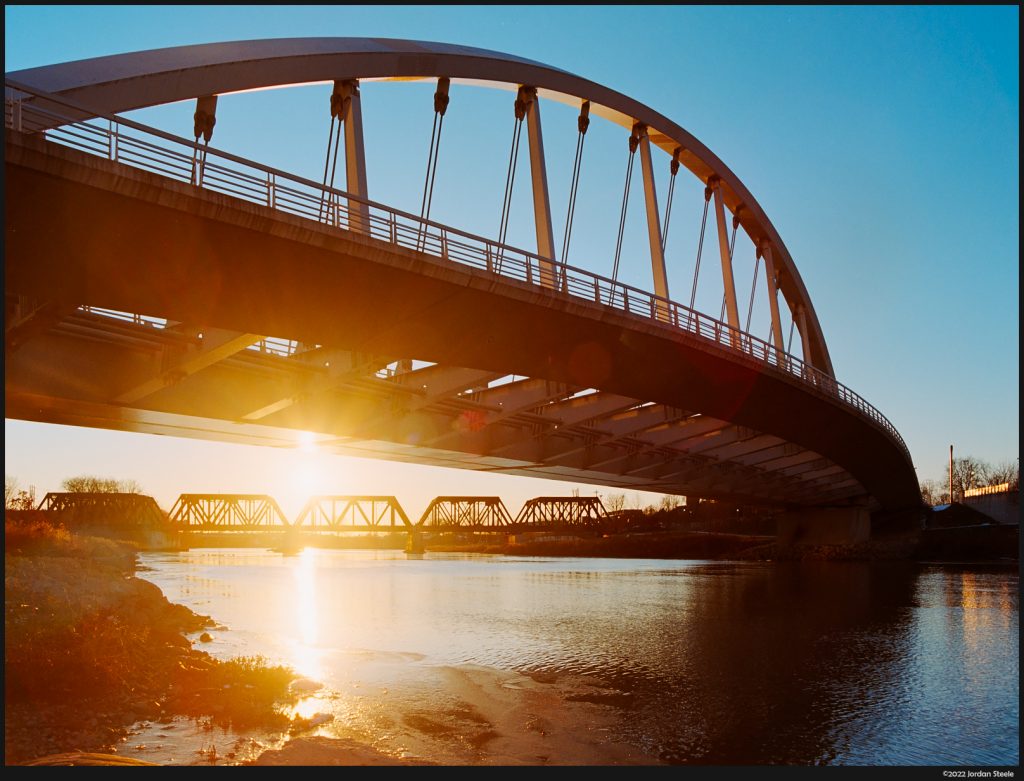
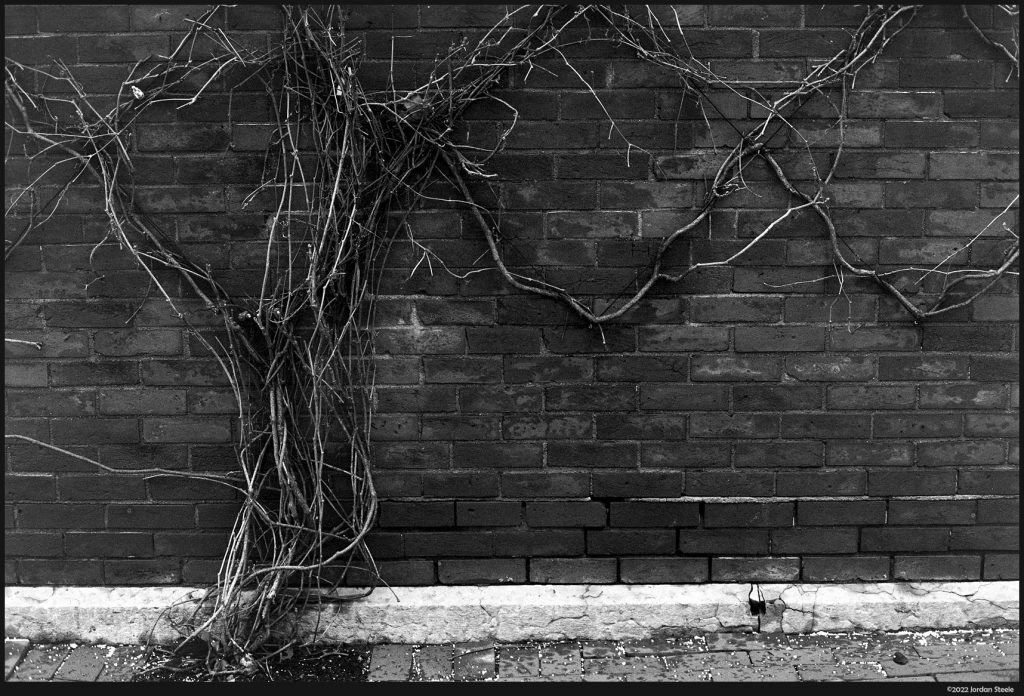
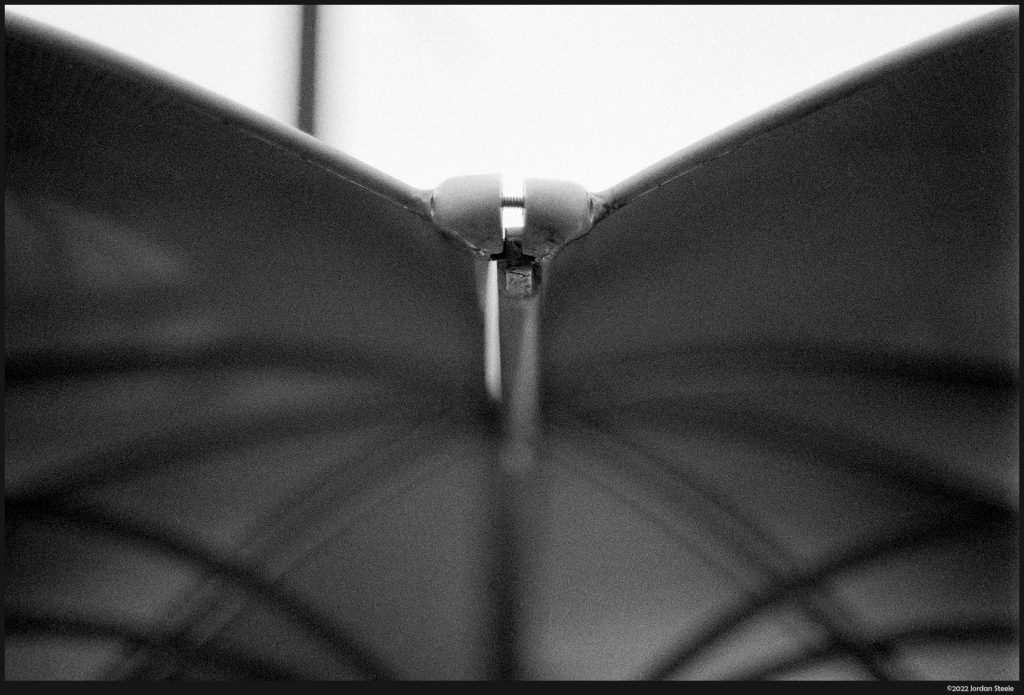
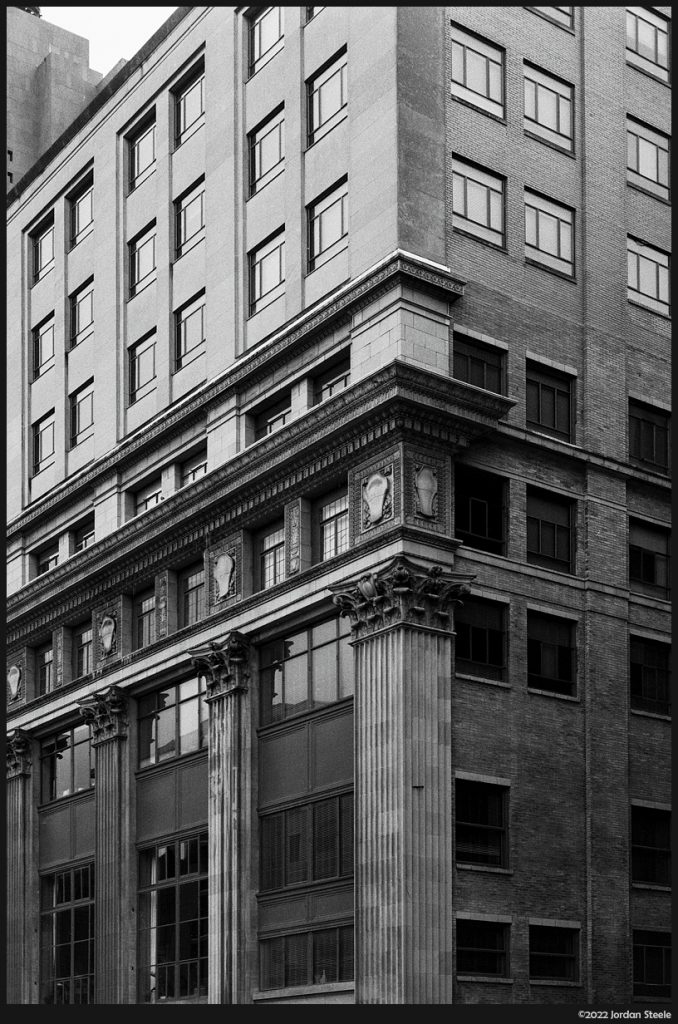
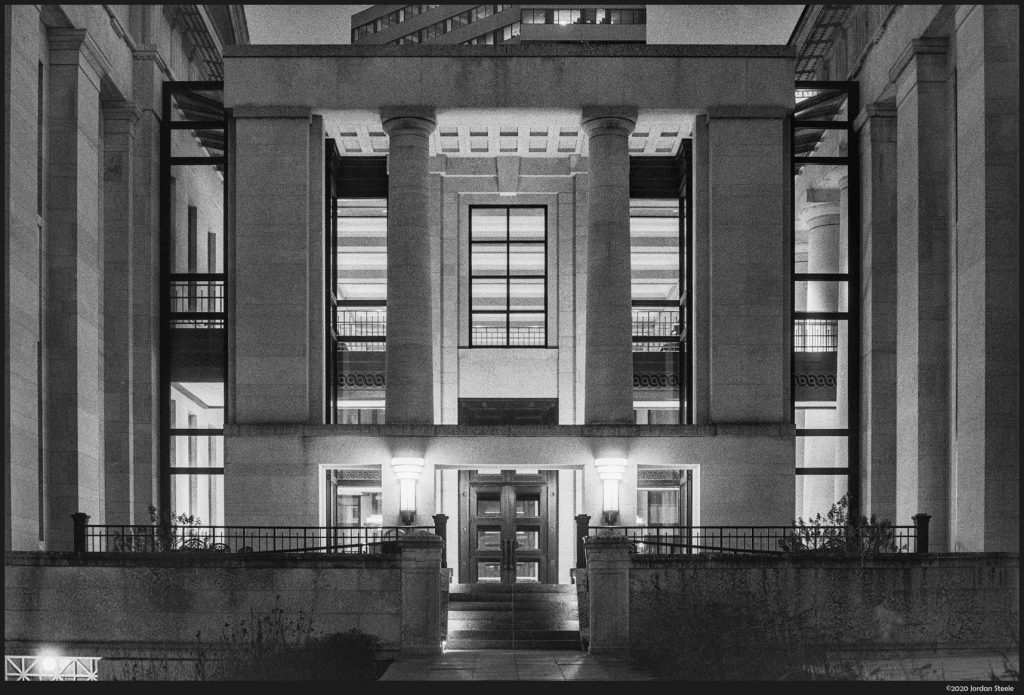
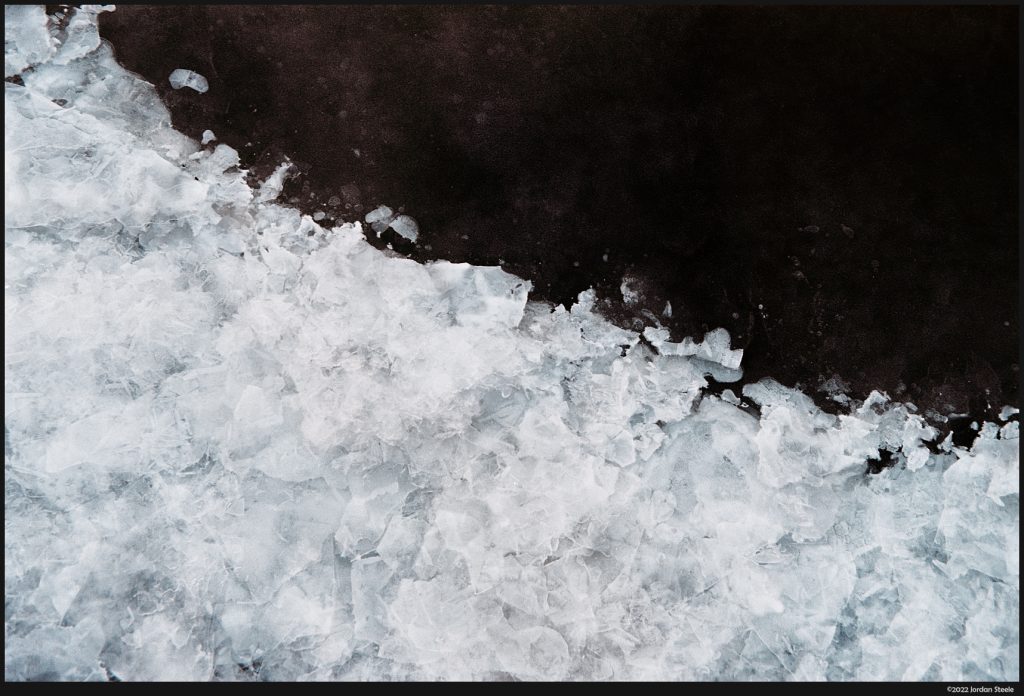
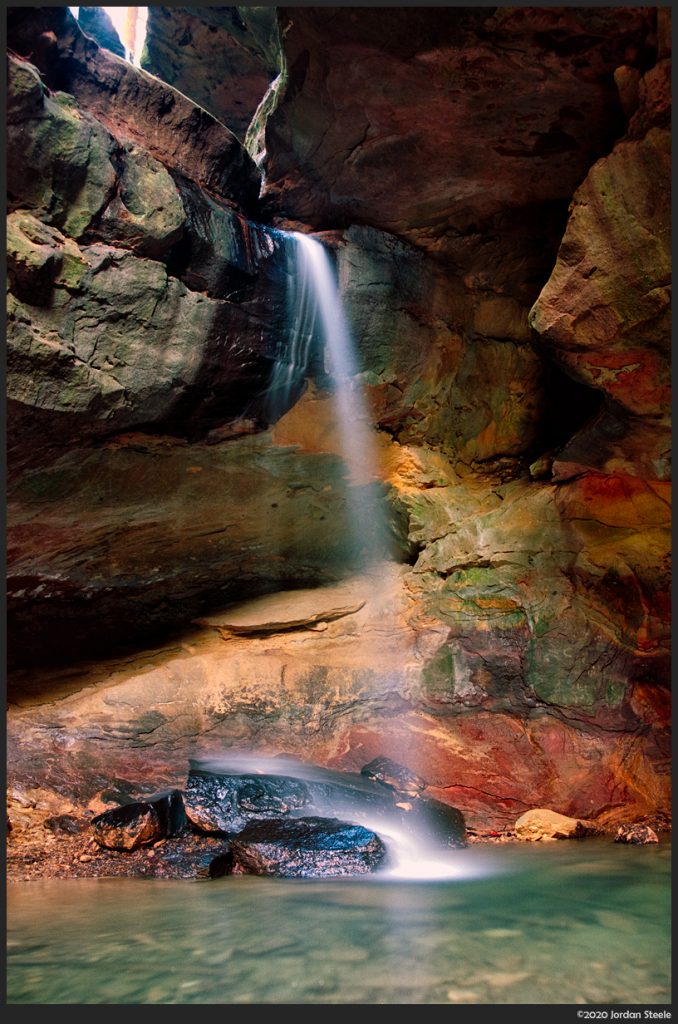
Below is a sample of some of the film images I’ve shot over the past couple of years (though most of it is from the past month or so). I’ve noted the developer if it’s one of the rolls I developed at home. Click on any image to enlarge.




Leave a Reply