If you have been a longtime visitor to the site, you may have read a little retrospective I did where I thought back through my journey as a photographer. Mentioned in there was the very first digital camera I ever owned, which was a Kodak DC3400. I got this camera as a college graduation present in 2001. It was fully automatic, had a tiny 2 megapixel sensor, and served me well for a few years as I started to get into the hobby of photography. Prior to getting this camera, I had shot film growing up, but only as a casual snapper. The little DC3400, as limited as it was, got my creativity flowing and made me want to become a better photographer. I quickly outgrew that camera, and it eventually ended up on a shelf.
It sat mostly unused for years, though I let my daughter walk around the house (and a few times outside) and shoot with it when she was a toddler. After that short burst of use, I tossed it in a box in my closet and promptly forgot about it, where it sat for probably 10 years. Unfortunately, I left the batteries in it.
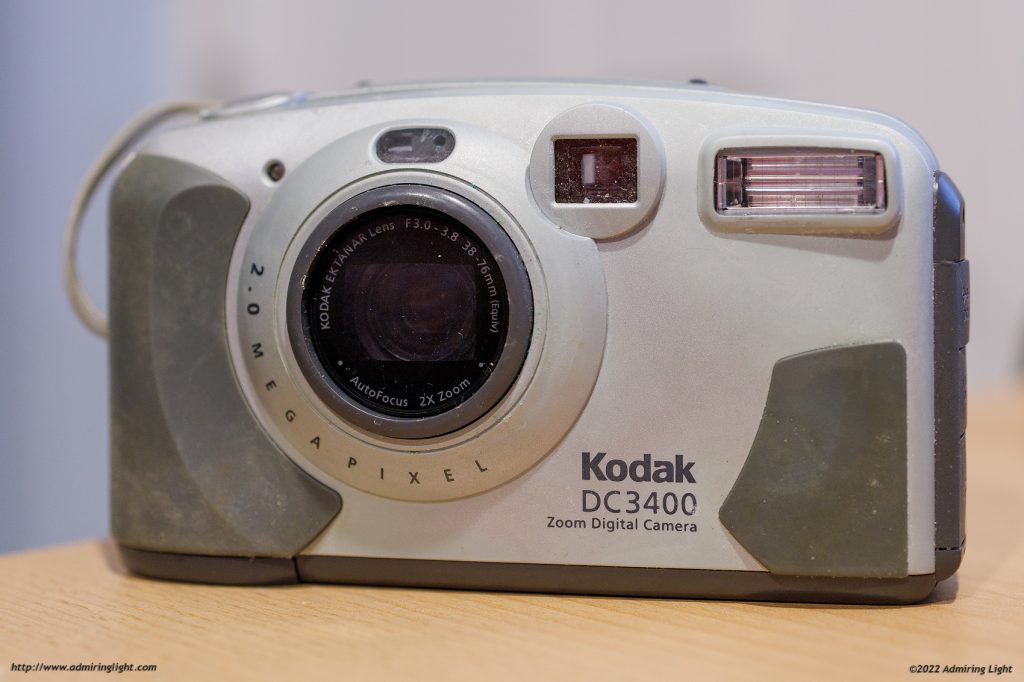
Today, while digging around looking for something, I found it, and it was in pretty horrid shape. It had accumulated dust and grime in the box, and all four batteries had burst and leaked battery acid all throughout the camera. The acid leak was bad enough that I was unable to open the battery compartment and had to pry it off with a screwdriver. I then pulled the horribly corroded batteries out with pliers. There was no saving it. The battery connections were so damaged from corrosion that there wasn’t any metal left, and the battery acid had seeped into the main compartment of the camera as well, bulging the top a little and I’m sure rendering everything quite useless.
I was about to toss the whole thing directly into the trash, but having taken apart my second digital camera about 13 years ago, I thought I’d do the same…and try out some close up macro shots of the sensor using my 2x Laowa 100mm Macro. Note that at the time of disassembly, I was not planning on turning this into an article, so please excuse the crudeness of the images during disassembly and above. I took them solely for documenting the innards, not really for presentation.
Disassembly
I started off by removing the batteries and prying the CF card out of the camera with pliers, which still worked after putting it in my card reader. Thankfully the pin end did not have corrosion on it. After removing as many screws as I could on the outside, I removed the rear plate of the camera and was presented with the inside.
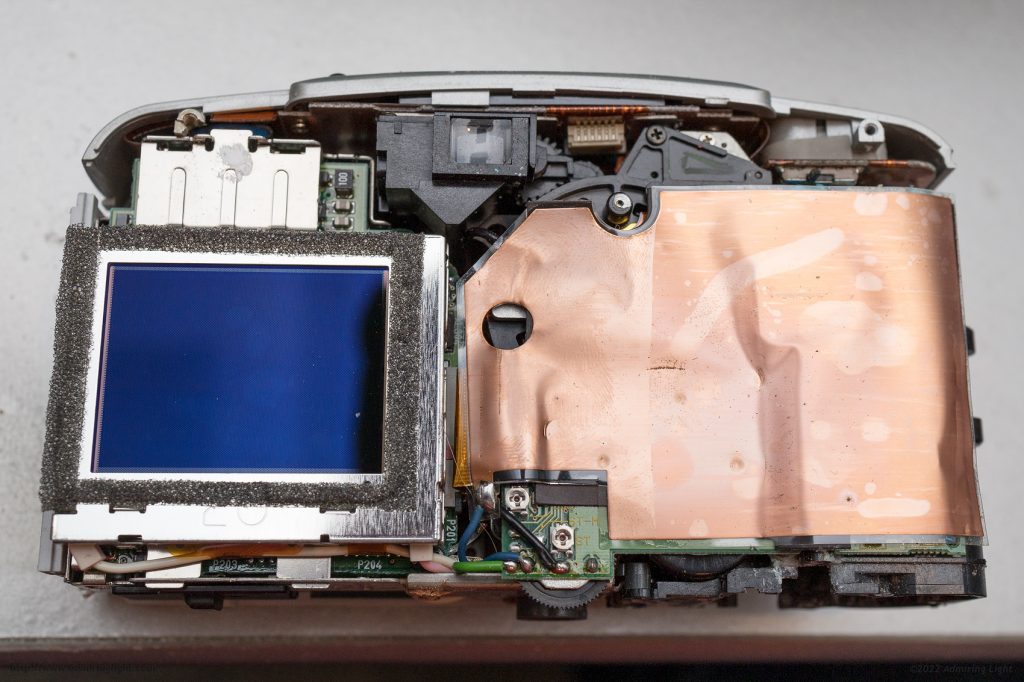
I peeled away the copper shielding foil to see a circuit board, and a small ribbon cable with a few screws. This, already, was the sensor assembly. Held on by two screws and only backed by some copper foil.
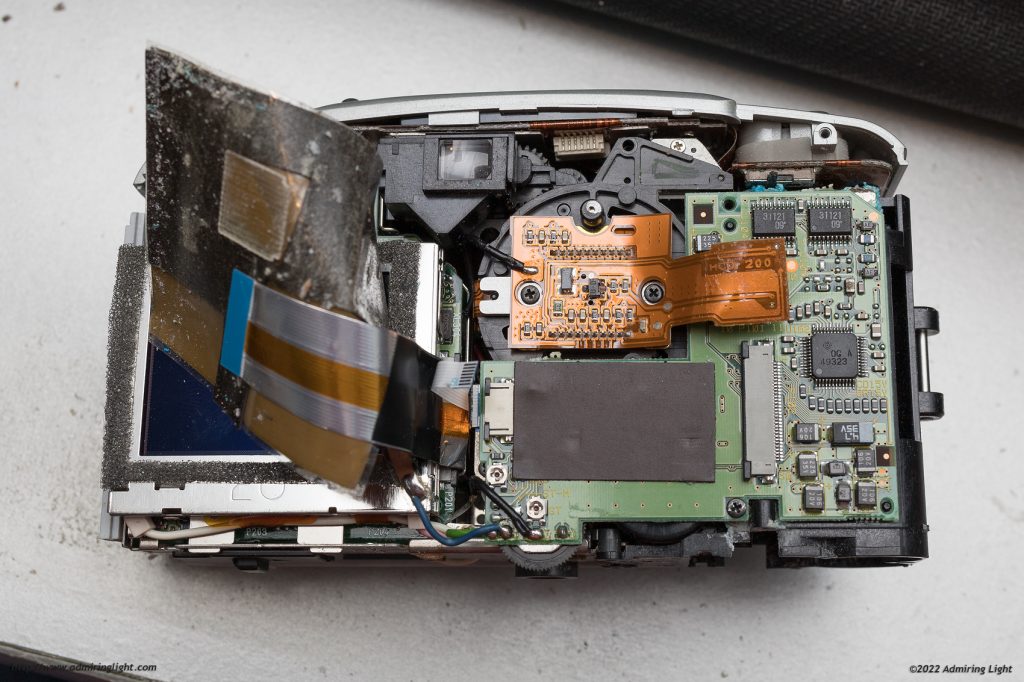
I removed the sensor, which had a very thick UV filtering cover glass sitting on a small foam gasket.
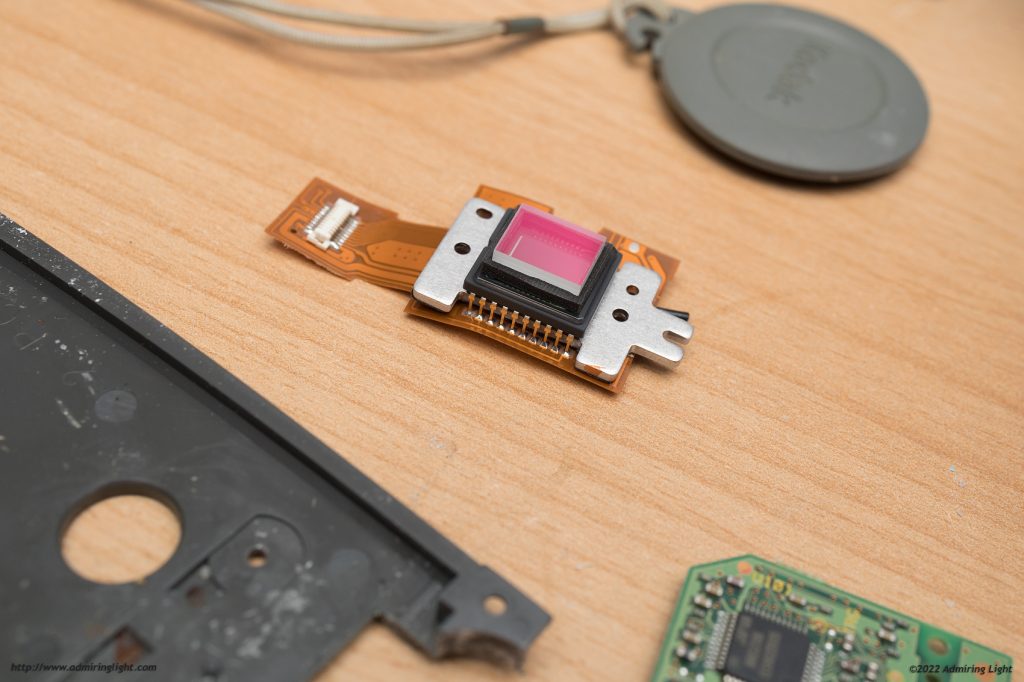
After removing the sensor and first circuit board, the lens assembly and flash capacitor were visible. Note the large amount of battery acid at the top right…I’d already cleaned out tons at the bottom of the battery compartment as well.
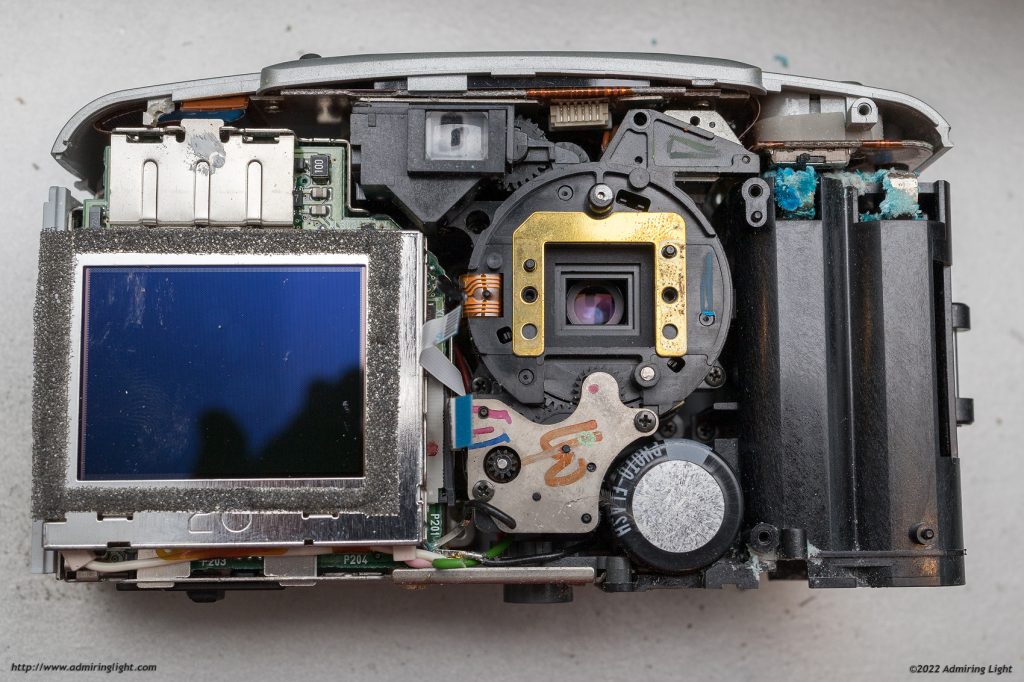
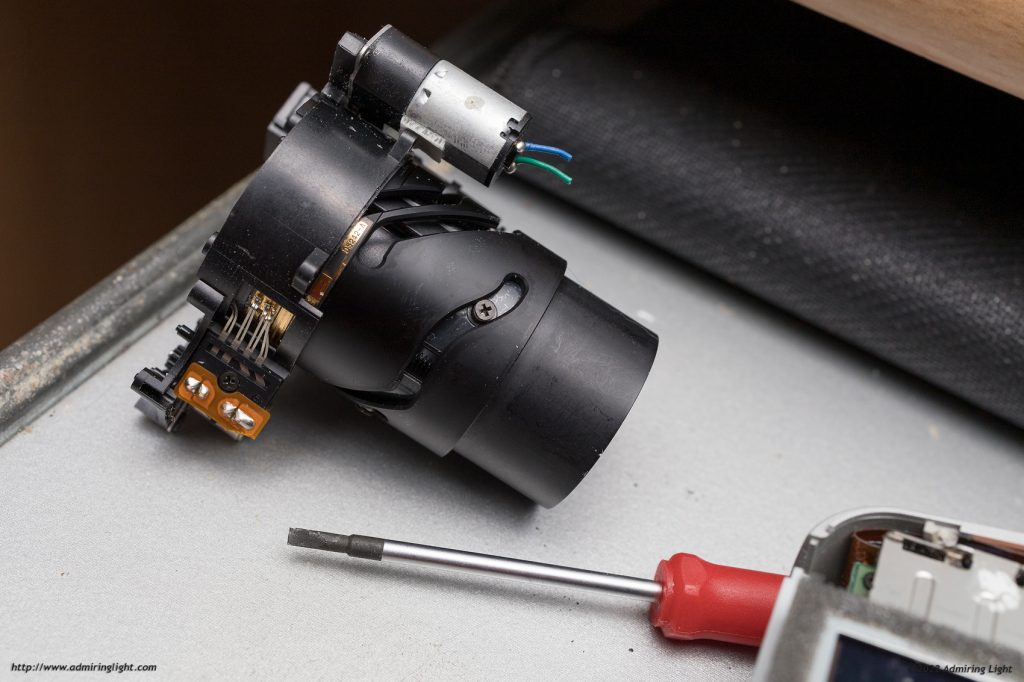
I then removed some screws and pulled the lens and viewfinder assembly out of the camera.
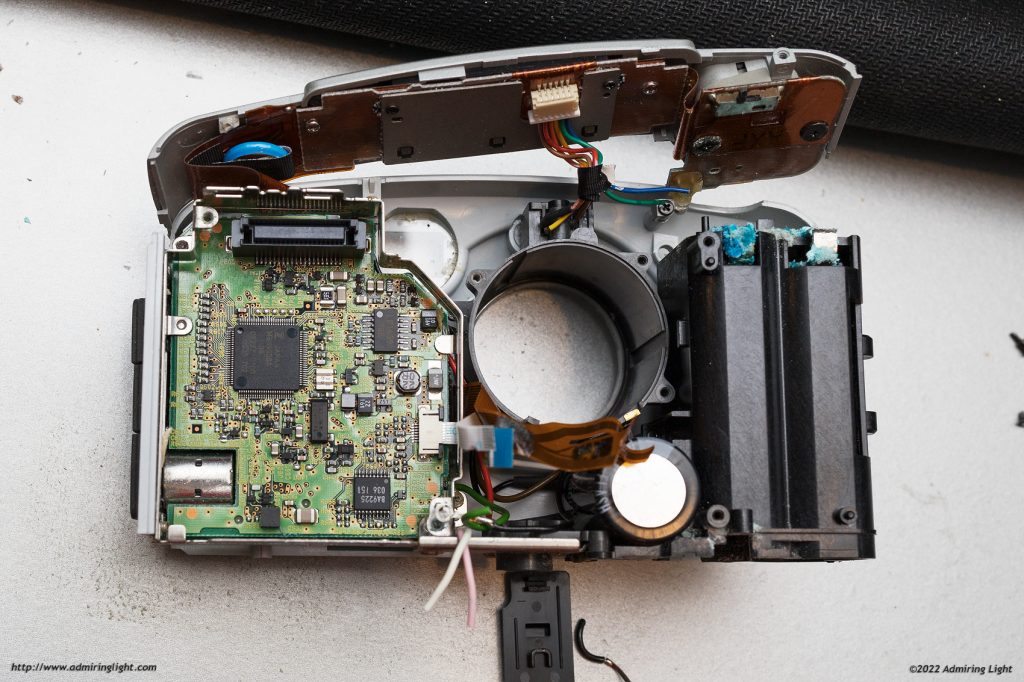
Next I removed the rear screen, which had no markings on it. Below that was one circuit board, followed by another sandwiched below it. This was as far as I really wanted to go. All the other screws on the bottom plate were corroded from battery acid and couldn’t be removed without serious effort. So, into the trash the whole thing went.
Macro Shots
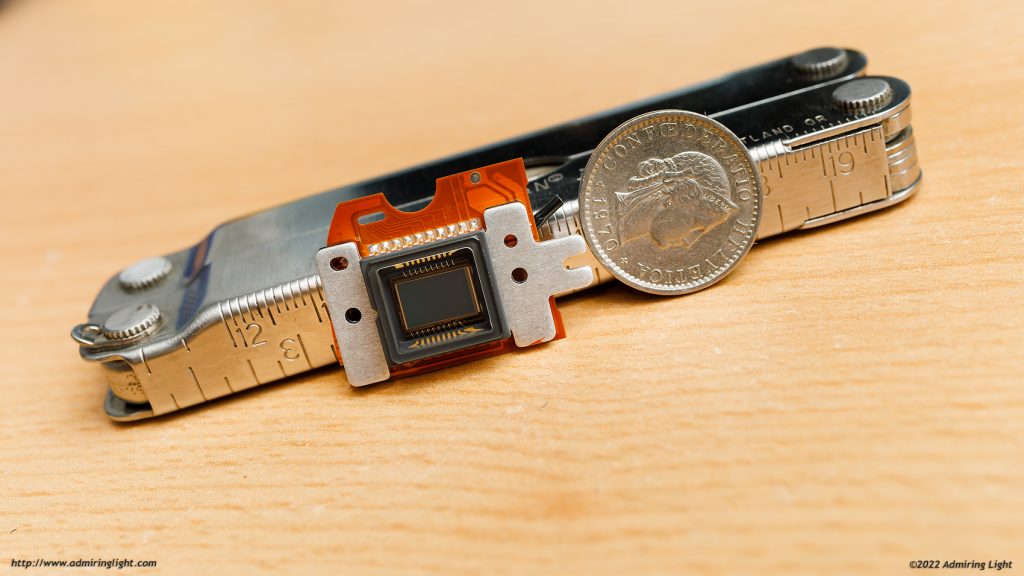
So, with the sensor removed, and some of the circuit boards, I wanted to take a few nice macro shots. The sensor above is quite small, measuring just 7.5mm in width, and so it requires rather heavy magnification. See below for a close-up showing the sensor package next to a Swiss 20 Rappen coin, which is almost exactly the same size as a US Nickel.
A standard 1:1 macro lens would get a fair bit of detail, but this is a subject for which I am glad I have my Laowa 100mm macro, which natively goes to 2:1 magnification. I set up my R5 and macro lens on a macro focusing rail, and photographed the sensor first, at 2x magnification. This still doesn’t fill the frame with the sensor, with the shot below taking up about half the frame width. I took several images and focus stacked them using Helicon Focus Pro, then used another shot of the sensor with my lights in a different location to provide a nice rainbow reflection on the surface.
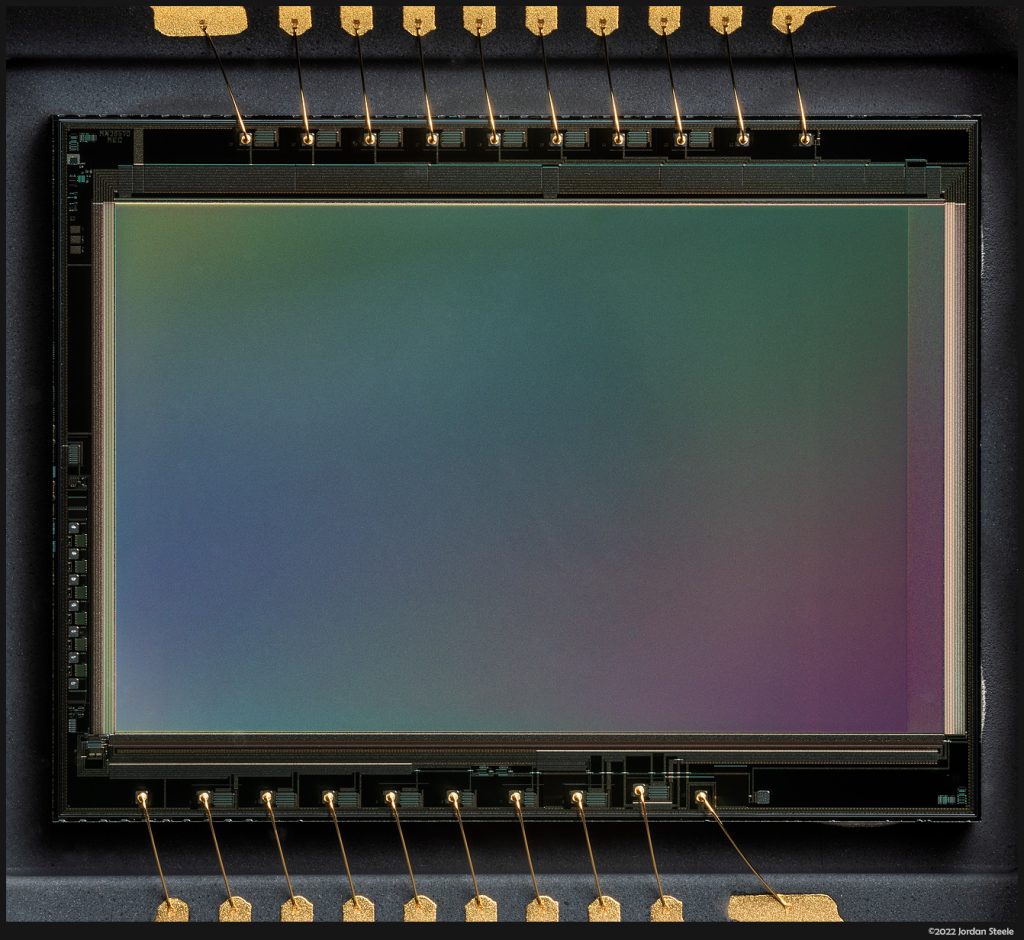
I love the small detail visible on something that is so tiny. The very small text in the upper left corner of the sensor board has text that has characters just 52 microns tall, yet we can read the numbers and letters. (Click here for a 100% crop of the above showing this.) A quick google search of the “MN39570” designation leads to one valid result: the announcement of the development of this sensor, created by Matsushita Electronics, which you probably better know as Panasonic. When translated, among other things, it states “Digital still cameras are rapidly increasing in pixel count, but with the adoption of this new CCD, 300dpi is possible with L size (A6 size) printing, and image quality equivalent to that of single-lens reflex still cameras is possible.” That last part might be a bit optimistic, but it is cool to me to find this information from a 52 micron tall text string in the corner of the sensor. It is remarkable how precise and fine electronics like this are given the incredibly tiny size. And this is 20 year old technology!
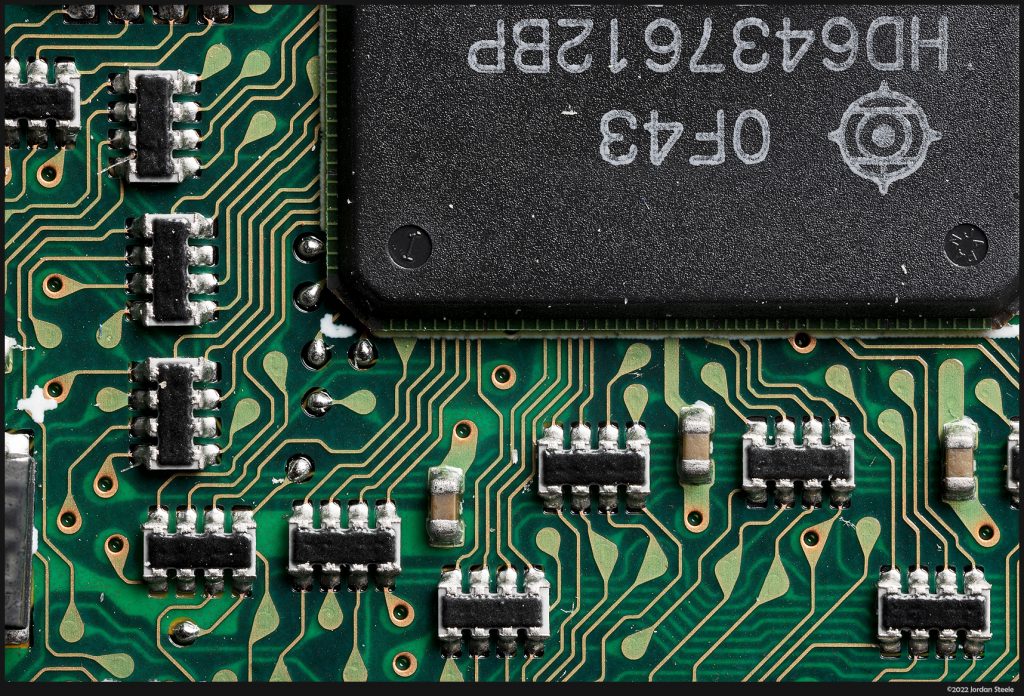
While I was shooting this, I also took another close up shot, though this closer to 1.4x magnification, of one of the circuit boards. This was also stacked using Helicon Focus.
After shooting the image sensor, I noticed that the shot of the sensor had some very fine pattered lines that I believed were the actual sensor photosites. This intrigued me, as I’d never had enough magnification or resolution to see individual pixel photosites on a digital camera sensor before. While the sensor is low resolution, it also is very small, so the pixel size on this sensor is approximately 4.2 microns, roughly the same size as the pixels on my Canon EOS R5.
The sensor shot above is about a 50% crop, so I went back and tried for as much magnification as I could possibly get. Not owning the 5x Canon MP-E 65mm, I found my old Kenko EF extension tubes, plus added my Meike RF extension tubes, for a total of 99mm of extension. This looks ridiculous, and wobbles and flexes like mad if you’re shooting horizontally, but I was shooting straight down, so there were no issues. Communication stayed intact, and I I had full EXIF and aperture control to shoot the lens.
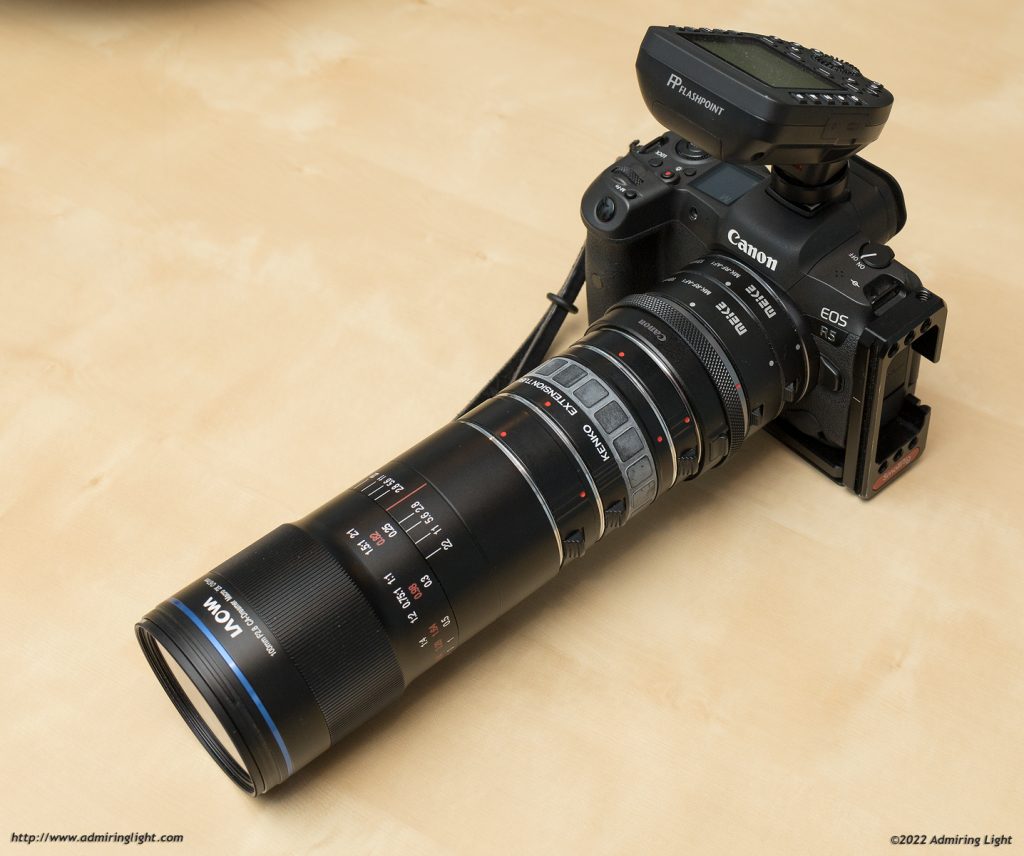
The result of this crazy setup was around 3.8x magnification, which came fairly close to filling the full frame with the DC3400’s sensor. It was difficult to focus on the photosites, which took a long time of slowly moving through focus with the focus rail. Once I found them, I did several shots with very minute focus adjustments to make sure I got them in focus. And below is the result. First the full sensor, which isn’t as good a shot for presentation, but that’s not what I was going for here.
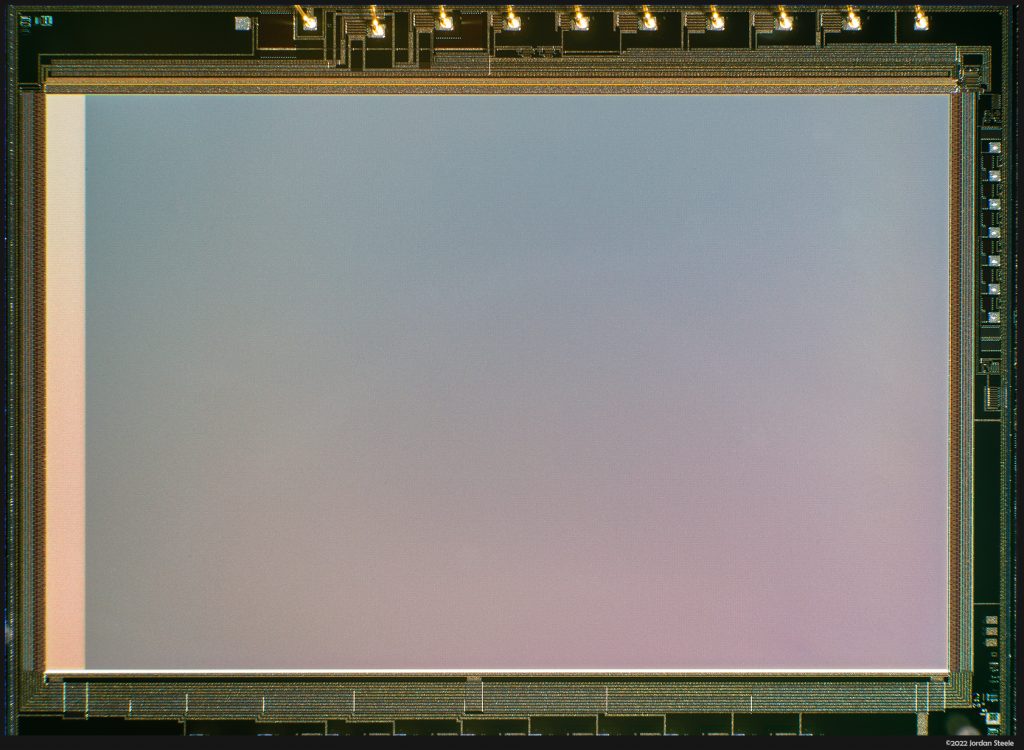
You may notice that the edges of the image above are notably worse than in the other two macro images. Putting this much extension on a lens definitely affects edge sharpness rather considerably. Still, zoom in to 100%, and there they are: The individual photosites of the DC3400 camera:

So, that’s it. I just wanted to share something the nerdy engineer in me found a bit interesting. Of all the shots here, the first shot of the sensor with the gold leads to it is the only one I’d really bother presenting, but you only need one. It was also really cool to look at the little pixel wells that captured the light of many of my early digital photographs.




Leave a Reply