Like most Olympus cameras, the E-M10 Mark II is crammed full of features. I could spend 10,000 words going through all of them, so I’ll simply touch on some of the most important features and a few unique ones as well.
In-Body Image Stabilization
Like all Olympus Micro 4/3 bodies, the E-M10 Mark II features in-body image stabilization (IBIS). The original E-M10 included a somewhat diluted version of Olympus’ IBIS, stabilizing only 3 axes of motion instead of the 5-axis stabilization featured on the other OM-D cameras. The E-M10 Mark II, however, loses this restriction and inherits the same excellent 5-axis stabilization as the E-M1. In my experience, the IBIS system is generally useful for allowing an extra four stops of handholding at slower shutter speeds. With wider angle lenses, I’ve even been able to get sharp shots as slow as 1/2 second.
However, the downside of the E-M1’s stabilizer is also here, and that’s shutter shock at shutter speeds between 1/60 and 1/200s. It’s far less of a problem on the E-M10 Mark II, however, as this body includes a fully electronic shutter that also can be utilized as a first-curtain electronic shutter to help eliminate shutter shock. Electronic first curtain is enabled by turning on ‘anti-shock’ with a 0 second delay. Of course, turning on silent mode with full electronic shutter will eliminate it completely.

Wi-Fi
Like all recent mirrorless cameras, the OM-D E-M10 Mark II features built-in Wi-Fi capabilities to allow for image transfer, remote control and geotagging of images. On a personal note, the inclusion of Wi-Fi was the primary driver for replacing my venerable E-M5 with the E-M10 Mark II. As I review the three major mirrorless systems, I have cameras for all three systems, and the E-M5 was the only one of my current bodies that didn’t have Wi-Fi. As I have come to rely on Wi-Fi for on-the-go image sharing, I always missed having the ability to transfer images when shooting with my E-M5.
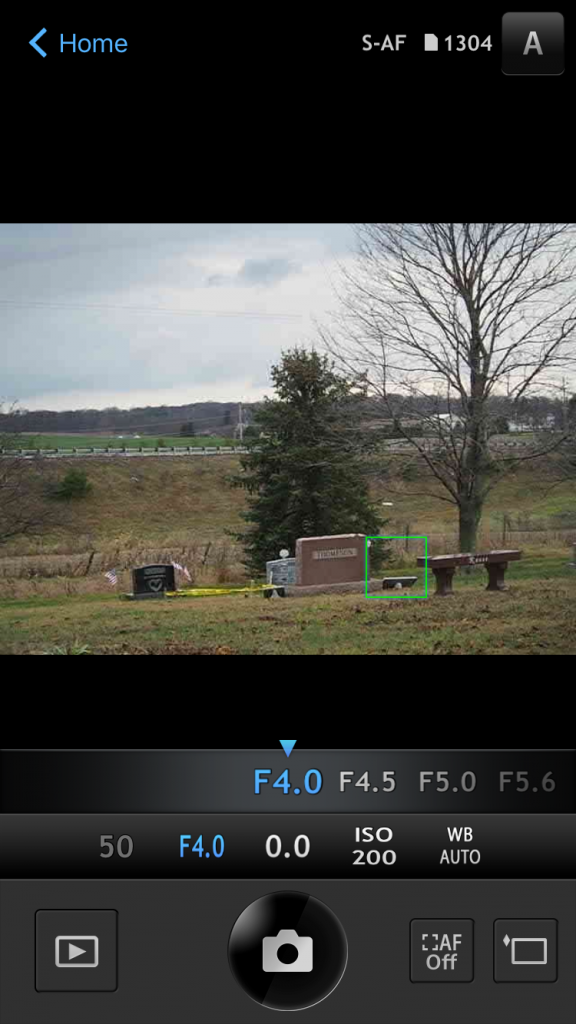
Anyway, back to the E-M10 Mark II, which has the same Wi-Fi features as the E-M5 Mark II. Let’s start with image transfer: The E-M10 Mark II has the ability to transfer JPEG images, either singularly or in bulk, to a mobile device, simply by connecting the camera to your phone or tablet and booting up the Olympus Image Share app. The camera can connect to your phone in a few different ways, but the easiest is via scanning a QR code displayed on the rear of the camera, which will then pass the WiFi network credentials to your phone or tablet. Once connected, you can browse the contents of the camera and pick which images you’d like to transfer.
If you are primarily a RAW shooter, Olympus also has you covered, as the E-M10 Mark II includes a rather full-featured, if somewhat confusing to operate, RAW converter. Simply select your image and choose RAW Data Edit. At this point, you can make adjustments to exposure, highlight and shadow tone, color, tone curve, art filters, etc, and create a JPEG image from those settings. Then you can transfer your developed JPEGs to your mobile device for sharing. One downside to the Olympus RAW converter is that after creation of the JPEG, the image review starts at the created JPEG, so if you’re converting multiple files from earlier in a shoot, you’ll spend quite a bit of time scrolling through images as you make your way back to the images you’d like to convert. Fuji had this same issue a while back, but changed this behavior last year via firmware update.

The E-M10 Mark II can also utilize remote capture via Wi-Fi, with full live view and the ability to change camera settings remotely. The remote capture works well, but occasionally I experienced a long delay after tripping the shutter before the camera was ready to shoot again. This delay was sporadic, as most of the time the camera was ready for another shot almost instantly. When shooting remotely, the camera will transfer the completed image to your phone automatically, which is a nice touch.
The E-M10 II can also utilize geotagging by utilizing the GPS feature of a smartphone, which then syncs the data to your images, if you enjoy keeping location data in your images.
Focus Bracketing
A brand new feature that debuts on the E-M10 Mark II (but has also been added to the E-M1 and E-M5 Mark II via firmware update) is focus bracketing. This is a genius solution for macro photographers who utilize focus stacking, though it can be used for focus stacking in other instances as well. For those who don’t know about focus stacking, it’s a process of taking many images, focused at different points in an image, and combining the in-focus parts into a single image. This is exceptionally useful for macro shooting due to the extremely shallow depth of field that occurs when shooting macro. When you want to get a lot of a macro subject in focus, often the solution is to stop down to very small apertures. This does get more of the subject in focus, but often it still isn’t enough, and you also incur significant loss of sharpness due to diffraction softening at very small apertures. The solution? Shoot many images at an optimal aperture and stack them.
In the past, a photographer has had to manually move the focus point bit by bit to create a good focus stack. Given the very small movements required and the sheer number of images for a quality macro focus stack, this can be very time consuming and is prone to error if you overshoot focus on a few images.
The E-M10 Mark II automates that process completely. You simply select focus bracketing, select a degree of movement (lower numbers move the point less than higher numbers) and select the number of exposures. You then focus at the closest point that you want in focus, click the shutter, and the camera takes a series of images moved precisely in exact increments, covering the number of shots you wish to shoot. A few things of note. First, this process uses the electronic shutter, I’d imagine to avoid shutter vibration and save actuations on the mechanism, as you can blow through over a hundred frames in a single stack. This is great, though be careful if shooting under fluorescent lighting at certain shutter speeds, as banding can be induced due to the flicker of the lights.
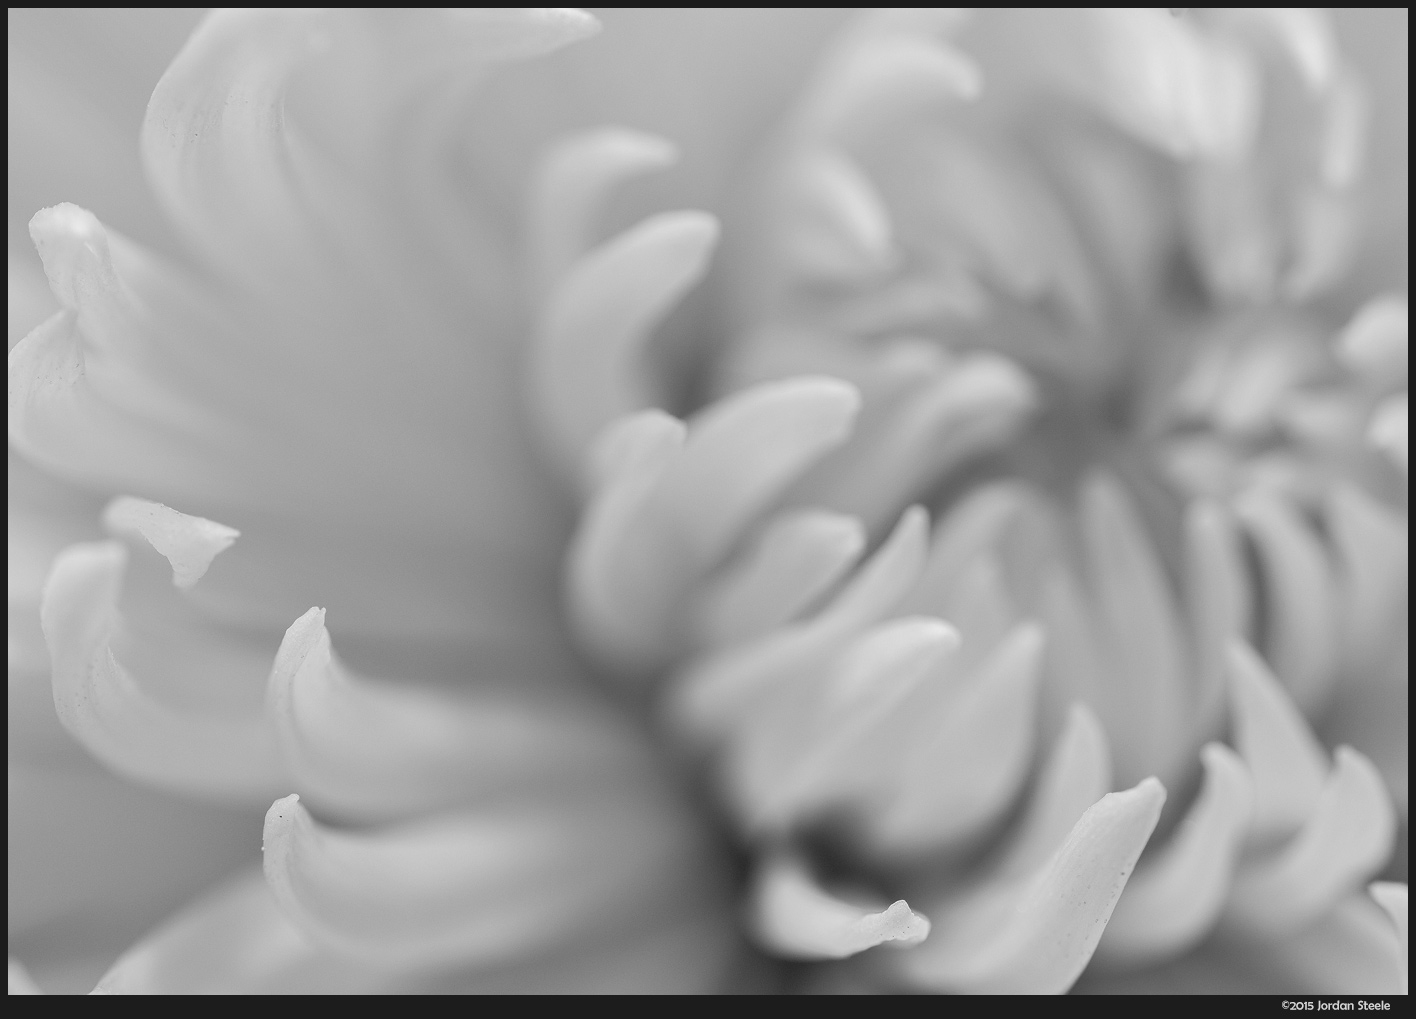
The shot below is at around 1:2 magnification with the Olympus 60mm f/2.8 macro. For optimal sharpness, I wanted to use an aperture of f/4. Because of the deep depth of field required, f/4 isn’t an optimal aperture for getting the entire flower in focus. Below is what one frame at f/4 looks like for this image.

Using the Focus Bracketing feature, however, I was able to take 130 images with very small focus changes to get the entire flower in focus with optimal sharpness. I stacked the images using Helicon Focus, and the result of the stack is shown below:

The result is an extremely detailed look with depth of field from front to back. The best part? It took less than 30 seconds to take all 130 images with perfect focus movement. This is an exceptional feature.
Live Bulb, Live Time and Live Composite
The E-M10 Mark II continues the tradition of Olympus cameras with a “Live Bulb” mode. Live Time mode is essentially the same thing, but is triggered differently, allowing you to start a bulb exposure with one press of the shutter and stop exposure with a second press. In both cases, the E-M10 Mark II allows you to watch the exposure develop on the rear LCD as it’s being made. This is a wonderful feature for very long exposures, as often multi-minute exposures can be difficult to properly meter. Stop that 10 minute exposure too early or too late and you’ve just wasted a lot of time. With the live bulb and live time features, you can watch the exposure on the rear and simply choose to stop the exposure when it looks how you want it to look.
A third addition to these features includes Live Composite. This lets you composite long exposures to capture motion or developing lights without overexposing the overall image. This works by allowing you to set an exposure time, and then continuous exposures of that length are made and composited in-camera. If you’ve ever taken star trails or combined multiple shots of fireworks or the like, you know that stacking multiple images of a shorter duration delivers cleaner images and makes shooting with a bright foreground much easier. Because this is a live composite, you can see the exposure develop just like you can with the bulb features before. While these features do drain battery due to the always on rear screen, these features make shooting long exposures quite a joy.


Leave a Reply