The Sony A7 full-frame mirrorless system has now been around for 4.5 years, and while the original A7 was replaced after just a year on the shelf, the A7 II has had much greater staying power. That model was announced in November of 2014, and has enjoyed a nice stay as the ‘basic model’ in Sony’s full-frame mirrorless lineup. It’s been a long wait for the third iteration, but it’s finally here.
Sony could have done the minimum with the A7 III. They now have four lines of full-frame mirrorless cameras: the top tier action camera in the $4,500 A9, the high resolution A7R Mark III, priced at $3,198, the video and low light specialist A7S Mark II at $2398 and now the A7 III coming in at $1,998. Instead of giving us a modest upgrade with a few new features, Sony decided to make their ‘basic model’ one that is balanced so it can satisfy the vast majority of photographers.
Sony has improved the image quality with a brand-new 24 megapixel backside illuminated sensor and a massively improved autofocus system. They didn’t skimp on other high end features either, packing the A7 III with dual card slots, 10 fps shooting, improved in-body image stabilization, a much larger viewfinder and the same excellent focus point selection joystick featured on the A7R III and A9.
On paper, this camera ticks almost every box one could imagine, and all for the affordable price of $1998. This is a $300 increase in price from the A7 II, but given the upgrades in nearly every area, the A7 III seems to be a bargain. So the question is, does the camera actually deliver on these lofty specs?
If you’re not familiar with my reviews, I review from a real world shooting perspective. You won’t find lens charts or resolution numbers here. There are plenty of other sites that cover those. I review products on how they act for me as a photographic tool. I am not a videographer, so my reviews concentrate on the still imaging capabilities of a camera.
Body and Ergonomics
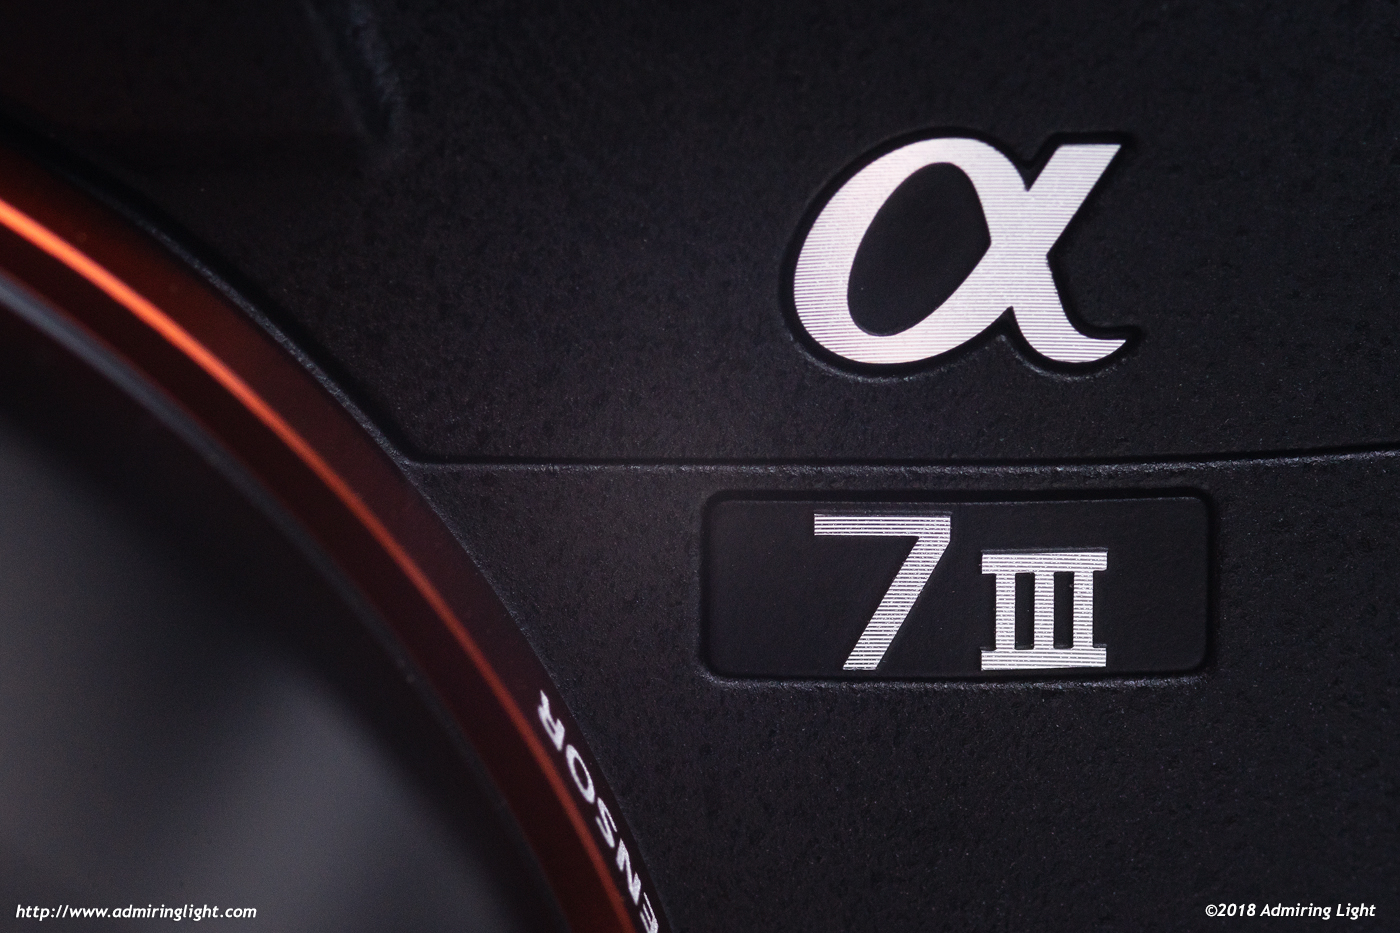
The A7 III is based on the same physical platform as the A7R III and the A9, which are themselves an iteration of the previous A7 II body style. If you’ve used the A7R III, the A7 III is effectively the exact same body in outward appearance, save for the model badge and the non-locking mode dial. When compared to the A7 II, the changes are subtle in appearance, with the A7 III looking largely indistinguishable from its older sibling at first glance. Look a little deeper, however, and you’ll see many changes that provide a solid improvement in handling over the previous body style.
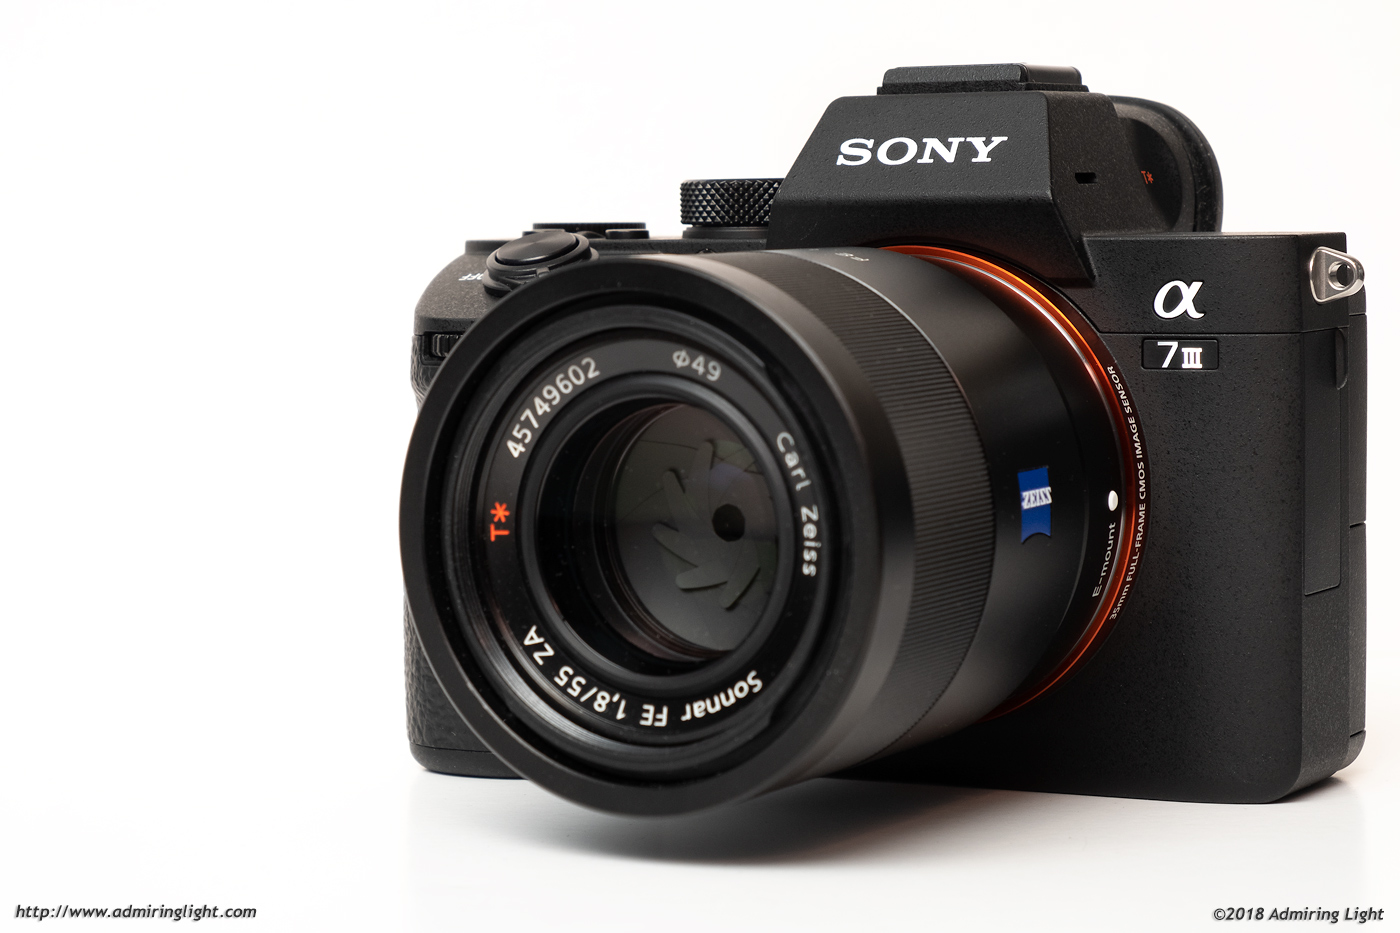
The A7 III is still constructed of predominantly magnesium alloy, with the rear of the camera constructed of high-strength polycarbonate. The camera is a fair bit heavier than the A7 II at 650g, and it’s a decidedly solid little camera. The most obvious change from the A7 II is the deeper hand grip. The A7 III’s grip is only a few millimeters deeper than that of the A7 II, but that difference translates to a notable increase in comfort and control.
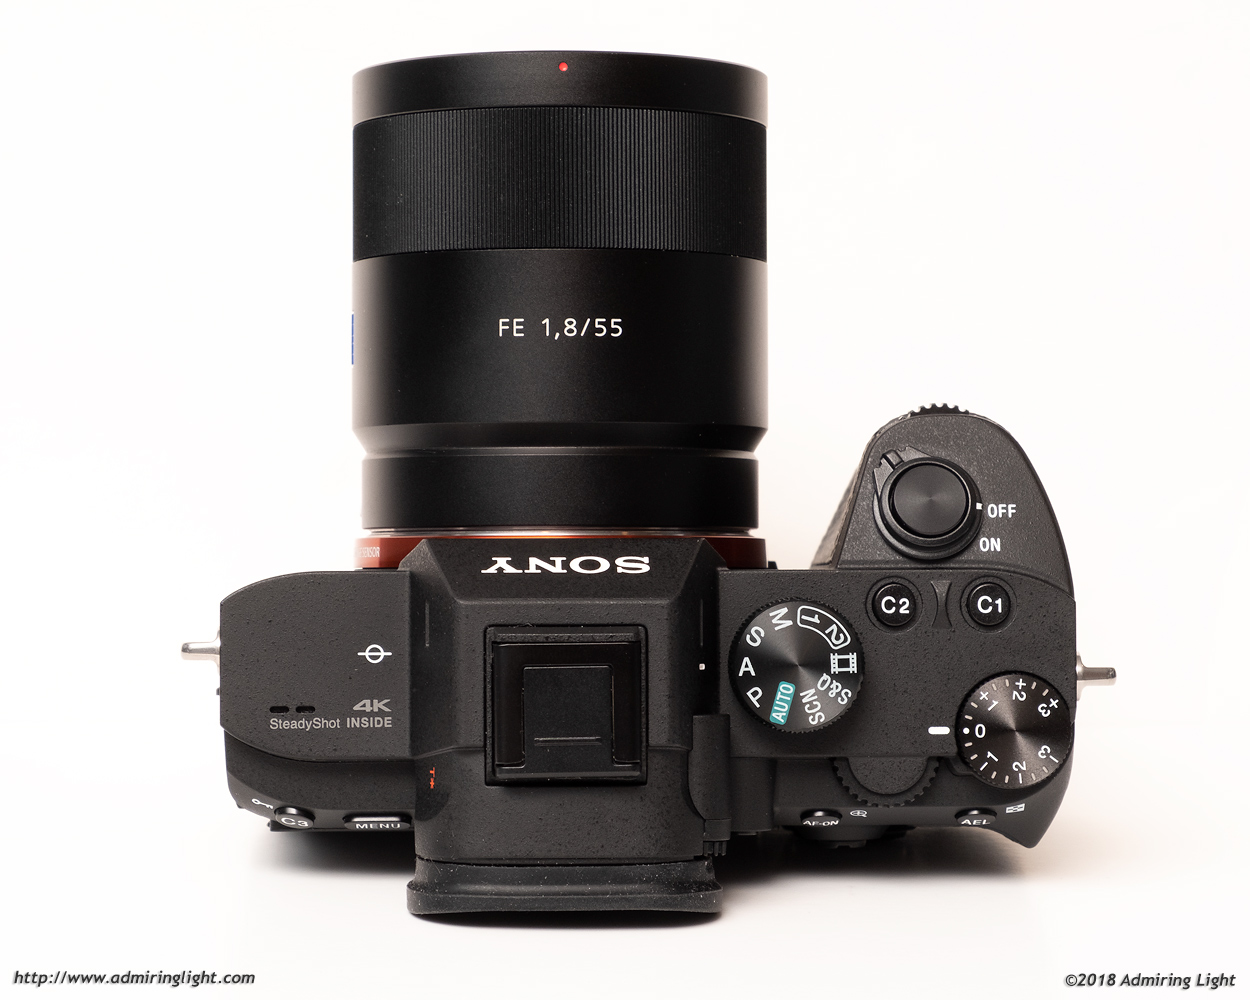
The top and front controls are all placed identically to the A7 II, with the shutter and first two customizable buttons within easy reach of your index finger.
The rear of the camera has a redesigned thumb rest, which my thumb nestled comfortably into immediately. The rear controls are all within easy reach, and are identifiable by touch alone. The haptics of the two command dials and the rear four way dial have been improved quite a bit since the last generation, with strong detents that prevent accidental movement during shooting.
These changes add up to a camera that is more comfortable to hold for an extended period of shooting, and provide a more secure grip on the camera. I’m glad Sony didn’t reinvent the camera, as the A7 II already had rather good handling, but the mark III series has upped the game.
The A7 III joins the A9 and A7R III in featuring dual SD Card slots. Like its brethren, the A7 III only has one slot that can utilize the ultra-fast UHS-II cards, but even so, it’s a welcome feature. I’ll delve deeper into the dual card slots in the performance and features sections.
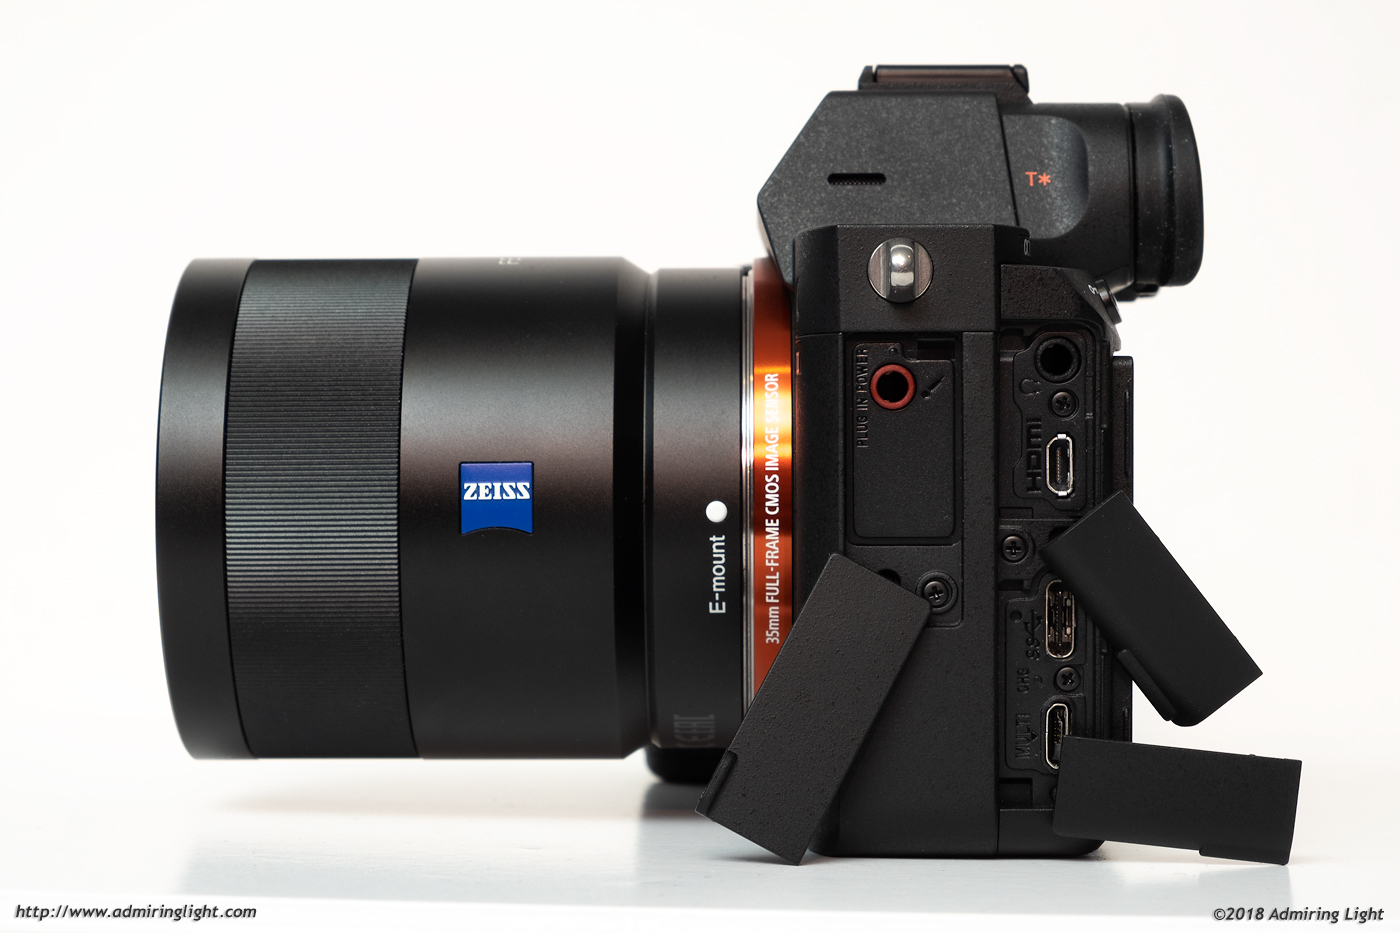
The A7 III has an array of ports for extending functionality, which are found behind three plastic flaps on the left side of the camera. Behind the flap near the front of the camera sits the microphone input jack, which is great for video shooters. The top rear flap hides the headphone jack and mini-HDMI port, while the bottom rear flap hides the two separate USB ports. The A7 III can be charged and connected using either mini-USB or USB-C, and having both ports on here is a really nice touch.
What’s not a nice touch is that the A7 III does not come with a battery charger. So, you’ll need to charge the battery in the camera over USB or shell out $80 for Sony’s charger (or less for a third party one.) Now, first let me say that I love being able to charge via USB in the camera. It’s really convenient, and means that you often don’t need to carry a bulky charger if you want to travel as light as possible. However, without a dedicated charger, there are three big down sides.
First, it takes a long time to charge the new, larger FZ100 battery in the camera…around 4.5 hours for a full charge. Second, you can’t use the camera untethered and charge a battery at the same time. Third, the included cable is a micro-USB cable, not a USB-C cable, which means to charge you will be using the lower of the two ports on the camera.
Unfortunately, as you can see on the image below, the flap actually partially obscures the Micro-USB port on the camera when you set the camera down, so if you want to charge the battery with that port, you need to either bend the flap out of the way under pretty high tension, which will almost certainly break it off eventually, or you will need to lay the camera on its back or balance it on the lens in order to charge. If you don’t plan on buying an external battery charger, do plan on buying a USB-C cable to charge without this annoyance. It’s ultimately a minor irritation, but it makes me wonder if they actually tried to charge the battery before finalizing the flap design.
Operation and Controls
Sony has settled nicely into a familiar control system on the A7 bodies, and the A7 III refines the controls of the A7 II rather than reimagines them. As mentioned in the ergonomic section, the front and top of the A7 III is functionally identical to that of the A7 II, with a front control dial that is useful for changing aperture or shutter speed, a large soft touch shutter button with a surrounding power switch, and two programmable buttons that sit above the shutter release. The final control is the now ubiquitous PASM dial for setting the camera mode. The PASM dial is unchanged from the A7 II with one exception: The ‘S&Q’ setting replaces the panorama setting that was present on the A7 II. The S&Q setting is where slow-motion or ‘quick-motion’ (timelapse) settings are for video.
The rear of the camera is a bit different from the A7 II, but is effectively identical to last year’s A9 and A7R III. The most prominent new control is the focus joystick, which allows for quick movement of the focus point and can be pressed to move the focus point back to the center position. This is a huge improvement on focus point selection from the Mark II series bodies from Sony, and makes moving focus points in the field significantly faster and easier. The focus joystick replaces the two way switch that was present on the A7 II, but to make up for this loss of effectively two function buttons, Sony has added an AEL button (that is also programmable) and an AF-ON button (again, programmable) at the top of the back panel, while the C3 programmable button has moved to the left side of the camera near the Menu button.
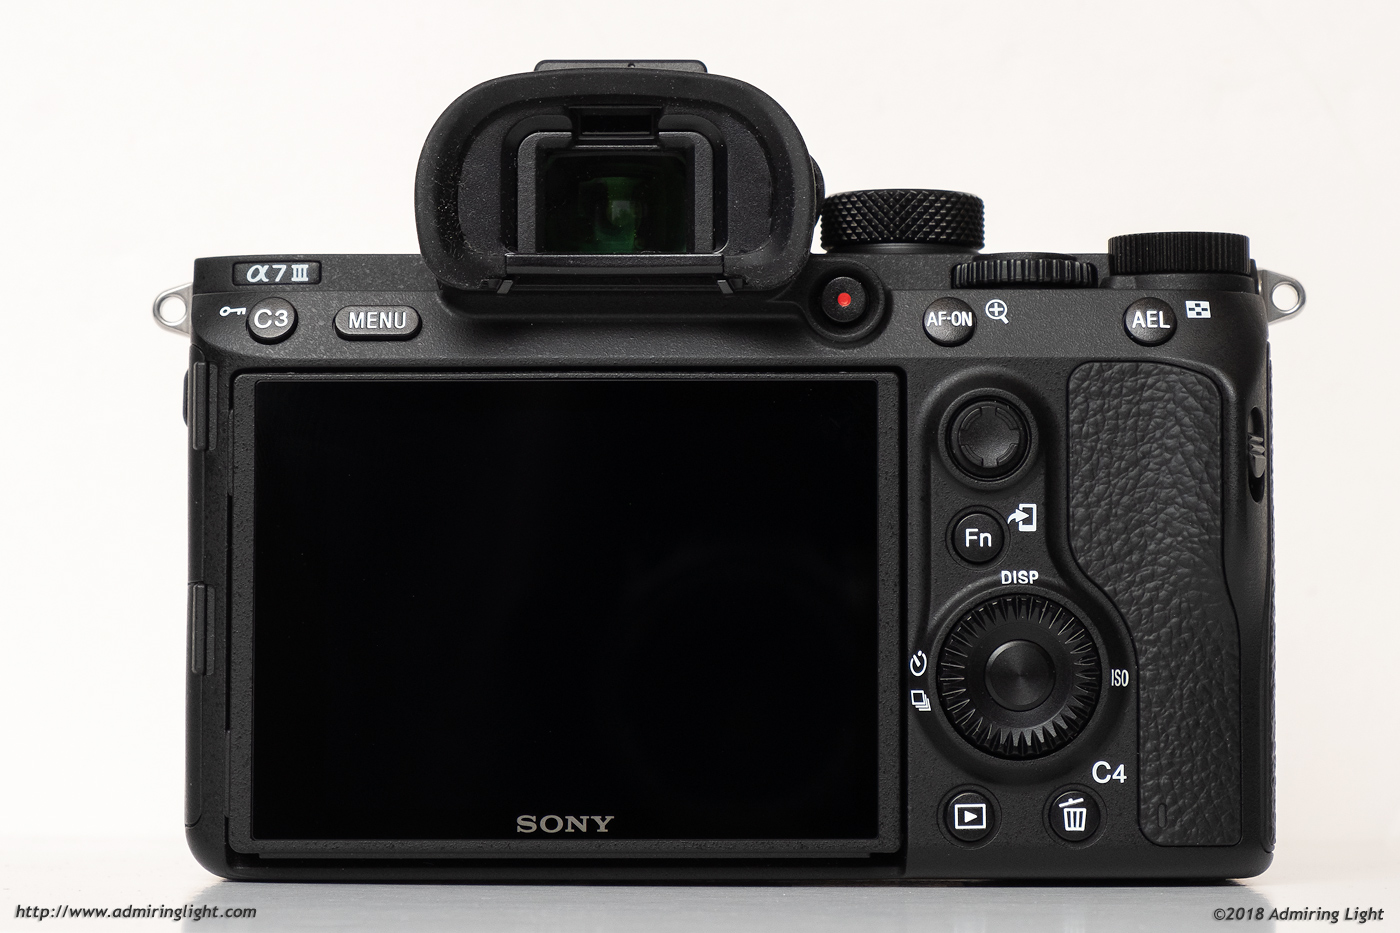
The traditional four way control dial sits below the joystick and has four programmable buttons and a programmable dial (which I set to control ISO). In all, there are 10 total programmable buttons, three dials and the extremely useful Fn button, which opens a quick menu allowing access to twelve functions of your choice for quick access. Needless to say, the camera can be set up to fit the needs of any shooter.
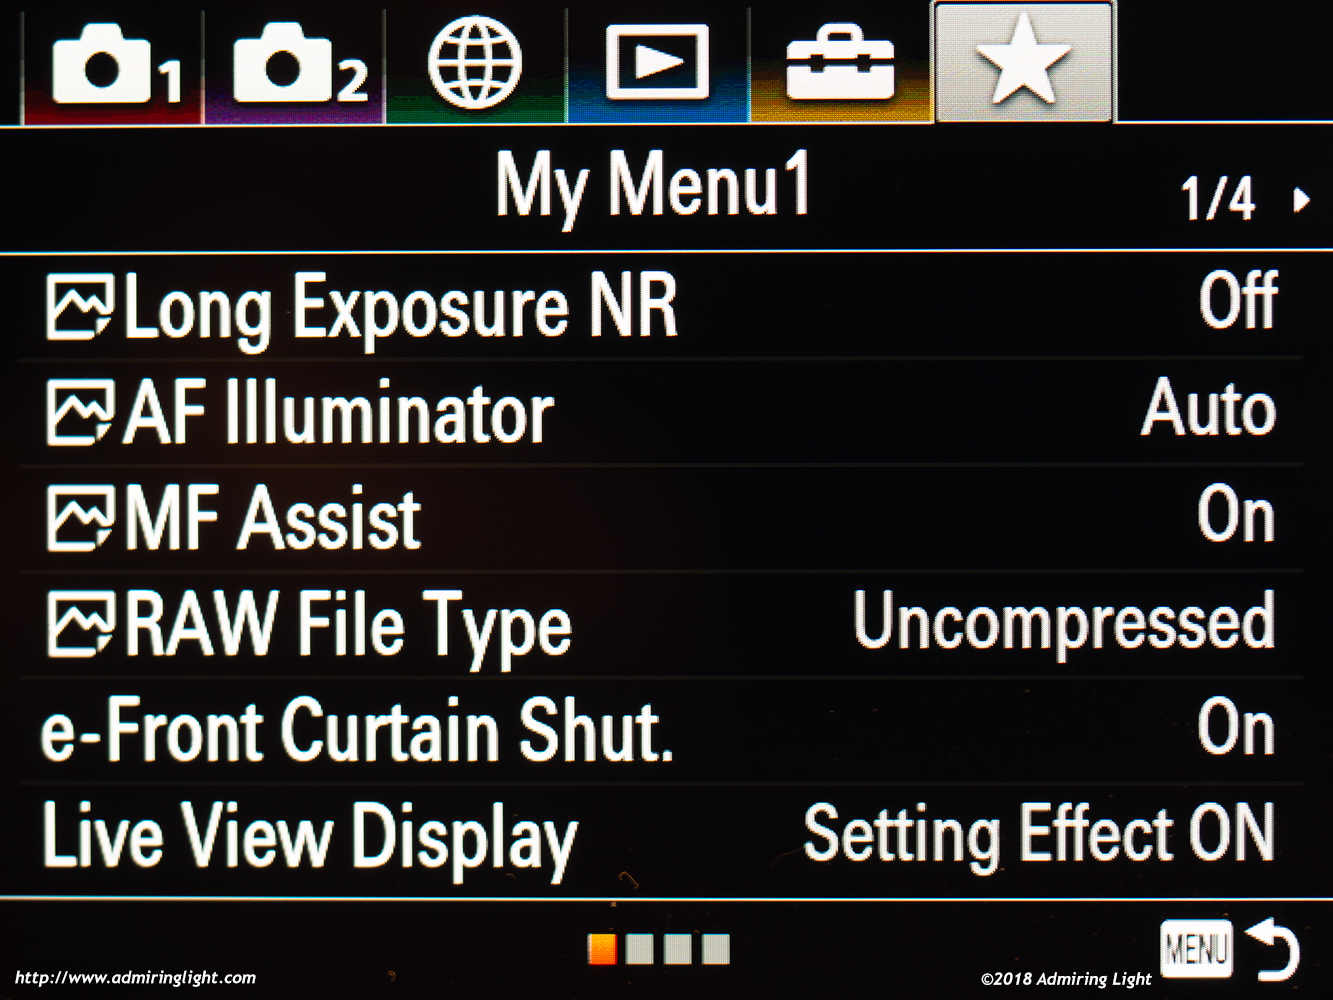
The menus provide access to literally hundreds of settings, and the sheer number of settings available can be quite daunting. Sony upgraded the menu system a bit with this latest generation of cameras, but the functionality is still largely the same, and it can be a challenge to remember where many settings sit. Things are grouped a bit more logically than on the II series bodies, so that’s a welcome change, but hopefully Sony will continue to improve the organization and ease of use of the menu system. They have made one very nice improvement in this area, and that’s the addition of the ‘My Menu’ section, which allows you to select menu items for quick access. It comes in pretty handy, and I’m glad to have it.
One other very nice feature that the A7 gains from the A9 and A7R III is the Recall Custom Hold function, which allows you to set a specific set of shooting parameters and assign them to a custom button. When holding this button, the camera will switch all settings to that mode. When you release the button, everything goes back to how you had it. I set my camera up to assign Aperture Priority with Auto ISO, zone focusing, AF-C and 8fps burst mode. If I’m shooting still subjects and suddenly want to shoot a burst and track action, I just need to hold the C3 button and shoot away…everything switches and I’m shooting bursts with C-AF. You can set up as many as three buttons for different settings, though I think that most will only set one or two.
Overall, the A7 III’s control system is a very nice refinement of the A7 II’s already fairly robust control scheme. It makes the camera more natural to operate and helps this generation of Sony cameras blend into the background better than those that came before it.




Leave a Reply