Last summer I wrote an article encouraging every photographer, both serious and casual, to ensure that they make prints of their photographs, to ensure that there is both a physical record of their photography, as well as to enjoy the wonders of a great photographic print.
At the time, I had just a little 4×6 printer for family shots and I made my larger prints for display through a lab. I don’t have the room for a large format printer that can print 36″ wide prints, so big enlargements still go to my lab. (By the way, I’ve recently switched over to using ProDPI, and the image quality and profiling is impeccable).
However, I’ve very recently started printing photographic prints at home, having acquired a new Canon Pixma Pro-100 printer, capable of 13×19″ prints. Since i don’t have lots of experience with the current range of high-end printers, I didn’t feel it entirely appropriate to do an in-depth review of the printer, so instead I’m going to talk more about my experiences getting into this world: the very important other half of photography. As Ansel Adams famously said, “The negative is the equivalent of the composer’s score, and the print the performance.”
Choosing a Printer
Some of you who have been printing a while may be asking: why did I go for the Pro-100, which is a dye ink printer, instead of something like the Pro-1, Pro-10 or Epson R3000 or other pigment based printer. Why Canon and not Epson? Well, some of it is historical, some is practical. First, I tend to print in fits and starts. I don’t print daily, but may go a week or two (or even a month) between larger prints, and pigment based systems tend to clog the print head nozzles significantly more than dye-based printers if you don’t print on a very regular basis. I’ve owned Epson pigment printers in the past, and while the print quality was excellent (for the time), I experienced clogged nozzles on a quite regular basis and wasted tons of time and tremendous amounts of ink in the process. I also knew I wanted a 13″ wide printer because I don’t have space for a 17″ or larger printer and the cost would be prohibitive for me at this time. Dye based inks also have the ability for a bit better color saturation and a wider gamut. The downside is print life: Pigment inks will last for decades, perhaps even 100 years framed. Dye inks fade faster, though Canon claims 30 years on the ChromaLife+ inks used in the Pro-100, so dye inks are improving in this regard. I’m in no way saying that the Pro-100 is the best printer, just that it fits my needs better than others at the moment. All of the current 13″ wide Epson and Canon inkjet printers produce stunning image quality.
The Printer
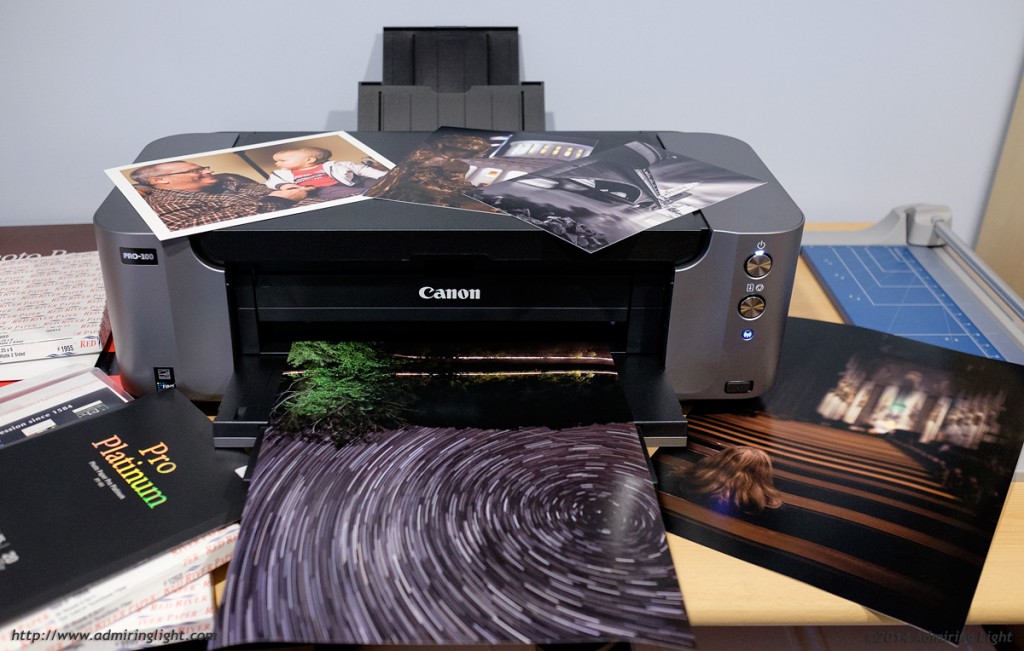
Just a quick blurb about the Canon Pro-100 for those interested. The price is $400 regularly, though Canon has a huge rebate through January 3, 2015 for $250 off, making the printer itself a steal. It can print up to 13×19″ borderless prints, and features 8 individual ink tanks (Magenta, Yellow, Cyan, Photo Cyan, Photo Magenta, Black, Gray and Light Gray). Print quality is exceptional. Incredible levels of detail, rich deep blacks and great color response. Using simple papers like Canon’s Pro Luster and comparing them to the luster papers used by my lab, the Canon Pro-100 produces prints easily on par or better than my lab. Using better paper the results improve further.
The printer is WiFi capable, which is very nice for me, as I have a ton of peripheral devices already wired into my machine, so being able to print without a wired connection has been great. There is a main feed and a rear manual feed for thicker papers, though the Pro-100 seems to handle thicker stock from the main tray without issue. I am extremely pleased with the output I’m getting out of the printer. There’s really not much more to ask for aside from larger ink tanks.
The Paper
Getting into printing at home is a bit daunting at first, at least if you are out to make the most of your photographic output. Both Epson and Canon have a line of papers that cover the most common types of media: matte, glossy and luster. Some of these are cheap papers that get the job done, but won’t impress. Others are high-end stock that looks fantastic. I tried out several of the Canon papers and I have to say…they’re pretty darn good. For standard luster and glossy prints, I think I’ll be sticking with the Canon papers, simply because they are inexpensive and very nice. I found the Canon Pro Platinum glossy to be a very nice glossy stock. Thick, with a very durable finish and excellent tonal separation. It’s better than the glossies I have gotten from labs over the past few years. Likewise, the Canon Photo Paper Pro Luster is an excellent luster paper that is very similar in feel and image quality to the luster papers used by top labs. The Luster is a paper that will get quite a lot of use for my rotating print wall at work, where images stay framed for about 3-12 months at most.
However, there’s another world out there of fine art inkjet papers that I’ve only partially stepped into. So far, I’ve gone through about 30 different fine art papers for evaluation, obtaining sample paper packs from Hahnemuhle as well as Red River Paper. Hahnemuhle is one of the oldest paper makers, and they produce very high-end inkjet papers, while Red River Paper is more of a ‘bargain’ brand that produces quality stuff at prices about half the cost of the high-end papers from other manufacturers. I’m itching to try out the top papers from Canson and I really want to get my hands on a few sheets of Museo Silver Rag.
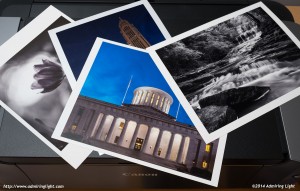
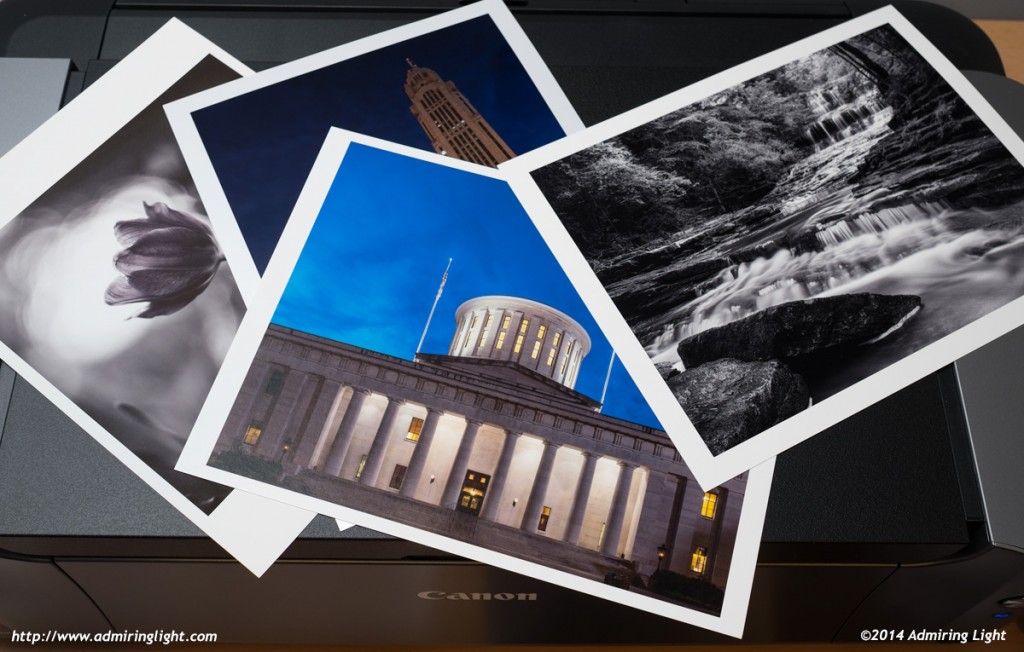
After trying these, it became tremendously apparent: choosing a paper for the type of print you want to make is one of the very most important and personal decisions you can make in producing a final photographic print. Some images look amazing on one paper but terrible on another. Some papers do really well with both color and black and white, others are better suited to one rather than the other. I found out a few things about myself as well. For the most part, I don’t particularly prefer the matte papers for most of my work. I know people who love it, but the matte papers I’ve tried all just seem a bit duller than most, and some feel cheap as well. Some of the nicest cotton rag matte papers feel great and look fine, but it’s just not to my taste. My favorite matte paper I’ve tried so far is Red River’s Arctic Polar Matte, which is very bright and has a velvety texture while producing deep rich tones and good contrast. The less contrasty matte papers are well suited to some images, but not as many in my opinion. EDIT 2/5/15: I’ve been printing a lot since this article was written, and went in search of a matte paper I liked, and boy did I find it. I have fallen in love with Canson Infinity Rag Photographique, which is a simply marvelous matte paper with a wonderful feel, a fantastic texture on the print surface and has tremendous contrast and color response for a matte paper. It also shows incredible detail. I will likely be using this paper for about 90% of my black and white work and probably about 25-30% of my color work as well. Of the runners up, Hahnemuhle’s Photo Rag is also very nice.
Of all the papers I’ve printed on so far, there are four that really stood out to me, plus a few others that I may want to use for certain images. From Hahnemuhle, I absolutely loved their Photo Rag Satin paper, which is an almost matte, almost semi-gloss stock that is thick and textured and produces images with simply incredible depth while preserving tremendous detail. The images almost look like you can reach into them. However, it’s something that will not be suited to certain images, as there’s an intentional gloss-differential with this paper, producing matte areas in light parts of the image and a light sheen on darker parts.
I also loved Hahnemuhle’s Fine Art Pearl paper, which is a low textured semi-gloss paper with stunningly beautiful tonality. I also truly loved the tonal separation, detail and depth of the Photo Rag Baryta paper from Hahnemuhle. There are a lot of baryta based papers out now, which use barium sulfate to provide a semi-gloss bright white surface without the use of optical brighteners that can fade over time. Hahnemuhle has several baryta papers, and interestingly enough, the Photo Rag Baryta was the only one I really liked. They have different surface textures and levels of gloss, and I preferred the lower gloss and finer texture of the Photo Rag It’s worth noting that the ICC profiles provided by Hahnemuhle are slightly warm, so it may be worth purchasing an ICC profiler to make my own profile for these papers, but for the Photo Rag Satin and Fine Art Pearl, I found them quite nice.
So I’ve mentioned three, and the fourth, and probably my favorite overall, is Red River’s baryta paper: San Gabriel Semi-gloss Fiber. It’s a beautifully finished baryta paper on an alpha-cellulose base that feels great in the hand and produces simply gorgeous images. The look is very similar to the Photo Rag Baryta discussed above, but Red River’s ICC profiles are significantly more accurate, providing very accurate color and neutral black and white prints. It’s my current go-to for black and white and I’m loving the fine contrast and detail I’m getting out of the color prints as well. The best part? It’s half the price of the Hahnemuhle.
Display
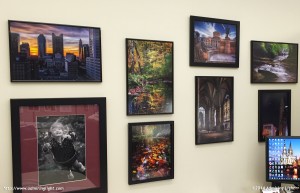
Finally, I’m realizing after spending this time and effort to get a print on great paper that looks just how you want it, that my standard cheapo-frames and glass obscured some of that fine detail, mostly through glare. After checking around, I’ve decided to start framing most of my prints with an anti-glare acrylic, specifically Acrylite Non-Glare acrylic. The Acrylite cuts out 92% of reflections , allowing the print to show through much more clearly. With thinner mats there’s no loss of sharpness or resolution either (deep set photos would lose some sharpness behind this glazing.) There’s also the more expensive Museum Glass, which cuts out 98% of reflections at a bit more than double the cost of the Acrylite….I have to draw the line somewhere. Even more expensive is Optium Museum Acrylic, which is simply astronomical in cost. One way to lengthen the life of your photos is to cut UV to them, and that’s a nice side benefit of Acrylite. It cuts 66% of UV, and for about 15% more, you can get UV filtering non-glare Acrylite, which will cut 99% of UV out. These are great for fine-art papers that don’t use optical brighteners, but aren’t ideal for standard papers that do use optical brighteners, as they rely on some UV exposure to produce that bright white color.
To sum up: this is a whole new world of experimentation and skill, and I’m really enjoying the journey so far. While I still have a ton to learn and a lot of prints to make, it’s brought that last dimension to my photography, creating the print from capture to framed final product, and it’s very satisfying.




Leave a Reply