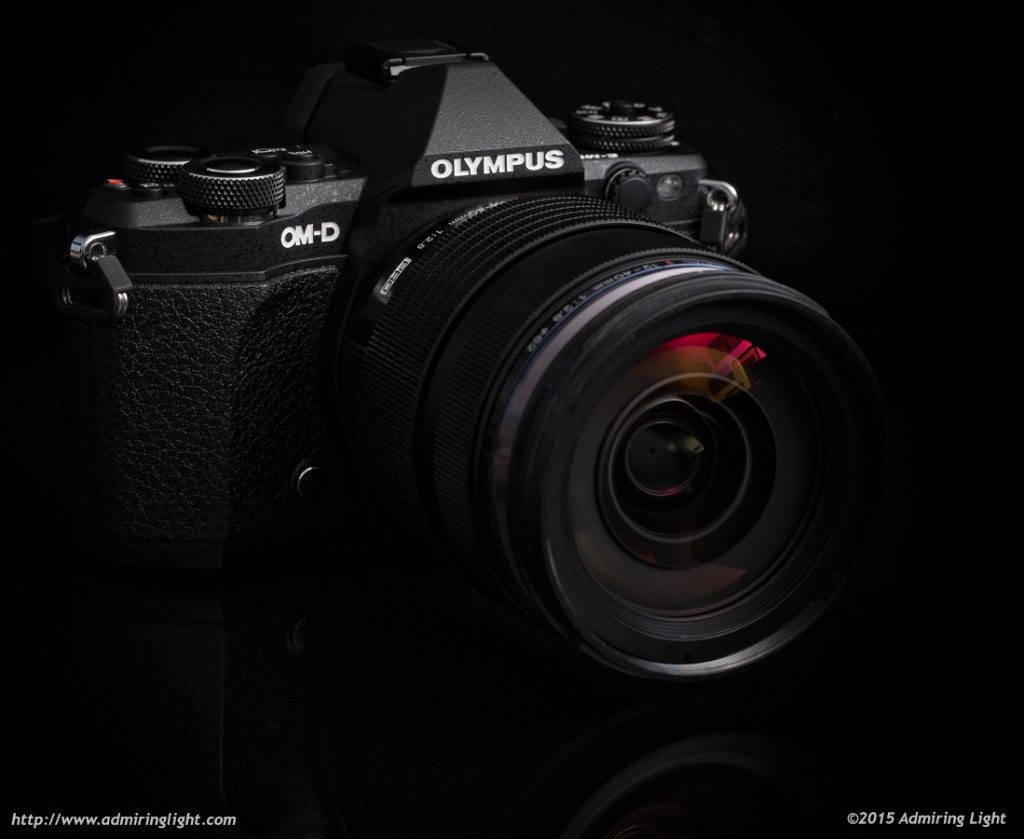
It’s been three years since Olympus first rolled out their highly successful OM-D line of cameras with the E-M5. That camera redefined what a mirrorless camera could be, and was the first mirrorless camera that truly made a push for the enthusiast photographer. Since then, the exceptional E-M1 has followed as well as a lower cost E-M10. This year, Olympus has updated the original, and today I review the E-M5 Mark II. The E-M5 II is a camera that stays true to its predecessor, but adds a number of key features, including one that breaks serious new ground for Micro 4/3. Let’s dive in and see what Olympus has managed to do.
If you’re not familiar with my reviews, I review from a real world shooting perspective. You won’t find lens charts or resolution numbers here. There are plenty of other sites that cover those. I review products on how they act for me as a photographic tool. I am not a videographer, so my reviews concentrate on the still imaging capabilities of a camera.
Construction and Handling
The Olympus E-M5 Mark II stays true to the original E-M5 in its design, but features some notable upgrades in construction. The camera is still made of magnesium alloy, but it feels harder, denser and simply more solidly built. It’s the same feeling of quality that I got when I picked up the Sony A7 II. This is a very sturdily built camera with a nice stippled matte finish. The camera is available in both black and silver. I reviewed the black, but I have to say, I think the silver version of this camera looks downright amazing.
In any case, the solid construction extends to the dials and switches. The two main dials sit atop the right side of the camera, allowing for easy access with the index finger and thumb. Both dials are very beautifully knurled and move smoothly and positively, with nice clicks between settings. The shutter button sits on top of the front dial and is also metal, unlike the original E-M5’s shutter button. The buttons on the top and rear of the camera are fairly small, but they are notably bigger than the original E-M5’s, though they don’t have quite the polish and solid feel of the rest of the camera.
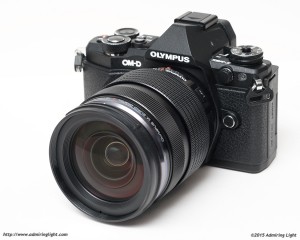
Despite a very similar appearance, Olympus has made some changes to the main grip of the camera, and those changes are a bit of a double-edged sword. The grip retains the same subtle curve to grip, but instead of the vertical ridge that the original has, the Mark II features a curving edge as it moves up the body, which allows for a small finger hold near the top. Combined with the new rubberized covering, the E-M5 Mark II’s grip is notably more secure than the original’s. However, this comes at the expense of comfort. Despite the better purchase, the grip forced my middle and ring fingers down and towards the lens, making the it feel cramped. The rubber is less slippery than the original mesh weave grip of the E-M5, but it’s also a very hard rubber, so there’s no cushioning to the cramped grip. The result is a camera that is easier to hold on to, but less comfortable in the hand.
The E-M5 Mark II features the same improved weather sealing that first appeared on the OM-D E-M1. The camera is sealed against dust and moisture and is freeze-proof to 10 degrees Fahrenheit. I didn’t get a chance to shoot in the rain during my time with the camera, but knowing the robustness of both the original E-M5, which I’ve owned since it came out, and the E-M1, I have no doubt the camera would hold up very well when used with a weather sealed lens.
Operation and Controls
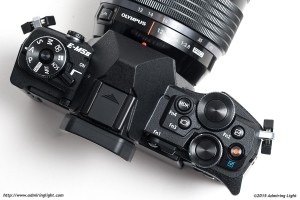
The OM-D E-M5 Mark II features a number of control updates to the original E-M5 that make it a more capable camera in the field. First, as I mentioned earlier, the two main control dials are positioned perfectly. The rear thumb operated dial is moved to the same position as on the E-M1, which makes it far easier to reach when the camera is to your eye. The PASM mode dial is still on the left side of the camera, but it’s gained a push-button lock that allows you to keep the dial from moving if desired. Bizarrely, it also has switched orientation from the original, so that the selected mode is on the far left of the dial rather than the far right as on the E-M5. The power switch is on the left side of the viewfinder hump, just like on the E-M1. I’m not a huge fan of this position since it requires two hands to turn the camera on, but it didn’t pose a problem either.
The big adjustments come in the far greater number of controls available to the shooter without going into the menus. The original E-M5 featured two programmable function keys, plus the four tiny directional buttons of the rear four-way controller. The E-M5 Mark II retains these controls, but adds two additional programmable function buttons and adds another button in the center of the 2×2 Dual Control switch that sits above the screen. The top of the camera has the Fn2 button and movie record button in the same places as the original E-M5, but the new Fn3 and Fn4 buttons (which default to EVF control and HDR mode) also sit on top, to the left of the main dials. All of these buttons are easily accessed with your index finger, though the movie record button is the hardest to press. However, that is very likely intentional, as it makes accidentally pressing it difficult as well.
The rear of the camera features the four-way controller which has larger and easier to press buttons vs. the E-M5. The E-M5 II’s 2×2 switch is tucked above the screen to the left of the rear dial. Surrounding the four-way switch are the Menu, Info, Trash and Play buttons. All of the controls, save for one, are easy to access and difficult to press accidentally. The control that isn’t easy to use is the 2×2 switch. While the switch is easily moved from position 1 to position 2, flipping it back isn’t as easy. The lever gets extremely close to the top of the screen, and there’s very limited space to flick the switch upward. With bare hands, it’s not too bad, but it becomes very difficult to operate while wearing gloves.
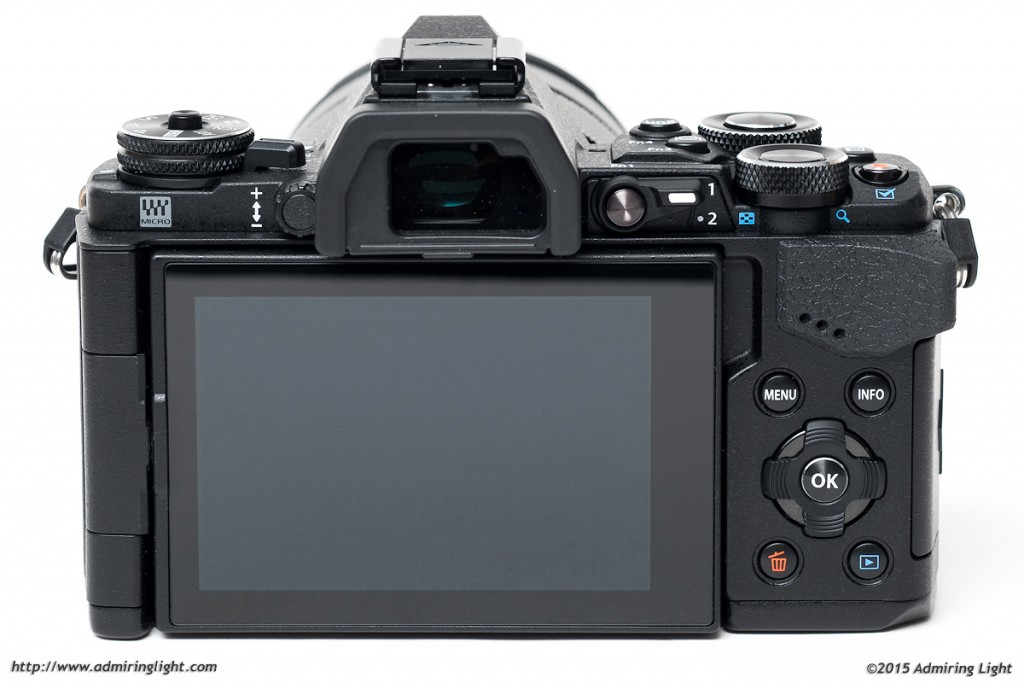
If you haven’t had a chance to use the 2×2 Dual Control system on an Olympus camera before, it’s a very nice method of doubling the easy to access parameters using the main dials. You can customize the operation of the dials in each position of the switch, but by default, when the switch is in position 1, the two dials control exposure parameters (shutter speed and aperture in manual mode, aperture and exposure compensation in aperture priority mode, etc). When the switch is moved to position 2, the dials change to controlling ISO and White Balance (by default).
The overall degree of custom controls that can be had with the E-M5 Mark II is impressive, and after setting up the camera to your liking, it minimizes the amount of time you need to dive into menus during regular shooting.
Speaking of menus, there are two main interfaces for detailed settings on the E-M5 Mark II, and they both should be familiar to existing Olympus shooters. First is the Super Control Panel, which is finally activated by default. Pressing the OK button in the center of the four-way brings up this handy menu that allows one to change most of the main shooting settings, from In-Body Image Stabilization modes, self-timer, anti-shock, electronic shutter and High Resolution mode, AF point, Face Detection, JPEG settings, drive mode and more.
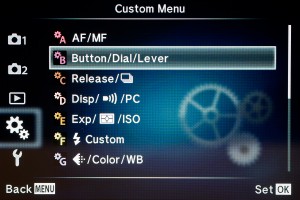
More detailed customization settings are found in the main menu. This too should be familiar to Olympus shooters and infuriatingly confusing to those new to the camera. While it’s admirable that Olympus provides the ability to change behavior on an extremely wide variety of option, but despite their best efforts at organization, the sheer volume of options can be overwhelming until you become intimately familiar with the system. There are five main sections of options, but the Custom Menu (gears) is where the real meat comes in, with a simply staggering number of options. If this becomes your main camera, however, you’ll eventually become proficient in figuring out where things are. The biggest reason to not worry too much is that after initial setup, you really don’t need to delve into the menu system that often, due to the customized buttons and the Super Control Panel.




Leave a Reply