In-Body Image Stabilization
One of the headline features of the R6 is Canon’s first in-body image stabilization (IBIS) system. Canon has long said that lens-based stabilization is the superior technology, and since they invented it, that’s understandable. However, over the years, Olympus, Panasonic, Pentax, Nikon and Sony have all implemented IBIS systems. With their prime competition in the full-frame mirrorless space offering IBIS, Canon has made their first foray into this area with the R6 and R5.
You’d be forgiven for assuming that Canon might miss the mark on their first effort in an in-body image stabilization, but that couldn’t be further from the truth. With Canon’s first effort, they have created the best in-body stabilization for a full-frame sensor that I’ve ever used.

Canon’s IBIS system is a 5-axis sensor shift system that can work by itself or in sync with optically stabilized lenses. Canon claims the system is rated for between 5 and 8 stops of stabilization, depending on the lens, but I’ve seen lofty claims before. Sony claims between 5 and 5.5 stops of stabilization on their current crop of cameras, but I can only count on them to deliver around 2-2.5 stops.
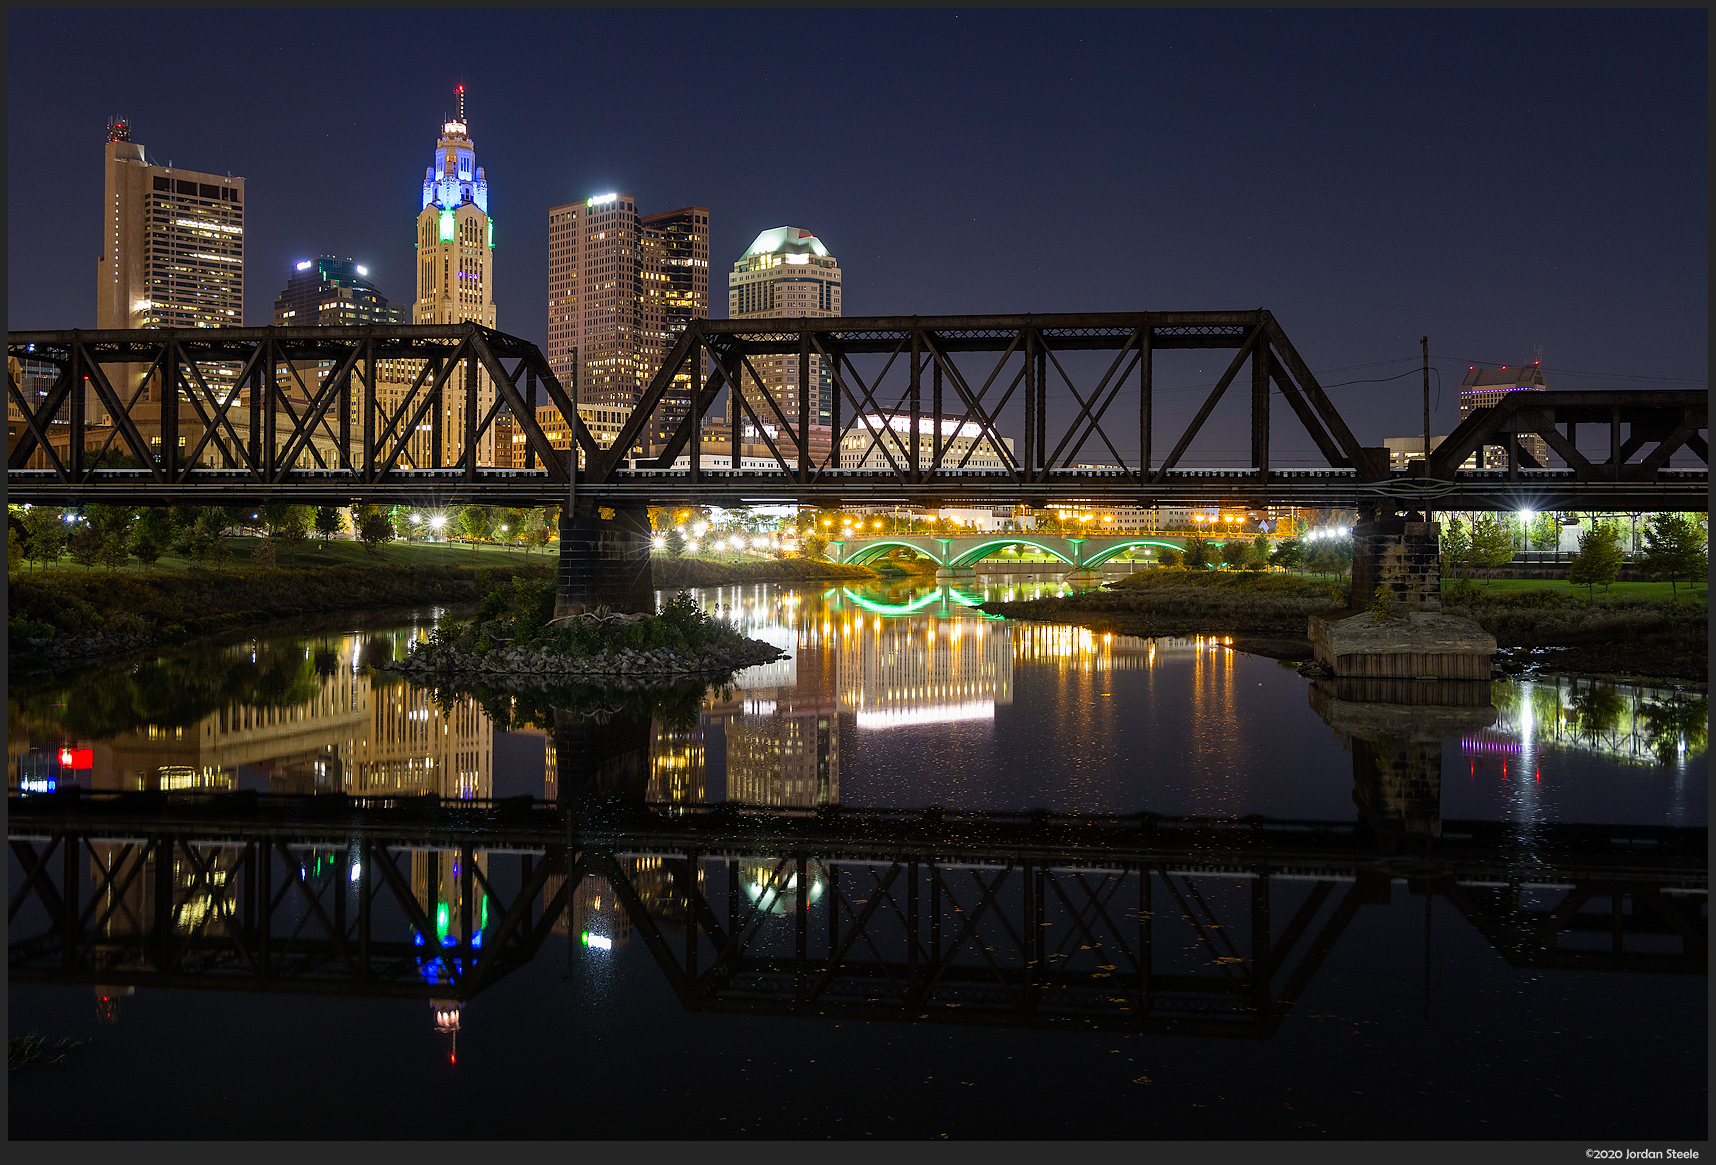
In my testing of the IBIS on the R6, I found Canon’s claims to be extremely credible. Using my RF 24-105mm f/4L, which Canon claims up to 8 stops of stabilization, I didn’t quite reach the rated stabilization, but I did regularly achieve sharp shots at 6 to 7 stops slower than I would otherwise be able to hand held. At 24mm, I could consistently get sharp shots between 1 and 2 seconds with good technique, and if I was braced against something, I could achieve sharp shots at up to 4 seconds! At 105mm, sharp shots between a half second and 1 second were possible. I’m getting an additional 2 to 3 stops of stabilization on top of the already excellent lens IS on the RF lenses. The shot below was taken at 35mm and 2 seconds, handheld at ISO 800.
Attaching lenses that do not have image stabilization, including manual focus lenses that are adapted, yielded stabilization between four and five stops in my experience. Overall, this is game-changing IBIS, achieving stabilization levels that rival Olympus’s outstanding IBIS system, but with a sensor four times larger. When you consider this is Canon’s first IBIS system ever, it’s even more remarkable. It is incredibly freeing knowing that even as light levels drop, you will be able to get the shot even at long shutter speeds. As you can tell, I am seriously impressed.
One potential negative, however, is that some third-party lenses don’t play perfectly well with the IBIS system out of the gate, and the camera will disable it when using those lenses. My Tamron 17-35mm f/2.8-4 OSD is one of those lenses, though Tamron has released a statement that they are aware of the issue and promise a firmware update soon to enable IBIS with the R5 and R6. Presumably, this will become less of an issue as manufacturers update the lens firmware to eliminate this issue.
Wi-Fi / Connectivity
Most every serious interchangeable camera for the last several years has featured some level of Wi-Fi or Bluetooth connectivity, but the ease of use and quality of this feature can vary considerably. With the R6, as well as other recent Canon cameras, the initial setup process takes a few steps, but Canon has a nice guide built into their Camera Connect app to get you through the process. Once you’ve linked a phone to the camera, it’s one of the most seamless and easy to use wireless experiences in the industry.
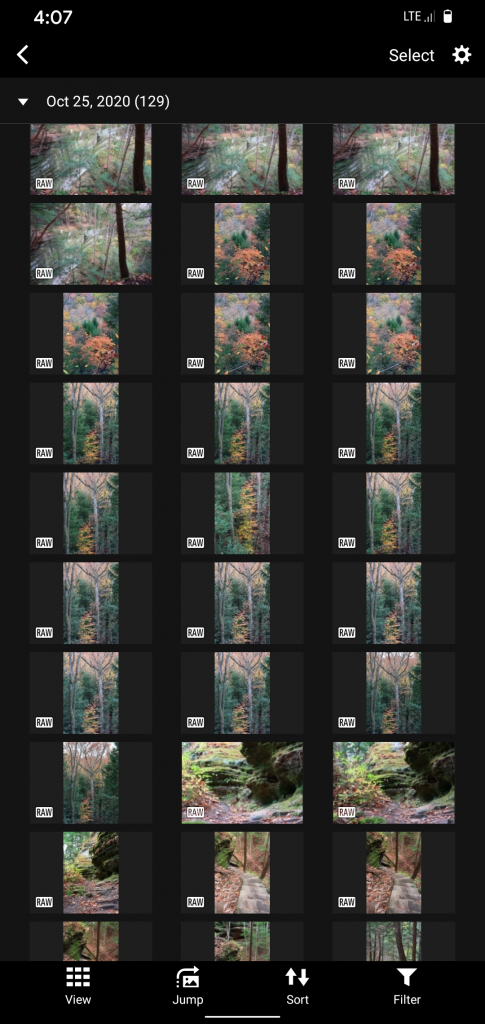
Once paired via bluetooth, opening the app will start your phone looking for the camera and will connect to it within a few seconds. Like Sony’s A7R IV, the R6 will connect to your phone even when the camera is turned off, and you can browse and transfer images. However, unlike the A7R IV, that connection is established quickly and seamlessly and image transfer is fast. When selecting images, you can choose which card slot to read the files off of, select your images and transfer them. You can transfer processed JPEGs or get full size JPEGs from RAW files in the transfer process, even if you didn’t shoot RAW+JPEG.
If you happen to own an iPad, you can also wirelessly transfer RAW files directly from the camera for editing in Canon’s DPP Express iPad app. I wish I could wirelessly transfer it into Lightroom mobile, but even the DPP Express option is great to have.
If the camera is switched on, you can quickly switch to remote shooting. If you’re already connected, the live view comes up in less than a second and is ready to shoot, with control over every major shooting setting, and even the ability to switch between stills and video. The preview image is also very clear and responsive.
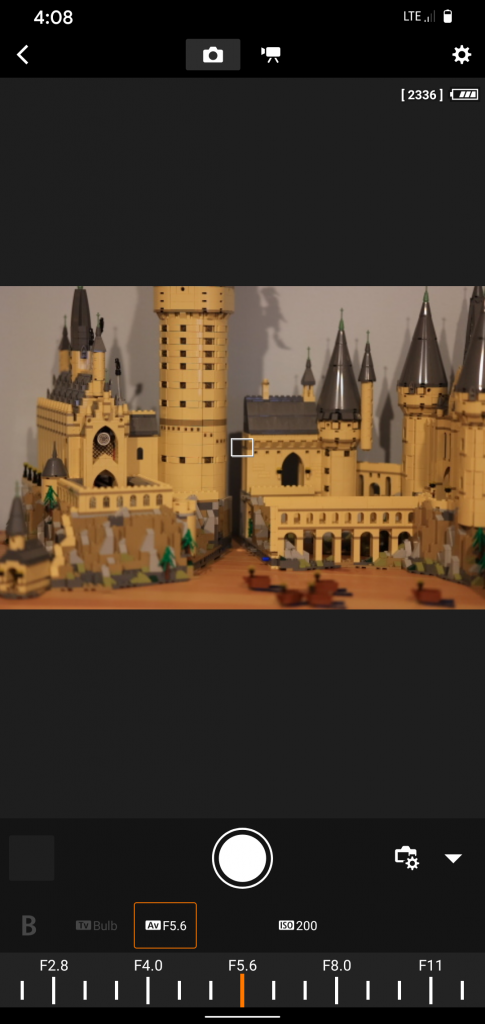
The typical geotagging options are also available in the remote app, to allow for GPS tagging of your images, which works as expected. You can also set up auto transfer of images to your device while shooting, which happens quite quickly and can be used for review of images immediately after a photo session. Canon has a Bluetooth remote control capability in their app as well, which can take the place of a remote release, including for bulb exposures. Finally, you can set your camera’s clock to exactly match that of your smart phone.
This is one of the better remote connectivity setups I’ve used. Bravo, Canon.
Special Shooting Features
The Canon EOS R6 has several features to aid the photographer in special shooting tasks. Some of these are fairly common in modern cameras while others are a bit more rare. I’m going to quickly touch on four of these in this section: Exposure bracketing, Focus Bracketing, Intervalometer and Bulb Timer.
Auto Exposure Bracketing
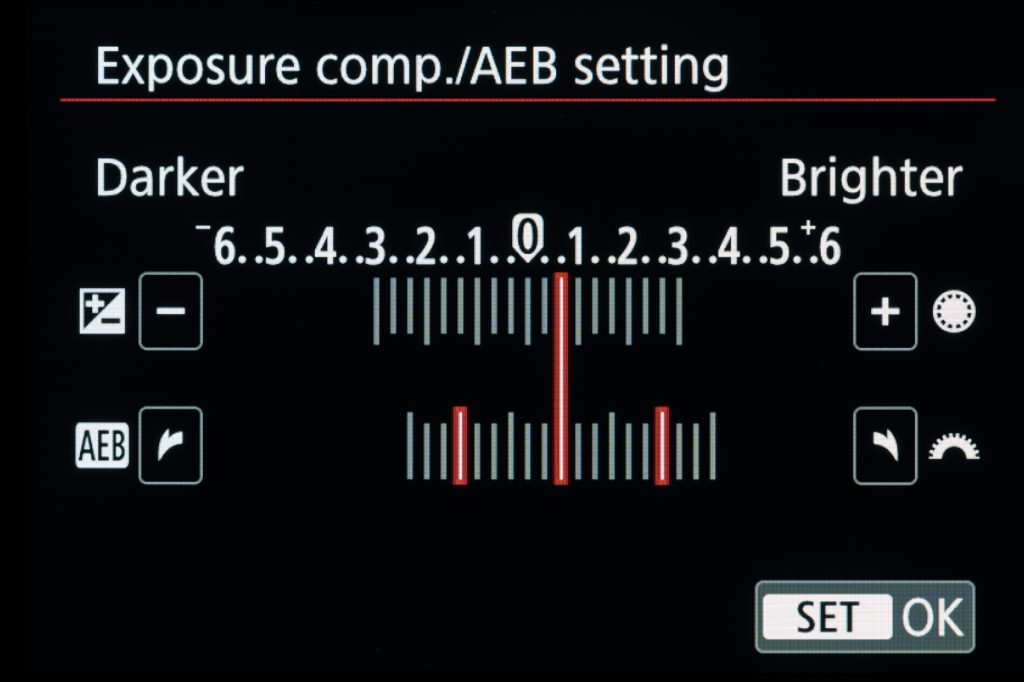
Nearly every camera has some sort of auto exposure bracketing (AEB), and the R6 is no different. The AEB settings allow you to set a specific interval and have the camera take a set number of frames to bracket around that interval. The process on the R6 works about as you’d expect, with the ability to set the AEB interval to anything between 1/3 stop and 3 stops, and with a sequence of 2, 3, 5 or 7 shots. There are a few other options as well. However, in a bizarre menu quirk, the options for bracketing are split between multiple tabs of the menu, with the interval and the ability to turn on AEB in page 2 of the Camera tab, and all the other options on a separate page in the Custom Function tab. I have no idea why these aren’t all in one place.
Focus Bracketing
Focus bracketing in camera is a relatively recent addition to interchangeable lens cameras, allowing the shooter to set initial focus and then have a series of images taken at different focus distances, usually so all the images can be stacked during post-processing to increase depth of field. The first camera I used that had built-in focus bracketing was the Olympus E-M10 Mark II. Canon first added focus bracketing in the R system to their entry-level EOS RP, and now it’s been brought to the R6.
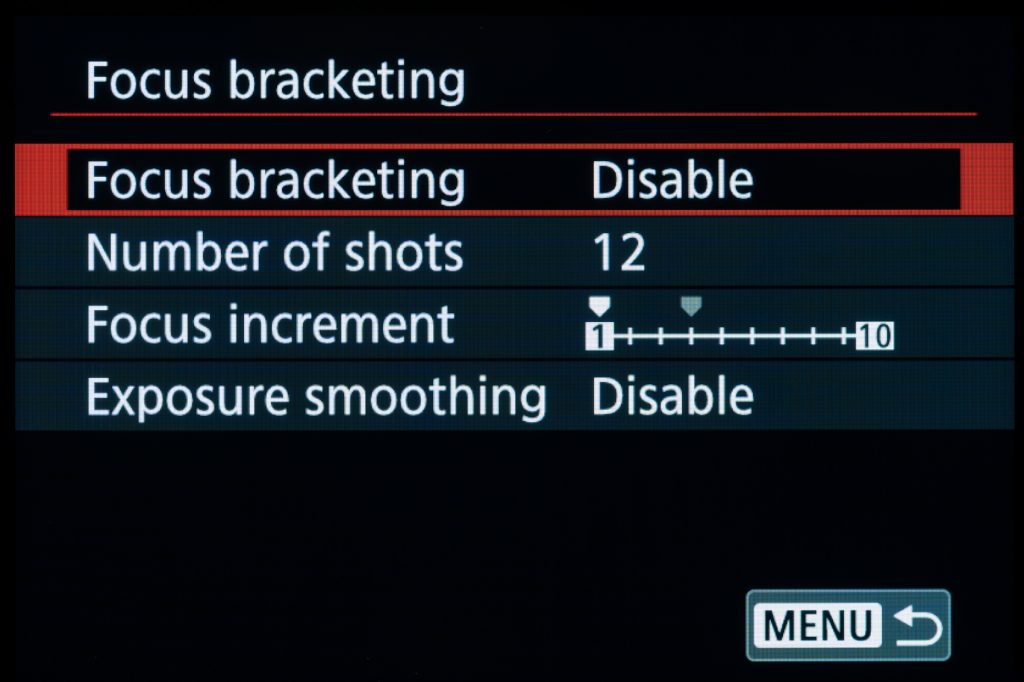
Setting up focus bracketing begins with enabling the feature in the menu. You can then set how many shots you’d like the camera to take (from 2 to 999), and the increment of focus between each shot. You can also enable Exposure Smoothing, which accounts for differences in brightness due to effective aperture at different focus distances.
The one issue is that increment of focus is rather vague. The settings are 1-10 from ‘narrow’ to ‘wide’, which doesn’t really tell you much. However, some trial and error may help you get the feel of the settings. Once you have the menu items set up, you want to focus to the closest point you want in focus and press the shutter button. The camera will then take rapid shots in electronic shutter mode only, shifting focus each time until the sequence is complete. Needless to say, this function works best when tripod mounted.

The results work very well, and can make achieving a high quality focus stack of macro or landscape images very fast and precise. The shot above was taken using focus bracketing at 24mm and f/5, stacking 13 shots at the narrowest interval. For this shot, bracketing at a wider aperture was necessary to keep the shutter speed at a reasonable level to prevent blurring of the leaves from small motions in the water. The image above was stacked in Zerene Stacker.
Intervalometer
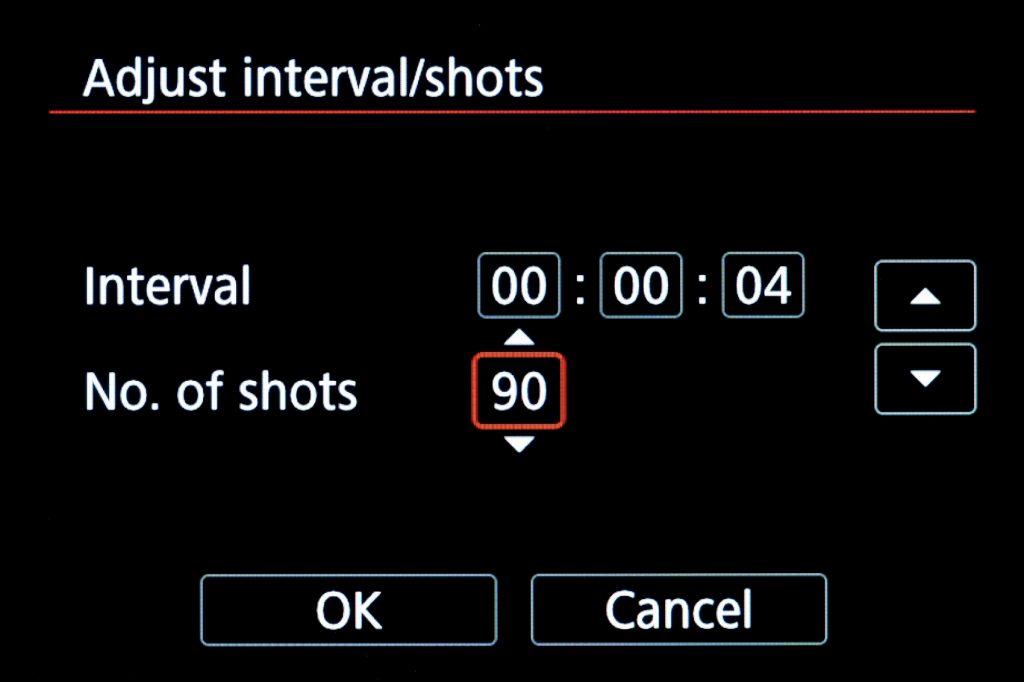
The EOS R6 features an intervalometer as well, which isn’t surprising given that most every modern camera has one built in. The R6’s intervalometer works how you’d expect. You can set the number of shots and the interval. The R6 can take shots in intervals between one second and 99 hours, 59 minutes and 59 seconds, with the number of shots from 2 to 99. Beyond 99 shots, it switches to ‘unlimited’ mode, which will take shots until either the battery runs out or you switch the camera off.
Bulb Timer
Finally we come to one of my favorite little features: the Bulb Timer. In the normal shooting modes, the EOS R6 can take images at any shutter speed between 30 seconds and 1/8000s. Like most cameras, for exposures longer than 30 seconds, you need to enter Bulb mode. Bulb mode normally requires a remote release to start and stop the exposure.
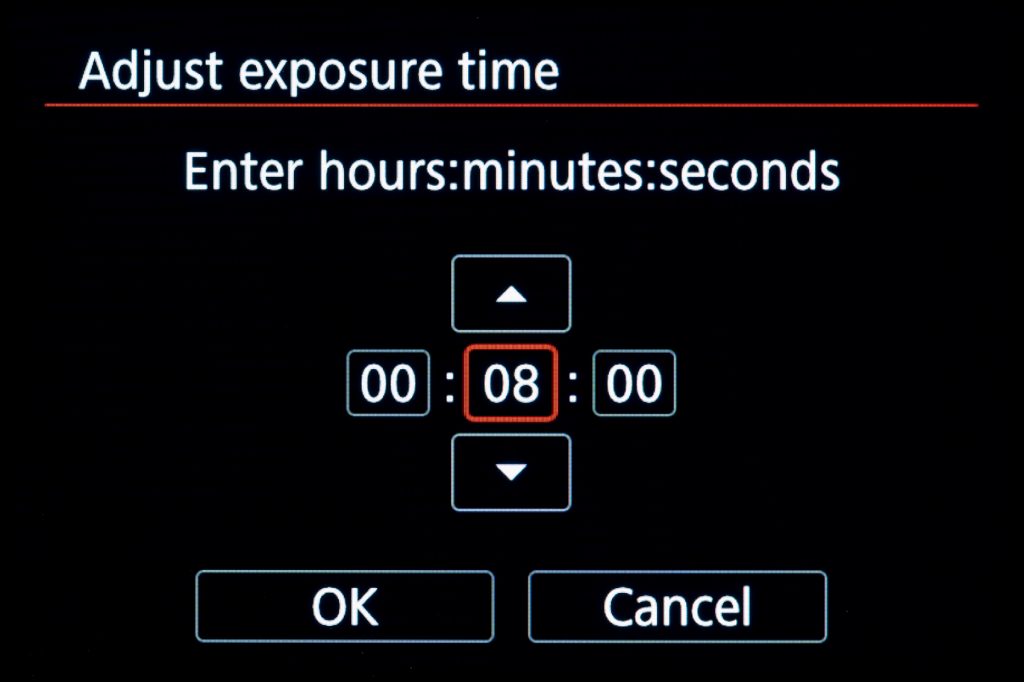
However, using a remote for bulb mode can be kind of annoying, especially if your exposures are very long, as you need to either start a timer yourself (in the case of Sony), or look at the handily provided timer displayed on the camera (like the EOS R6 does). It’s not a big deal, but I’d rather be walking around the area looking for potential future compositions than watching the timer. Enter Bulb Timer. Canon’s bulb timer allows you to simply input the length of exposure you want (up to one second shy of 100 hours), click the shutter and that’s it. The camera will expose for that length of time and then stop the exposure. It’s a very nice feature – I just wish you could add bulb timer settings to the Q menu to make changing the exposure time easier.
Other Items of Note
This is sort of a catch-all section for various thoughts about the camera that don’t really fit into any specific section, but warrant a mention.
- The EOS R6 uses a new battery, the LP-E6NH, though this battery is the same physical size as the LP-E6N. The E6NH batteries have a larger capacity, but are otherwise the same as their predecessors. Thankfully, both types of batteries can be interchanged in both the R6 and earlier cameras without issue.
- Battery life on the R6 is very good for a full frame mirrorless body, with the new large battery good for around 500 shots in CIPA testing. In my experience, you can expect to get a lot more than that out of a single battery, with 600-700 shots on one charge not being unusual. Sports shooters taking high speed bursts should easily be able to get well over 1,000 shots on a single battery.
- The mechanical shutter on the R6 sounds really nice in electronic first curtain shutter mode. It’s a very quiet shutter and it’s well dampened. Full mechanical shutter is still fairly quiet, but it loses its satisfying sound, becoming more of a stutter.
- In manual focus mode, the focus point disappears, which means that you cannot move the magnifying point until after you have entered the first level of magnification. This is a bit annoying.
- The R6 features in-camera RAW conversion that can develop a JPEG from a RAW file either using the settings as shot, or by modifying them. While not as full-featured as the RAW conversion on Fujifilm cameras, the R6 does allow for adjustment of exposure, white balance, picture style, clarity, noise reduction, lens corrections and the auto lighting optimizer settings.
- The camera has a RATE button on the left side to allow you to set a rating (between 1 and 5 stars) while reviewing your images. This is then carried over into the file metadata when importing the images.
- Unfortunately, you can not save your settings to an SD card and transfer them to another R6 body. This is a very nice feature to have for people with multiple cameras, or for a backup should you need to wipe your camera or have it repaired, and so I’m disappointed Canon hasn’t added it on the R6.
- The R6 allows you to choose whether or not you wish to have the shutter close when switching off the camera. Doing so keeps the sensor covered, and minimizes the chances of getting dust on the sensor. Combined with excellent sensor shake dust removal, I have found that dust spots are an extremely rare occurrence on the R6. I haven’t used a camera this clean of dust since I was shooting Olympus. Be careful, though, the shutter blades can be quite delicate.




Leave a Reply