So, after dabbling in the DSLR realm once again with my Nikon D750, I wanted to begin reviewing Nikon Z lenses and bodies. I’m starting with Nikon’s Z7 II, a camera that has had a mixed reception since release, but offers a compelling combination of features and very high image quality at a reasonable price. The 45.7 megapixel BSI CMOS sensor in the Z7 II has been widely praised for its impressive color and dynamic range, while other portions of the camera, specifically the autofocus, have been less well received. I’m reviewing the Z7 II on firmware 1.60, which was just released in early July, 2023. How is this camera holding up a few years after release? Let’s dive in.
Body and Ergonomics
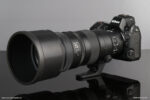
The Nikon Z7 II is a reasonably compact mirrorless camera, with a body size that is slightly larger than Sony’s mirrorless cameras, while being a bit smaller than Canon’s R5/R6 style body. The camera is solidly constructed, and feels somewhat dense without being heavy. As you’d expect for a higher-end camera, the Z7 II feels rugged, without any hit of flex in the body. The camera is weathersealed with rubber gaskets around battery and card doors, and tight fitting rubber flaps over the ports.
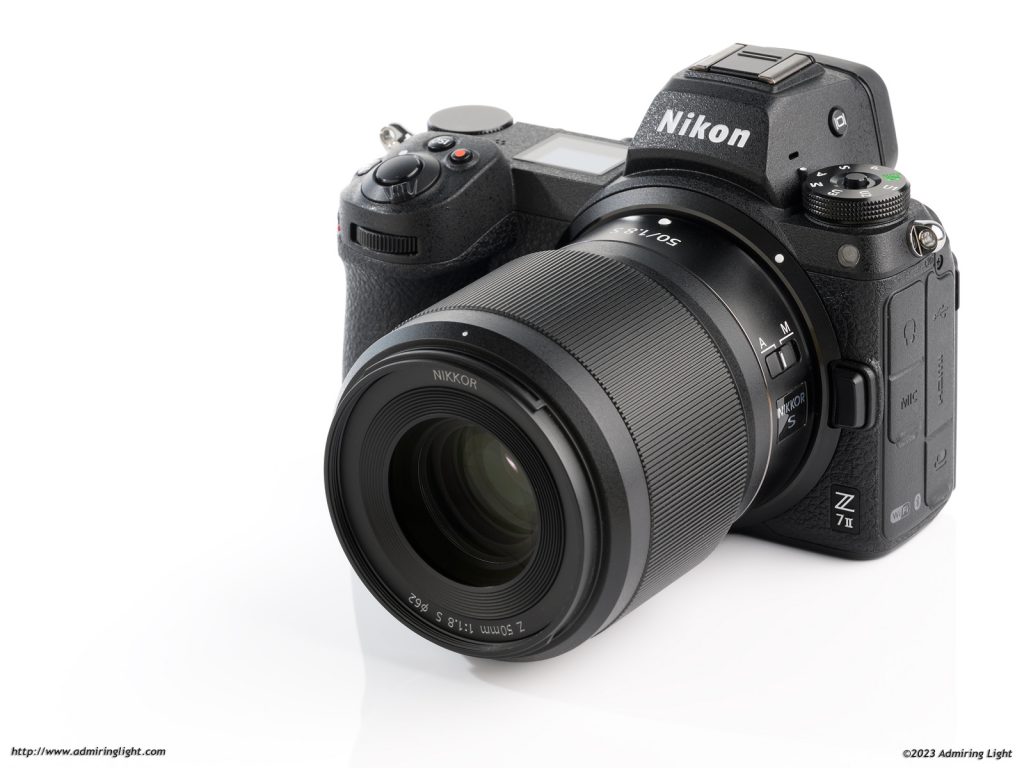
One interesting thing that has come about with the big three full-frame camera makers is utilizing similar body styles for different models. Sony largely re-uses the same body style for most cameras of the same generation, with small tweaks here and there. Canon use the same general body for the R5, R6 and R6 Mark II, as well as the same for the RP and R8. Nikon similarly uses the same body style for all the sub-Z9/8 full-frame bodies, with the Z5, Z6, Z7, Z6 II and Z7 II all sharing the same compact form factor and button layout, with the Z5 only differing in the layout of the top plate. As such, any accessories like custom quick release plates can be used for any of these bodies.
The Z7 II is a reasonably comfortable camera to hold and operate, with a decently deep grip. The rear thumb rest is part of the SD card door, but provides a place to grip the camera on the rear. I do wish the thumb rest was angled a bit more strongly, as the shallow angle used could sometimes lead to my thumb sliding slightly to the right when holding the camera one-handed. The grip is deep enough that my average sized hands can almost entirely fit on it, with my pinky just holding on to the bottom of the grip. Those with larger hands will find themselves with a dangling pinky, much like on Sony cameras. Overall, I think the Z7 II fits in somewhere in the middle among the major full-frame mirrorless cameras in this class with regards to comfort. I don’t think it’s as comfortable as the R5 or R6, but I do prefer it to Sony’s bodies, though overall handling is pretty similar between them.
The controls on the Z7 II are very well placed, with essentially everything within easy reach. The only controls that are a little difficult to reach are the four buttons at the rear bottom of the camera, but those control functions that are not often changed rapidly on the fly. The two programmable function buttons on the front of the camera are very easily accessed with the middle and ring fingers on your right hand. These are wonderful control additions, and I’ll go deeper into the functionality when I get into the operation of the camera.
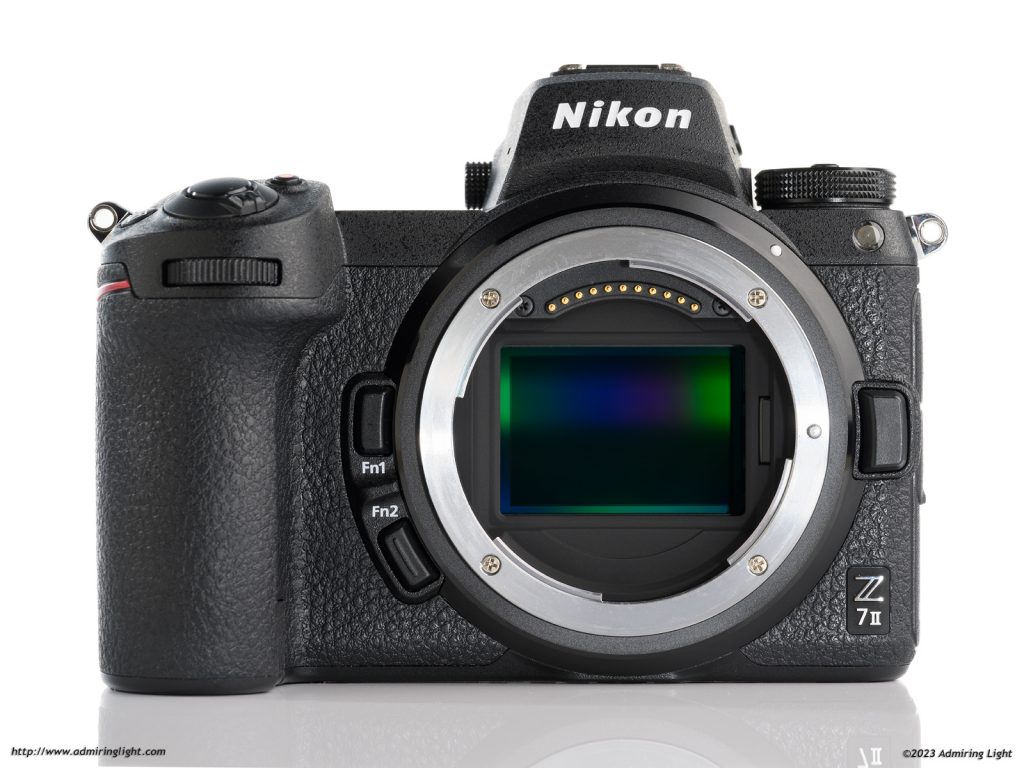
Buttons overall have excellent tactility, and the dials click positively and operate very well. The only exception is the four-way controller on the rear, which has mushy and indistinct tactility, and is the only real letdown on what are otherwise very pleasing controls to use.
One of the big upgrades the Z7 II saw over its predecessor was the addition of a second card slot, giving the Z7 II one CF Express Type B slot, and one SD UHS-II card slot. Like essentially all cameras with dual card slots, these can be set up to write to both cards for backup, write RAW files to one and JPEGs to another, or simply have the second card be an overflow slot, for when the first card fills up.
Controls
As a long time Canon and Sony shooter, the Nikon control scheme took a little getting used to, but after becoming familiar with the Nikon way of doing things, I actually found myself really appreciating the control layout, and growing to love it. Nikon has managed to pack a lot of control points into a small body and make it work well and not feel cramped. Still, things aren’t all good here, so let’s get into specifics.
As one can see in the previous image, the front of the Z7 II has the front command dial on the grip, and two programmable function buttons right next to the lens mount. These buttons can be set to one of 41 different options, some of which are direct access controls, such as AE Lock, toggling silent mode or turning on and off the grid display, while others are meant for use in conjunction with the two command dials, such as focus mode, white balance and bracketing. I have my two set for focus mode/area size, and exposure bracketing settings. Changing the control layout is done through the Custom Settings menu, item f2, which brings up a nice diagram of the camera to highlight the button being customized. This is standard fare for most cameras nowadays, but it’s still nice to see.
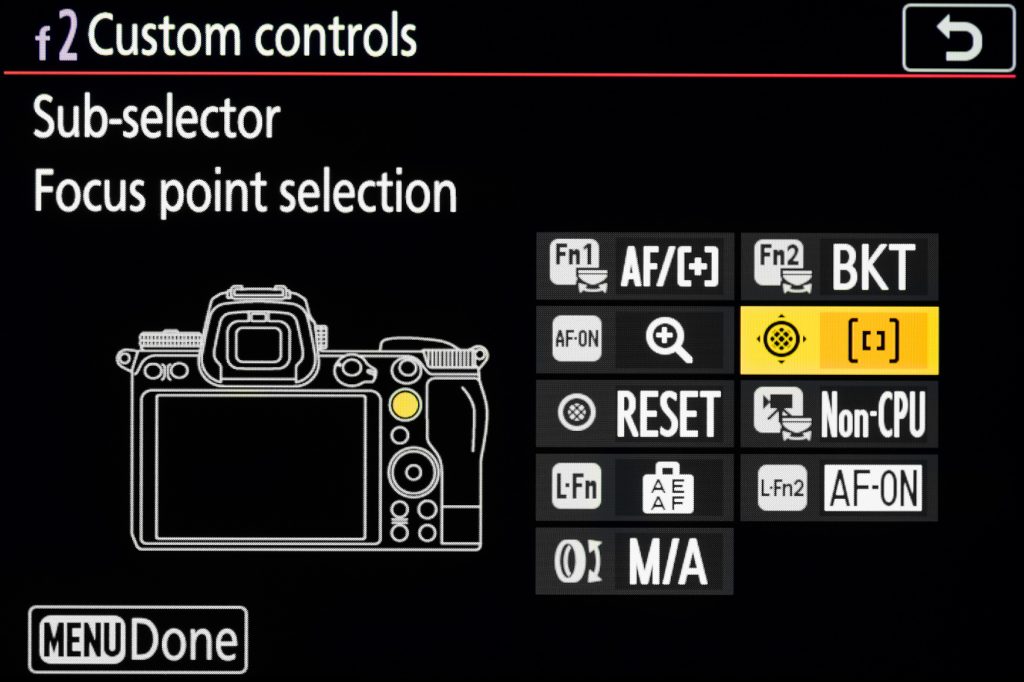
By default, all the controls that use the command dials in conjunction with a button operate by holding the button down while operating the dials, but this behavior can be changed to a button press, then change the setting, and then confirming with either the OK button or with a half press of the shutter button. I personally prefer the latter way of doing things.
Moving to the top of the camera, Nikon has placed the standard PSAM mode dial to the left of the viewfinder. This dial turns with very satisfying clicks, and has a press-lock button to prevent accidental changes. In addition to the standard modes, there is a full auto mode, and three programmable user modes that can be programmed to quickly change a variety of settings for specific shooting scenarios.
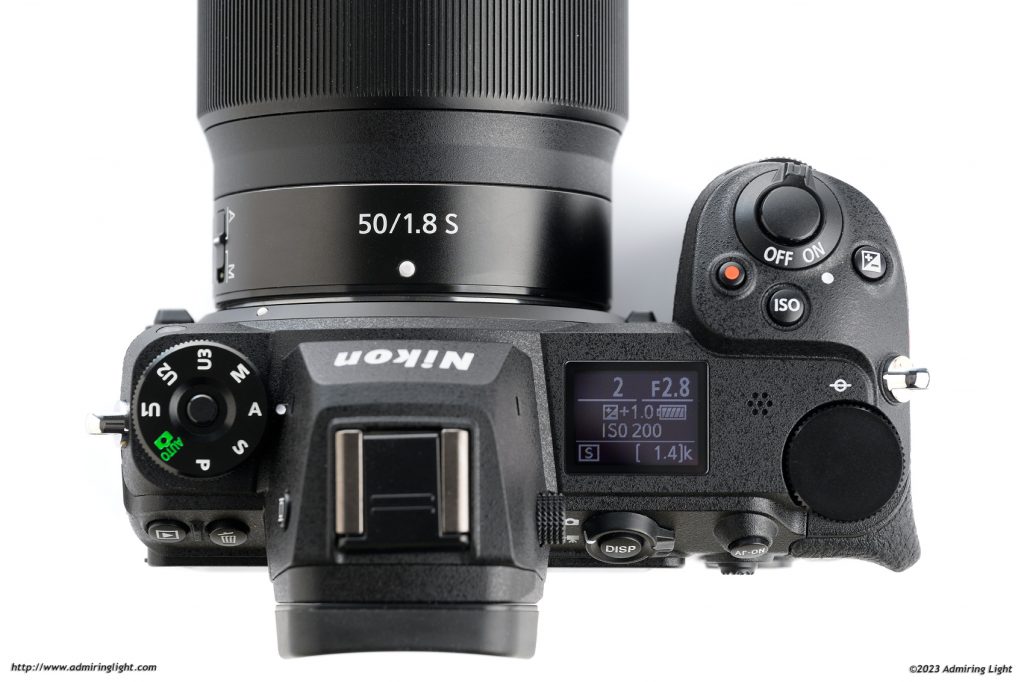
On the right side of the top plate are the shutter button, which is surrounded by the On/Off switch, a movie record button, ISO button and exposure compensation button. Unfortunately, Nikon only gives the option to reprogram the movie record button, and the options for this button are more restricted than those on front, with just 23 options. Given the two dial control, I would definitely have kept the ISO button mapped as it is, so the lack of programming on that button doesn’t bother me.
The EC button is something I felt was a waste of a non-programmable button at first, but as I have come to use my Nikon cameras, I’ve realized that Nikon uses exposure compensation to control flash output as well (tying EC and FEC together). As such, if shooting with flash in manual mode, the rear dial controls shutter speed, and therefore, adjusting flash output can still be done quickly by pressing the EC button and adjusting the dial.
The rear command dial sits on the back right corner of the top plate next to the LCD display. Informational LCDs are making a bit of a comeback in the past few years, after disappearing for a while on a lot of mirrorless cameras. This one shows the basic exposure settings, battery life, the current drive mode, and the number of shots remaining. The LCD adjusts its brightness automatically according the environment, which is nice, but it is completely off when the camera is switched off, which means you have no information about the camera’s state until you turn it on.
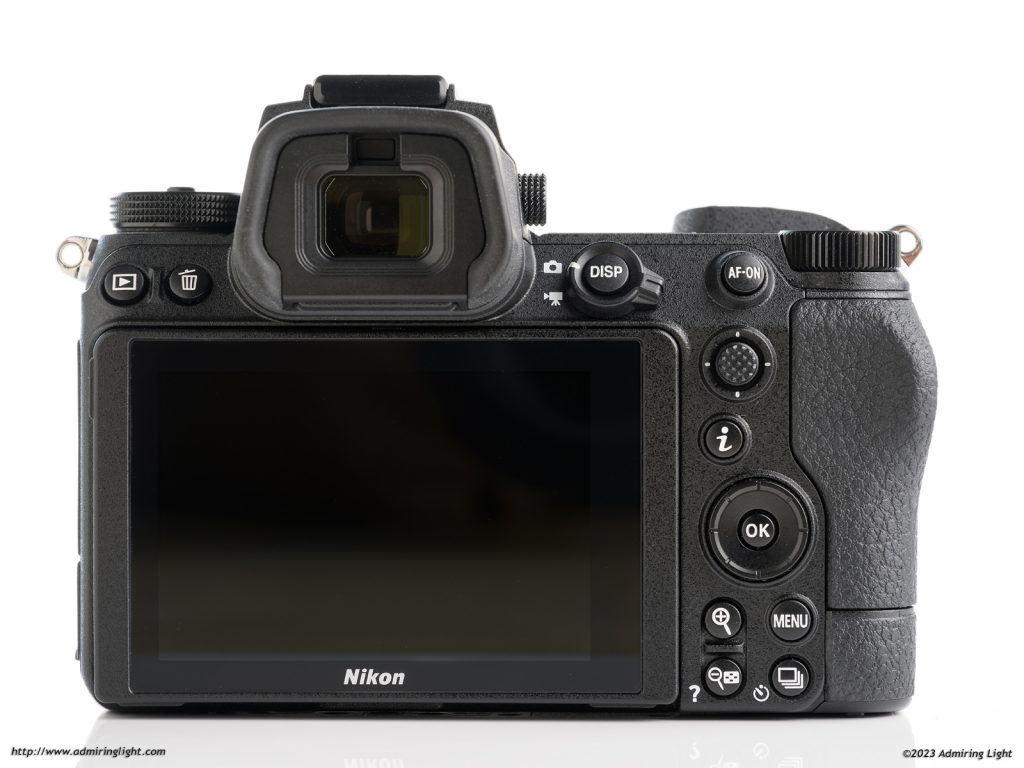
On the back of the camera, the image playback button and file delete button sit at the top left of the camera. The playback button is one of the only controls where I dislike the placement. It’s a bit of a holdover from their DLSRs, as these buttons have been in this location for quite some time on the DSLR line, and Nikon has largely tried to keep very similar control layouts throughout the years. It’s nice if you’re transitioning from a Nikon DSLR, but a bit annoying to have to use your left hand to quickly review images in the field. The Z8 and Z9 moved this button to the bottom right where the drive mode button sits on the Z7 II.
On the right side of the camera back are the AF-On button and focus point selection joystick, both of which are placed exactly where one would expect, along with the display mode toggle button that sits within a handy switch for flipping between stills and video. The i-Menu button and standard Nikon four way controller are below the focus joystick, and the controls finish off with menu, drive and enlargement buttons at the bottom of the camera. On the rear controls, only the AF-On button and the focus joystick center press can really be customized. All the other buttons are locked into their self described functions. I’d prefer a bit more flexibility here, as not everyone likes to set their cameras up the same way. With that said, the controls are logical, and I never found myself frustrated with the control points on the camera. In fact, as I got used to the way Nikon does things, I came to really like the way the camera operates. Most major photographic settings can be changed quickly and easily, and it is a very nice camera to use in the field.
Menus
As with the controls, Nikon’s menus in the Z7 II are a continuation of the design that has been used by Nikon for years and years. While the ‘modern’ Nikon menu system could be said to have originated all the way back with the D200 in 2006, though the basic structure of the menu system is still similar to even the D1x from 2001. Of course, there has been continued evolution, with the My Menu and Retouch tabs being added in the mid-2000s, the Video tab added when video was incorporated into the camera, and the ability to use the touch screen for operation with the more recent cameras. The reason this menu system has stuck around is because it’s quite good.
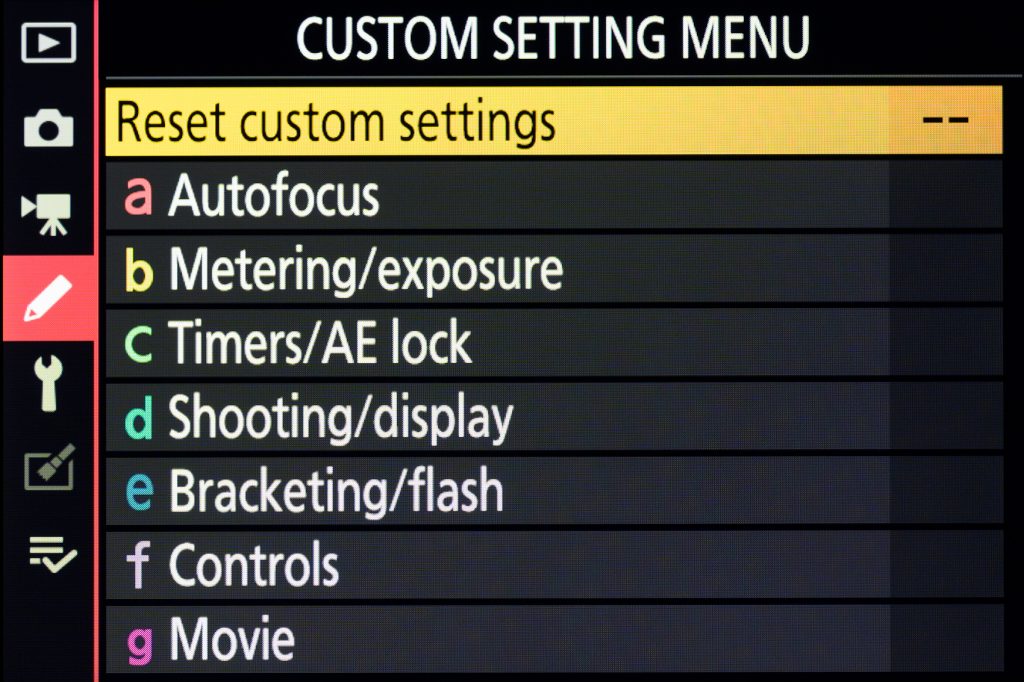
The menus are logically laid out with clear tabs along the left hand side, and then options spreading out to the right. Playback, Photo Shooting, Video Shooting, Custom Settings, Setup, Retouch and My Menu (or recent settings if you prefer) divide the camera settings in to logical divisions, and everything seems to be more or less where it should be.
The Custom Settings menu is where a lot of items for personal operation are tweaked, and where the settings that really mold the camera to your shooting style can be found. The My Menu section has become ubiquitous in cameras of all sorts, but Nikon was one of the first to allow a customizable menu, and it still operates very well here, where multiple pages of your most changed settings can be organized.
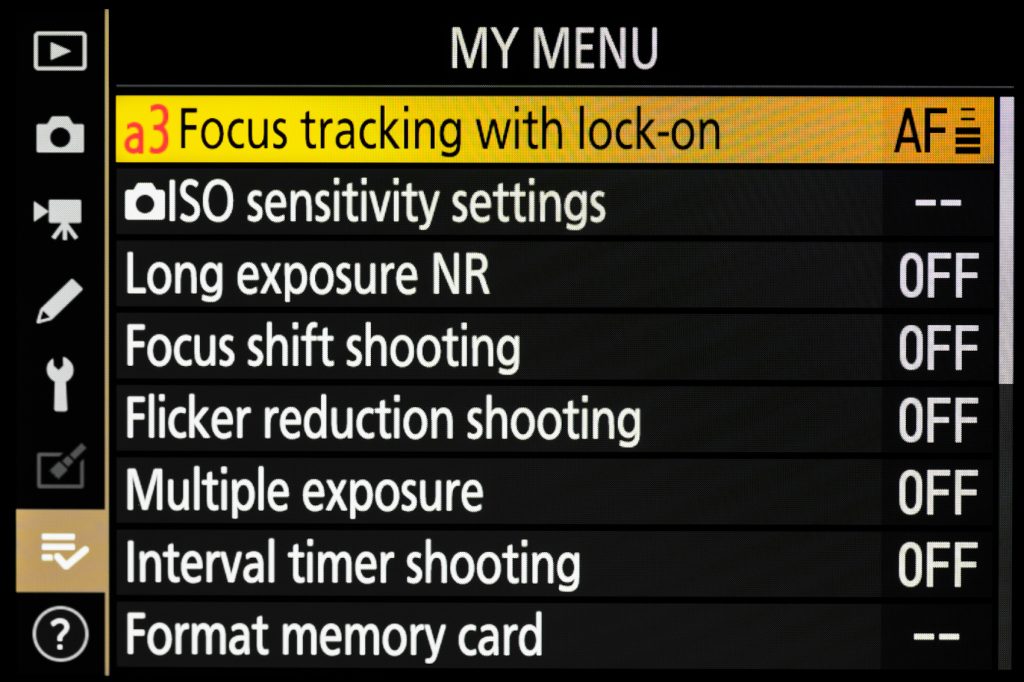
One issue I have with the My Menu, though, is that there is no way to have the My Menu page come up as the default starting position when pressing the Menu button. The menu system by default simply displays the last position you were using when you exited the menu. This can be convenient, but I’d prefer to go immediately to the My Menu when opening the menu system. You can program one of the function buttons to jump directly to the My Menu screen, but unfortunately, since the Menu button can’t be re-mapped, this means that you would lose a function button that might otherwise be useful for other features.
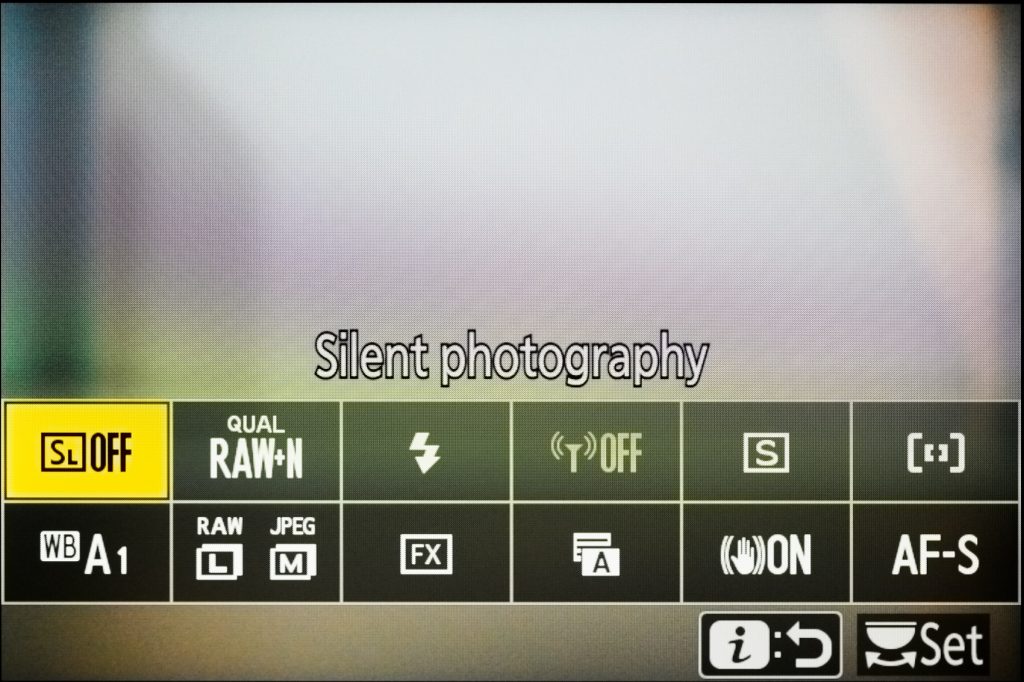
Nikon’s i-Menu is a quick-settings menu that overlays on the shooting screen, and has space for twelve settings that can be quickly adjusted. These 12 slots can be customized to fit your choice out of 39 possible options. The i-Menu is laid out almost identically to Sony’s Fn menu, and operates essentially the same as well.




Leave a Reply